Building a DIY mobile cleaning cart is the fastest way to streamline your home cleaning routine. Within a weekend, you can have a fully stocked, rolling station that keeps all supplies within arm’s reach, saving you time and effort on every job. Shop rolling cleaning carts or use this guide to build your own.
Introduction
Yes, you can create an efficient, custom mobile cleaning cart using basic tools and materials. A well-designed cart keeps your sprays, cloths, brushes, and trash bags organized and mobile so you can tackle cleaning tasks without constant trips back to the closet.
Step-by-Step Guide
1. Gather Materials and Tools
You’ll need a sturdy utility cart frame (metal or laminated wood), four swivel caster wheels (2 locking, 2 non-locking), three to four detachable plastic bins or baskets, a dowel or PVC pipe for hanging cloths, adhesive hooks, and labels. For tools, keep a cordless drill, screwdriver bits, measuring tape, and level handy. If you need a refresher on the tools, refer to our Home Workshop Setup Checklist for must-have equipment.
2. Assemble the Cart Frame
Follow the manufacturer instructions or your own design plans to build the basic frame. Ensure each shelf is level and that the frame is square by measuring diagonals. Tighten all bolts to avoid wobble during use.
3. Install the Casters
Flip the frame upside down and attach the swivel casters at the four corners. Use locking wheels on one end so you can secure the cart in place when cleaning delicate surfaces. Confirm alignment by rolling the cart and locking once; it should remain stationary.
4. Attach Bins and Baskets
Position bins on push-in mounts or hang them on the side rails with hooks. Keep heavier items like spray bottles on the bottom shelf and lightweight supplies such as microfiber cloths in upper bins for balance.
5. Add Hanging Rod and Hooks
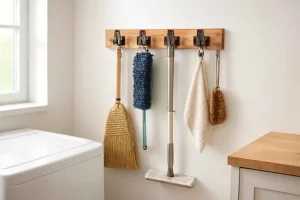
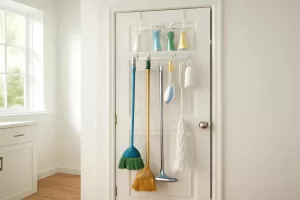
Mount a short dowel or length of PVC pipe between the rear uprights, creating a rod for wet cloths to drip-dry. Stick adhesive hooks along the sides for dusters, brushes, or gloves to hang, ensuring everything has a designated spot.
6. Label and Organize
Apply waterproof labels to each bin and shelf edge, categorizing by surface type: glass cleaners, multipurpose sprays, bathroom cleaners, etc. Organized labeling speeds up cleanup by letting you visually identify where each item belongs.
7. Customize with Accessories
Add a small trash bag hook under one shelf for disposable wipes. Install a fold-out side tray to hold cleaning buckets or water basins. You can also attach a magnetic strip for metal scrubber pads. The more tailored to your routine, the more efficient the cart.
Practical Example
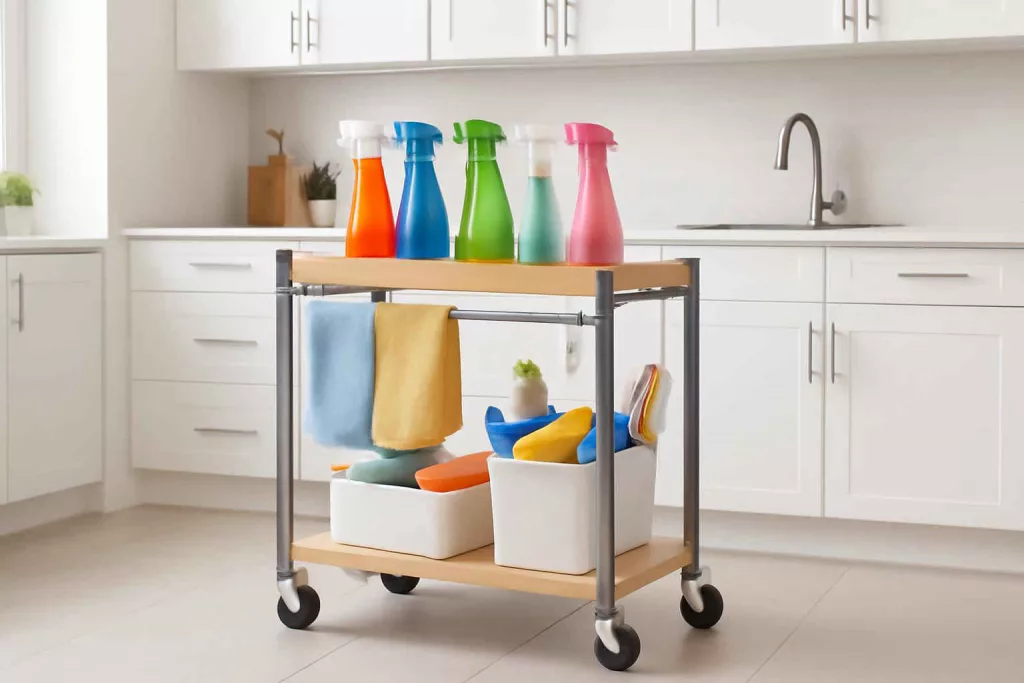
Sarah, a homeowner in Denver, built her mobile cleaning cart using a two-tier metal utility cart purchased online. She installed locking casters for stability and added three clear plastic bins labeled “Bathroom,” “Kitchen,” and “Living Areas.” A dowel across the back holds used microfiber cloths so they dry without touching other supplies. Each morning, she rolls the cart from room to room, addressing high-traffic areas without returning to the laundry room for supplies. This approach cut her cleaning time by 30% and keeps products off crowded countertops.
Common Mistakes
- Overloading the top shelf, causing the cart to tip.
- Using non-locking wheels only, leading to unwanted rolling on uneven floors.
- Skipping labels, which makes finding the right cleaner slower.
- Neglecting a dry rod for cloths, resulting in damp, smelly cloth storage.
Tips to Improve
- Invest in clear, stackable plastic bins from our Best Clear Plastic Shoe Boxes guide for visibility and durability.
- Use color-coded labels or bin liners for different cleaning zones to prevent cross-contamination.
- Add a small LED utility light under the top shelf for working in dim closets or basements.
- Include a portable smartphone holder to follow cleaning checklists hands-free.
- Switch to refillable spray bottles to reduce plastic waste and save money long-term.
Conclusion
Building your own mobile cleaning cart gives you a customized, efficient station that adapts to your home’s layout and cleaning habits. With a few simple materials, basic tools, and strategic organization, you’ll cut down on supply runs and streamline every task. Ready to upgrade? Gather your materials, follow this guide, and enjoy a smarter way to clean.
Looking for additional organization ideas? Check out our guide on cleaning caddy organizers to complement your new cart.