Sound traveling through cracks and gaps can turn a peaceful home environment into a noisy, stressful space. Acoustic caulk is a specialized sealant designed to block sound transmission in walls, windows, doors, and other joints. Whether you’re finishing a new home theater, insulating a bedroom from outside noise, or just upgrading your living room for better quiet, choosing the right acoustic caulk matters. In this guide, we’ll dive into the top-rated acoustic caulks on the market, how to apply them properly, and complementary techniques to achieve an acoustically comfortable home.
What Is Acoustic Caulk?
Acoustic caulk differs from regular caulking compounds by offering enhanced sound-dampening properties. It’s formulated with flexible polymers and viscoelastic materials that absorb and block sound waves rather than just filling cracks.
Composition and Properties
Most acoustic caulks combine silicone or latex bases with specialized fillers. These fillers increase the sealant’s density and flexibility at varying temperatures. The result is a durable seal that expands and contracts without cracking—essential for long-term performance.
How It Differs from Regular Caulk
Unlike standard silicone or acrylic caulk, acoustic caulk has a higher durometer rating for flexibility and a thicker consistency for better gap-filling. Standard caulk may crack or shrink over time, creating new pathways for sound leaks.
Key Factors to Consider When Choosing Acoustic Caulk
Sound Transmission Class (STC) Ratings
STC measures how well a building partition reduces airborne sound. While caulk itself isn’t rated by STC, it contributes to the overall rating of a wall assembly. Look for products tested in assemblies with an STC of 50+ for high-performance applications.
Durability and Flexibility
Choose an acoustic caulk that remains flexible over time. A product with a Shore A hardness of 25–35 offers a balance of ease-of-application and long-term resiliency.
Application Environment
Consider indoor vs. outdoor use. Some acoustic caulks are paintable and mildew-resistant, ideal for basements or bathrooms. Others can withstand UV exposure for exterior joints around windows.
Cure Time and Paintability
Fast-curing caulks reduce project time, but ensure you have a window for adjustments. If you plan to paint over the caulk, confirm the product is formulated for paint adhesion.
Top 6 Acoustic Caulk Products Reviewed
1. Green Glue Noiseproofing Sealant
Features: Solvent-free, non-toxic, 100% VOC compliant.
Pros: Excellent sound blocking in wall assemblies; easy squeeze tube application.
Cons: Requires specific backer rod for wide gaps.
Shop Green Glue Noiseproofing Sealant
2. OSI SC175 Acoustical Sealant
Features: Gun-grade formula, paintable, mildew-resistant.
Pros: Low odor; remains flexible for small cracks.
Cons: Slightly higher price point.
Shop OSI SC175 Acoustical Sealant
3. Red Devil 0541 SOUNDPRO Polyurethane Acoustical Sealant
Features: One-part, moisture-curing.
Pros: Great adhesion to concrete and masonry.
Cons: Not paintable.
4. Tremco Acoustical Sealant
Features: Solvent-based; high durability.
Pros: Performs well in heavy-duty commercial settings.
Cons: Strong odor during application.
5. Sashco Big Stretch Sealant
Features: Elastomeric, paintable, low VOC.
Pros: Expands to fill wide gaps; ideal for windows and doors.
Cons: Longer cure time.
6. DAP Dynaflex 230 Premium Indoor/Outdoor Sealant
Features: Excellent adhesion; weather-resistant.
Pros: Budget-friendly option for moderate soundproofing.
Cons: Less effective at very narrow cracks.
How to Apply Acoustic Caulk for Best Results
Surface Preparation
Ensure surfaces are clean, dry, and free of old sealant. Use a utility knife or scraper to remove debris and wipe the area with rubbing alcohol.
Step-by-Step Application
- Cut the nozzle at a 45° angle to match the width of the gap.
- Load the cartridge into a caulking gun and apply steady pressure.
- Fill the gap with a continuous bead of sealant.
- Smooth with a caulk tool or wet finger within the open working time.
- Allow the caulk to cure per manufacturer instructions.
Post-Application Tips
Protect the sealant from moisture and paint overspray until fully cured. Check for shrinkage after 24 hours and re-seal if necessary.
Additional Soundproofing Tips for Home Renovation
Combining Caulking with Weatherstripping
Weatherstripping foam and door sweeps help block drafts and airborne noise. Seal gaps around doors, then apply acoustic caulk to rigid framing.
Using Soundproofing Panels
Acoustic panels or blankets absorb mid-to-high frequencies. Pair panels with caulk at seams for comprehensive coverage.
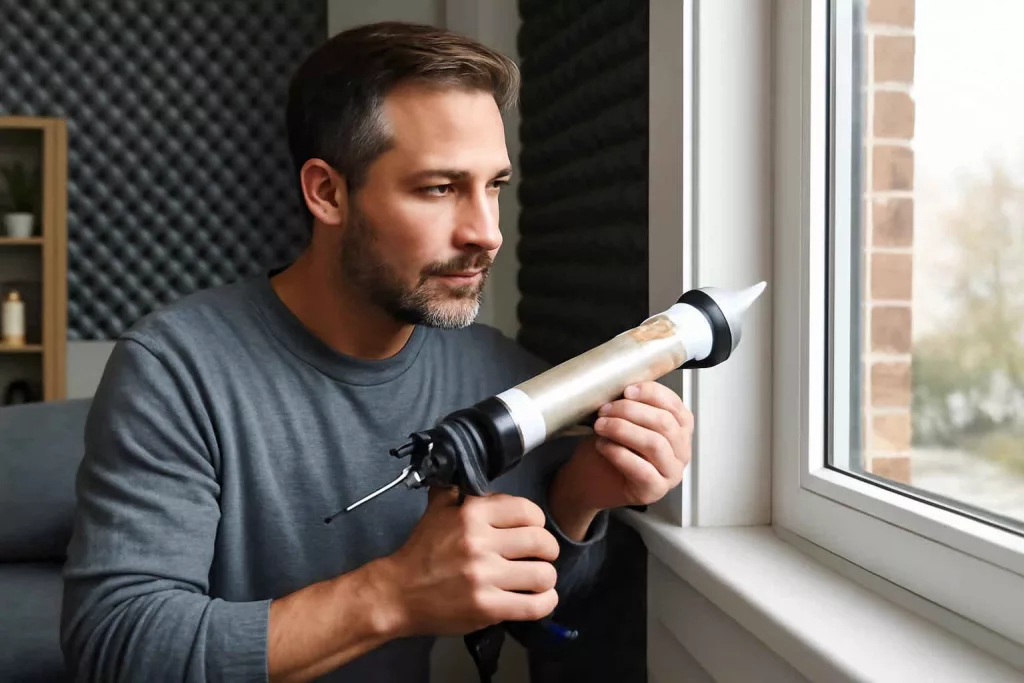
Seal Gaps Around Windows and Doors
Windows are a common weak point. Remove trim, apply latex backer rod, then seal with a specialized exterior acoustic caulk for best results. Consider wet-dry vacuum for home renovation after trimming and before painting to keep surfaces clean.
Frequently Asked Questions About Acoustic Caulk
Can I Paint Over Acoustic Caulk?
Only if the product is labeled paintable. Test a small area first to ensure proper adhesion.
How Long Does Acoustic Caulk Take to Cure?
Cure times vary from 24 to 72 hours depending on humidity, temperature, and caulk thickness.
Is Acoustic Caulk Waterproof?
Most interior acoustic caulks are not fully waterproof, but some products offer mildew resistance and light water exposure protection.
Conclusion
Choosing the best acoustic caulk involves balancing soundproofing performance, flexibility, and ease of application. Whether you opt for Green Glue Noiseproofing Sealant for professional-grade results or DAP Dynaflex 230 for a budget-friendly solution, proper surface prep and technique guarantee optimal noise reduction. Complement caulking with weatherstripping and acoustic panels for a truly quiet space. Ready to upgrade your home’s acoustics? Buy acoustic caulk today and enjoy a more peaceful environment.