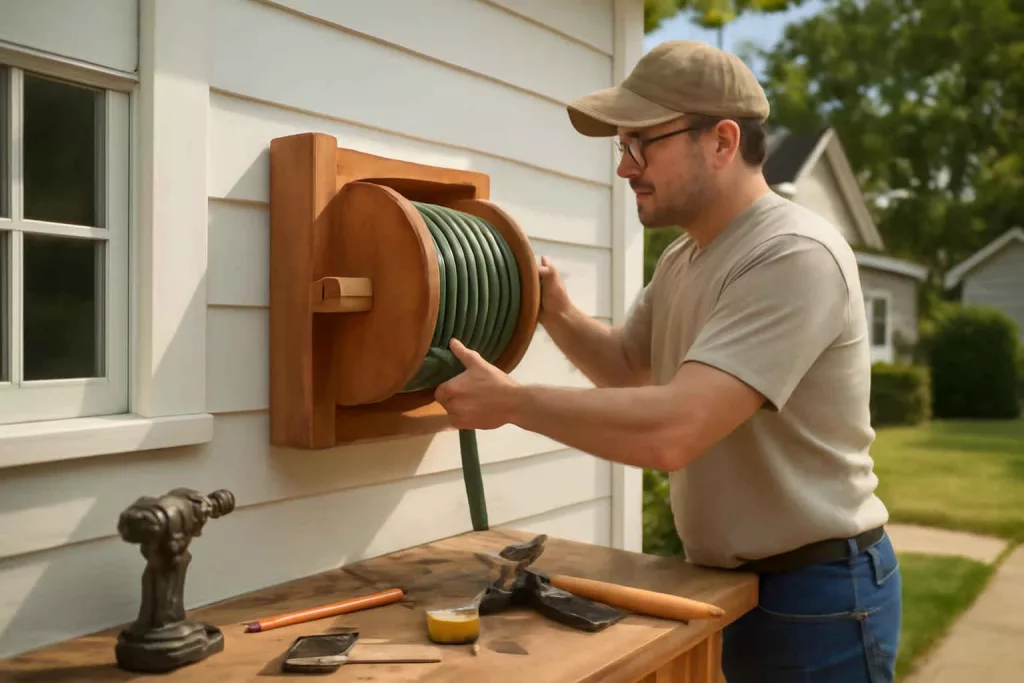
Proper storage of your garden hose not only keeps your yard looking tidy but also extends the life of your hose by preventing kinks, cracks, and tangles. In this guide, we’ll walk you through everything you need to know to build a sturdy wall-mounted garden hose reel holder. You can pick up a high-quality metal garden hose reel on Amazon here: garden hose reel to get started right away.
Whether you’re a seasoned DIYer or a weekend warrior, this project offers a rewarding mix of woodworking and basic metal assembly. Before diving in, you may also want to explore our tips for weatherproof garden storage boxes to keep all of your outdoor accessories neatly organized.
Tools and Materials Needed
Gathering the right tools and materials before starting your build will save you time and ensure a smooth project. Here’s what you’ll need:
- Pressure-treated lumber (2×6 boards) for the main frame and reel drum supports
- Plywood sheet (¾-inch thick) for reel side plates
- Galvanized steel pipe or metal rod (¾-inch diameter) for the reel axle
- Heavy-duty wall-mount bracket or metal L-brackets
- Swivel hose connector for 180-degree rotation
- Wood screws (3-inch and 1¼-inch), lag bolts (¼-inch x 3 inches)
- Wood glue and exterior-grade wood sealant or paint
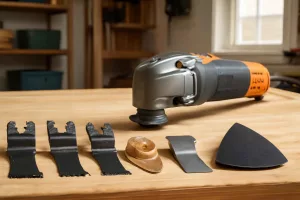
- Power drill with drill bits and countersink bit
- Circular saw or miter saw
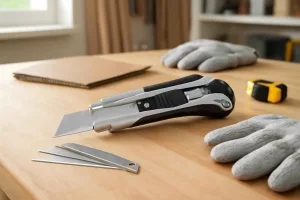
- Level, tape measure, pencil, and safety gear (gloves, safety glasses)
Many of these hardware items can be found at your local home improvement store or ordered online. Having everything laid out on your workbench will help you move efficiently through each build step.
Planning and Measuring Your Location
Choosing the right installation spot is critical for both convenience and proper hose function. Follow these guidelines:
Identify a Nearby Water Source
Mount the reel within a few feet of your outdoor spigot to minimize hose strain. Confirm the hose length you plan to store to ensure full retraction without overhang.
Check Wall Material and Stud Location
Use a stud finder to locate solid framing behind siding or brick. Secure mounting brackets into studs or masonry anchors to support the combined weight of the hose and water pressure.
Allow Ground Clearance
Position the reel so the hose sits at least 6 inches off the ground, preventing dirt buildup and wear. Measure and mark the height before drilling any holes.
Building the Reel Drum
The reel drum holds the hose and should spin freely around the axle. Here’s how to fabricate it:
Cut Side Plates
From the ¾-inch plywood, cut two circular side plates 18 inches in diameter. Use a jig saw and a circular jig for a clean cut. Sand edges smooth to avoid hose abrasion.
Prepare Axle Supports
From the 2×6 lumber, cut two blocks sized 4 inches square. Drill a centered ¾-inch hole through each block to fit the metal pipe snugly. These blocks will sandwich the side plates on the axle.
Assemble Drum
Slide one side plate onto the pipe, then one support block. Secure each block to the side plate with wood screws, countersinking the heads for a flush finish. Slide the hose around the completed drum to confirm smooth rotation, then attach the second support block and side plate mirror-style.
Assembling the Frame and Brackets
A robust frame connects your drum to the mounting brackets. Follow these steps:
Frame Rails
Cut two lengths of 2×6 to the desired width of your drum assembly—typically matching the drum diameter. These will serve as the top and bottom rails of the frame.
Vertical Supports
Cut two shorter 2×6 pieces to the depth needed for your hose’s diameter plus clearance. Attach these between the top and bottom rails to form a rectangular frame. Use exterior-grade wood glue and 3-inch screws for maximum strength.
Bracket Attachment
Position your L-brackets or metal wall-mount bracket on the top rail and mark drilling points. Pre-drill holes, then install the bracket hardware but leave bolts slightly loose to allow final alignment during wall mounting.
Mounting the Reel to the Wall
Securely anchoring your assembly ensures safe operation and longevity. Here’s the process:
Mark and Drill Anchor Points
Hold the assembled frame level against the wall and mark the bracket holes. Drill pilot holes into studs or install appropriate masonry anchors if mounting on brick or concrete.
Install Lag Bolts
Use ¼-inch x 3-inch lag bolts to fasten the bracket to the wall, tightening fully so the frame sits flush. Confirm the reel spins freely and adjust bracket alignment as necessary.
Attach the Reel Drum
Slide the metal axle pipe through the bracket arms, then mount the drum assembly onto the pipe. Secure end caps or retaining clips to prevent the drum from sliding off during use.
Installing the Swivel Mechanism
A swivel connector allows the hose to rotate without twisting, preserving hose integrity. Complete this step carefully:
Select a Swivel Fitting
Choose a brass or stainless-steel garden hose swivel connector rated for full water pressure. Avoid plastic models to reduce leak risk and increase durability.
Attach to Spigot
Thread the swivel connector onto your outdoor spigot, ensuring a tight seal with plumber’s tape. Tighten with an adjustable wrench without over-torquing.
Connect Hose to Drum
Thread the hose end onto the swivel fitting before wrapping it onto the drum. Test the swivel action by pulling and rotating the hose—rotation should be smooth and free of binding.
Finishing Touches and Maintenance Tips
With your garden hose reel holder in place, a few finishing touches will keep it functional for years:
Seal or Paint the Wood
Apply an exterior-grade wood sealant, stain, or paint to protect the frame from moisture and UV damage. Allow proper drying time according to manufacturer instructions.
Add Bumper Stops
Glue small rubber bumper stops inside the frame rails to cushion the drum and reduce vibration noise when rewinding the hose.
Routine Care
At the end of each season, drain any water from the hose and swivel fitting to prevent freezing damage. Lubricate the swivel connector annually with silicone grease for smooth operation. For more garden water management ideas, see our DIY rain barrel setup guide.
Conclusion
Building your own DIY garden hose reel holder is an achievable project that combines woodworking and basic metalwork. With careful planning, precise cuts, and secure mounting, you’ll enjoy hassle-free hose storage and a neat outdoor space. Don’t forget to seal your wood and maintain the swivel connector annually to prolong the life of your new reel. If you’d like a pre-made option, check out additional hose reel styles on Amazon here: swivel garden hose reel.