Creating your own gym gear for home workouts doesn’t have to break the bank. With a few basic tools and materials, you can craft high-quality resistance bands, sandbags, pulley systems, and more. Ready to save money and personalize your equipment? Grab a set of resistance bands and let’s get started.
Why Choose DIY Gym Gear for Home
Opting for DIY gym gear for home use offers multiple advantages. First, it’s budget-friendly: store-bought equipment can be expensive, whereas many materials for homemade tools cost a fraction of retail prices. Second, customization is key. You control resistance levels, handle dimensions, and overall design to match your workout style. Finally, the satisfaction of building your own workout tools adds extra motivation and ownership to your fitness routine.
Essential Materials and Tools
Gather these basic materials before you begin any DIY gym gear project:
- Durable webbing or seatbelt straps
- Heavy-duty carabiners and swivel hooks
- High-strength rope or paracord
- Sand or pea gravel
- PVC pipes or steel pipe segments
- Plywood or hardwood boards
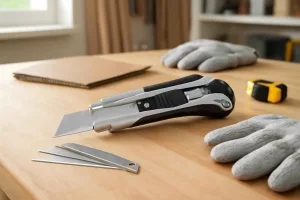
Recommended tools include: a tape measure, utility knife, drill with bits, sewing machine or needle and heavy-duty thread, and a staple gun. If you need a workspace upgrade, check out our guide on custom tool shadow board for neat organization.
Top 5 DIY Resistance Equipment Projects
Below are five detailed projects to kickstart your DIY gym gear for home setup.
1. Homemade Resistance Bands
Materials needed: high-quality stretch tubing, nylon webbing, carabiners.
- Cut the stretch tubing to desired lengths (10–50 inches for variable resistance).
- Sew the ends of the nylon webbing around each tube’s end, reinforcing with multiple stitches.
- Attach carabiners for easy handle and anchor changes.
Use these bands for rows, presses, and leg extensions. For advanced anchoring, install a simple wall hook using the steps in our DIY Smith Machine Attachment post.
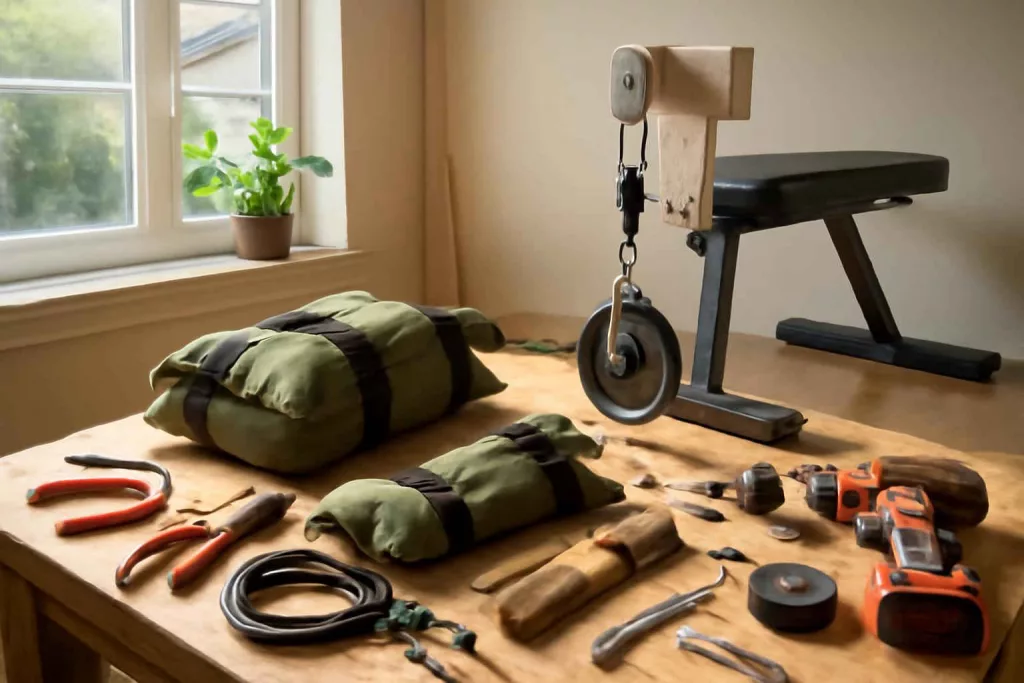
2. Sandbag Workout Tool
Materials needed: heavy-duty duffel bag or reinforced vinyl bag, inner lining bag, sand.
- Place a heavy-duty bag inside the outer shell to prevent wear.
- Fill the inner bag with sand or pea gravel until you achieve the target weight.
- Seal both bags and reinforce seams with a staple gun or stitching.
Sandbags allow dynamic lifts, carries, and throws. Adjust weight easily by adding or removing sand.
3. DIY Pulley System for Home Gym
Materials needed: single or double pulley, rope, mounting bracket, swivel hook.
- Install the mounting bracket on a sturdy ceiling joist or beam.
- Thread the rope through the pulley and attach a handle or carabiner.
- Secure the rope end to a weight plate or homemade sandbag.
This pulley system offers lat pulldowns, tricep pushes, and cable crossovers. Follow safety guidelines in our equipment organization guide to keep your setup tidy.
4. Parallettes for Bodyweight Exercises
Materials needed: PVC pipes (1.5–2″ diameter), elbow and T-joints, PVC cement.
- Cut four equal-length pipes for handles and four shorter legs.
- Assemble using elbow and T-joints, cementing each joint.
- Let cure for 24 hours before use.
Parallettes are perfect for push-ups, L-sits, and dips. They also double as push-up handles for better wrist alignment.
5. Adjustable Weight Vest Frame
Materials needed: sturdy backpack frame or tactical vest, sandbag inserts or weight pouches.
- Attach pouches or small inner bags filled with sand evenly across the vest.
- Ensure adjustable straps are secure for even weight distribution.
- Test fit and adjust for comfort.
A weight vest enhances bodyweight workouts like pull-ups, push-ups, and jogging in place. Check Amazon for quality pouches at weight vest pouches.
Assembly, Maintenance, and Safety Tips
When building gym gear for home workouts, follow these best practices:
- Inspect materials regularly for wear, cracking, or fraying.
- Reinforce seams and connections with extra stitching or metal fasteners.
- Clean equipment after intense workouts to prevent odor and bacteria.
- Keep a repair kit on hand with spare tubing, thread, and carabiners.
Storage and Organization Solutions
Proper storage extends the lifespan of your DIY gym gear for home. Use wall hooks for bands and ropes, sturdy shelves for sandbags, and a custom tool shadow board to hang small items neatly. Invest in clear bins for labeled hardware and keep your workout space clutter-free.
Conclusion
Building your own gym gear for home not only saves money but also gives you tailor-made tools to match your fitness goals. From resistance bands and sandbags to pulley systems and parallettes, these DIY projects enhance your workouts and empower you with new skills. Ready to level up? Download our printable materials list and get started today!