Regular upkeep of precision tools is essential for both safety and performance. If you own a digital torque wrench, ensuring it stays calibrated and well-maintained can drastically improve your fastening accuracy and extend the life of your tool. In this guide, we’ll dive into the step-by-step process for calibrating your digital torque wrench and share expert maintenance tips. Whether you’re an automotive enthusiast, a professional mechanic, or a dedicated DIYer, these practices will help you achieve consistent torque results every time.Find digital torque wrenches on Amazon to get started if you’re adding one to your workshop arsenal.
Why Regular Torque Wrench Maintenance Matters
Torque wrenches are precision instruments designed to apply a specific torque to a fastener such as a nut or bolt. When a digital torque wrench drifts out of calibration, it can deliver inaccurate torque readings, leading to under-tightening or over-tightening. Under-tightened fasteners risk loosening during operation, while over-tightened fasteners can strip threads or damage components. This makes regular maintenance a critical step for anyone relying on torque specifications—automotive repairs, machinery assembly, or structural installations.
Beyond accuracy, proper care protects your investment. High-quality digital torque wrenches can cost well over a hundred dollars. By following a maintenance routine, you reduce wear, prevent moisture and debris buildup, and safeguard internal electronics and load cells. Additionally, well-maintained tools adhere more closely to manufacturer specifications, which can be essential if you need to provide calibration certificates for professional or warranty purposes.
Like any precision device, your torque wrench benefits from a controlled environment. Keep it stored in its protective case away from extreme heat, moisture, or corrosive chemicals. Avoid dropping or exposing it to heavy vibrations. Simple preventive steps not only maintain calibration accuracy but also prolong the tool’s overall life.
Tools and Materials Needed for Calibration
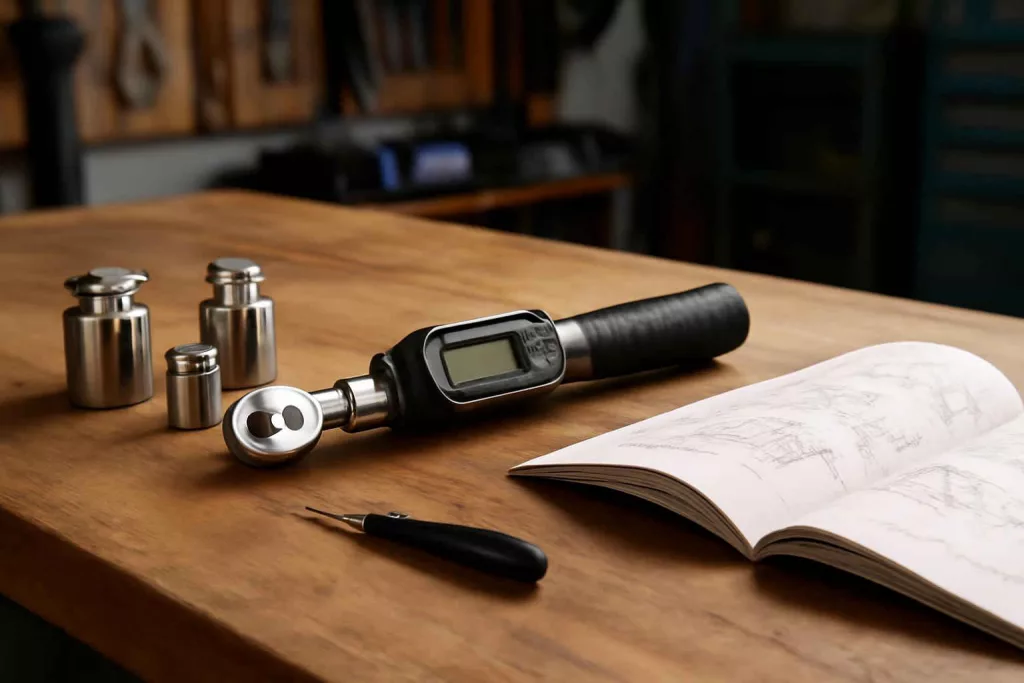
Before you begin calibration, gather everything you need to streamline the process and avoid interruptions. Here’s a list of recommended items:
- Calibration stand or fixed mounting bracket: Provides a stable reference point for torque application.
- Calibration weights or certified torque tester: Ensures accuracy when applying known torque values.
- Manufacturer’s manual: Contains specifications, acceptable tolerance ranges, and adjustment instructions.
- Soft cleaning cloth: Removes dust and debris without scratching the wrench.
- Light machine oil: Lubricates moving parts, especially the ratchet mechanism.
- Small flathead screwdriver or hex key: Used for zeroing and adjustment screws.
- Work gloves and safety glasses: Protect you when applying controlled torque during calibration.
Setting up a clean, well-lit workspace will reduce errors. Position your calibration stand on a sturdy bench, ensuring the wrench handle can move freely. If you don’t have a dedicated calibration stand, you can improvise with a vice that holds the shaft firmly without damaging it. Just make sure you have enough room to apply torque to the wrench head.
Step-by-Step Calibration Process
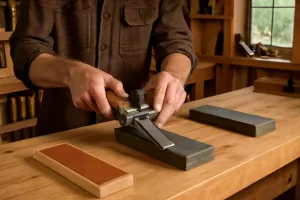
1. Inspect and Clean the Wrench
Start by inspecting the wrench body, display, and fastener interface. Wipe away dirt, oil, or metal shavings with a soft cloth. Pay special attention to the ratchet head and pivot points. Proper cleaning can prevent erratic readings caused by grit interfering with internal components. If you notice any damage or irregular wear, address those issues before proceeding.
2. Zero the Display
Power on your digital torque wrench and allow it to warm up for at least one minute. Most models let you zero the reading by holding a reset button or using an adjustment screw. Consult your manufacturer’s manual for precise instructions. A correctly zeroed display ensures that the wrench reads “0” before you start applying torque.
3. Secure the Wrench in the Stand
Place the wrench onto your calibration stand or fixed bracket. Ensure it’s locked firmly and aligned so the handle moves perpendicular to the base. This setup guarantees that applied weights or torque testers exert pure rotational force without side loading.
4. Apply Known Torque Values
Using certified calibration weights or a torque tester, apply a torque value within the wrench’s operating range—typically at 20%, 60%, and 100% of its maximum capacity. Slowly pull or turn the wrench handle until the device signals that you’ve reached the target torque (visual or audible beep). Compare the displayed reading against the known value.
5. Adjust Calibration Settings
If there’s a discrepancy, adjust the calibration screw or use the digital interface to correct the reading. Manufacturers generally allow small adjustments in tenths of a percent. After each adjustment, re-test with your weights or tester until the readings match within the specified tolerance (often ±2%).
6. Repeat for Accuracy
Perform at least three tests at each calibration point to confirm consistency. Document all readings in a logbook or digital record. Retaining this documentation can be invaluable for warranty claims or professional audits.
Routine Maintenance Tips to Extend Life
Beyond calibration, routine maintenance tasks keep your torque wrench operating smoothly:
- Lubrication: Every three months, apply a drop of light machine oil to the ratchet mechanism. Cycle the ratchet back and forth to distribute lubricant evenly.
- Battery Check: Digital models rely on reliable power. Replace batteries at least once a year or when low-battery warnings appear.
- Inspection: Visually inspect the scale window and head for cracks or damage. Replace worn O-rings or seals to prevent moisture ingress.
- Storage: Always store the wrench at its lowest torque setting to relieve spring tension. Use the original case or a padded draw organizer in your toolbox.
- Environmental Control: Avoid exposing the wrench to temperatures below 32°F or above 120°F. Condensation can impair electronic components.
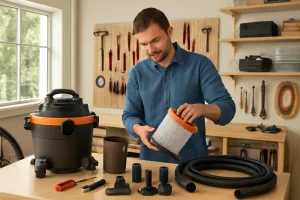
Alongside these tasks, consider refreshing your knowledge on general tool upkeep. For example, you can learn how to clean and maintain your shop vacuum to keep your work area dust-free. Proper workshop hygiene reduces debris that can damage precision instruments.
Common Calibration Mistakes and How to Avoid Them
Even experienced users can fall into pitfalls during torque wrench calibration. Watch out for these frequent errors:
- Rushing the Zeroing Step: Skipping the warm-up and zeroing process leads to baseline errors. Always wait for the display to stabilize.
- Improper Mounting Angle: Side loads or misaligned setups can produce false readings. Ensure your wrench moves in a single plane.
- Using Incorrect Weights: Non-certified weights lack the precision required for accurate calibration. Invest in calibration-grade tools or outsource to a service.
- Over-Tightening Calibration Points: Applying torque beyond the tool’s limit can throw off calibration permanently. Stay within the manufacturer’s recommended range.
- Ignoring Manufacturer Tolerances: Each wrench has its acceptable variance. Trying to calibrate more precisely than allowed can damage internal components.
By understanding these mistakes, you minimize calibration errors and prolong your wrench’s accuracy. Remember that precision calibration is a patient process—never rush through any step.
When to Seek Professional Calibration Services
While DIY calibration works for most hobbyists and small shops, there are scenarios where professional services are preferred. Consider outsourcing calibration if:
- Accuracy Certification is Required: Professional calibrations come with traceable certificates recognized by industry standards, essential for compliance in automotive or aerospace applications.
- Your Wrench Shows Mechanical Damage: If the torque wrench head or body has significant dents, cracks, or worn components, a certified technician can assess and replace parts safely.
- Annual Calibration Mandate: Some employers or regulatory bodies require annual calibrations performed by accredited laboratories.
- Your Tool Exceeds DIY Range: High-capacity torque wrenches often require larger calibration rigs than typical garage setups can provide.
- Warranty or Service Plan Stipulations: Certain manufacturers void warranties if calibrations aren’t performed by authorized centers.
Professional calibration services cost more than DIY methods but guarantee adherence to precise industry standards. Use online searches or local tool service centers to find accredited calibration labs near you.
Conclusion
Accurate torque application is crucial for mechanical integrity, safety, and the longevity of your projects. By following this detailed guide on digital torque wrench maintenance and calibration, you’ll ensure consistent performance and extend the useful life of your tool. Remember to keep a regular maintenance schedule, record calibration data, and store your wrench under proper conditions. Should you need additional specialized services, professional calibration labs can provide certified results. For those looking to upgrade or replace your torque wrench, explore the latest models here: torque wrench sets on Amazon.
Consistent care goes a long way—add this maintenance routine to your workshop practices, and you’ll enjoy reliable torque accuracy year after year.