Accurate table saw setup is essential for achieving precise, clean cuts on every woodworking project. Whether you’re building custom cabinets, crafting furniture, or tackling home improvement tasks, a properly calibrated table saw ensures both safety and professional results. In this guide, we’ll walk through the tools you need, detailed alignment steps, advanced tuning tips, and a routine maintenance schedule that will keep your saw performing at its best. Plus, you’ll find recommendations for must-have alignment kits and accessories to streamline the process.
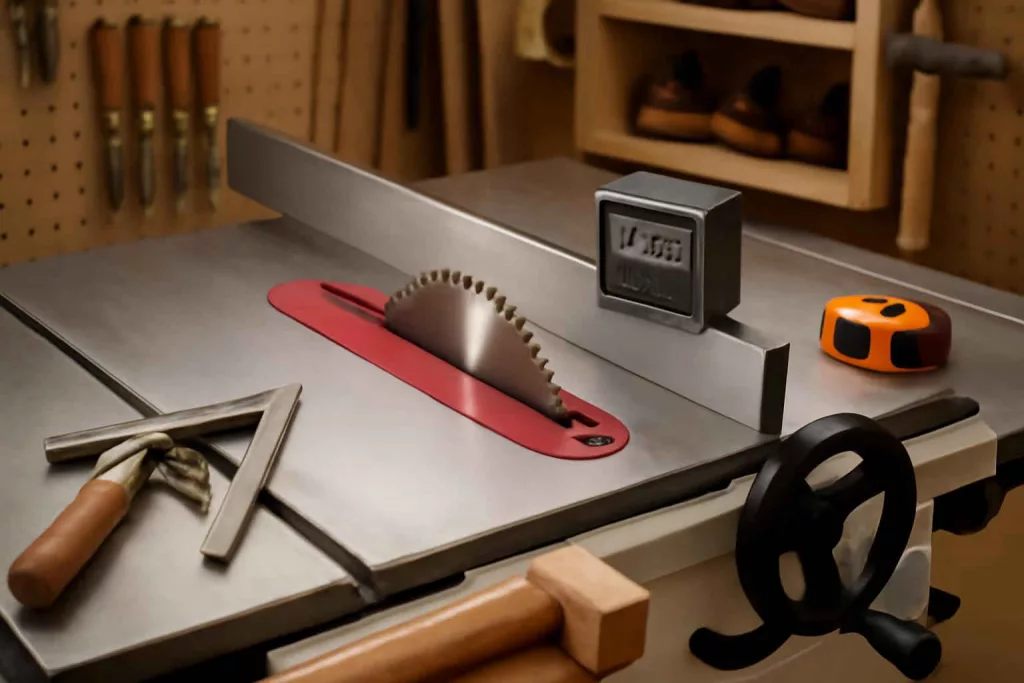
Before you begin, gather a quality table saw alignment kit. This kit typically includes a combination square, precision blade gauge, and digital angle tool to verify and adjust both blade and fence alignment. Having these specialized tools on hand will significantly reduce guesswork and help you dial in your saw for perfection.
Why Table Saw Calibration Matters
When your table saw is out of alignment, you risk inaccurate cuts, tear-out on wood edges, and binding that can lead to dangerous kickbacks. Even a fraction of a degree off will result in joints that don’t fit, edges that are uneven, and an increased need for sanding or rework. Proper calibration not only enhances the quality of your work but also extends the life of the blade and motor by reducing undue strain.
Regular calibration is especially crucial if you frequently change blades for crosscutting, ripping, or specialty cuts. Each blade type and thickness can reveal different alignment flaws. By following a consistent maintenance routine, you’ll save time in the long run and avoid material waste.
Essential Tools for Precise Alignment
Blade Alignment Tools
To align the blade accurately, you need a reliable blade alignment gauge or a dial indicator mounted to a trunnion. The gauge rests against the blade teeth and reads runout as you rotate the blade by hand. Look for kits that include a magnetic base to secure the dial indicator, ensuring repeatable measurements. A high-quality blade gauge helps you spot wobble or misalignment before it becomes a project-ruining issue.
Rip Fence Alignment Tools
The rip fence must be parallel to the blade to prevent binding and ensure straight rip cuts. A precision straightedge—at least 48 inches long—works well when used in conjunction with a good combination square. For more convenience, consider a rip fence alignment tool that locks onto the blade shaft and measures distance at the front and back of the blade as you slide the fence. This method yields quick, accurate fence adjustments.
Additional Accessories
Other helpful accessories include a digital angle gauge for setting blade tilt, a table flatness gauge or level to check the table surface, and a trunnion adjustment tool specific to your saw model. If you plan to work with fine joinery, investing in a micro-adjustable fence stop or miter gauge also pays dividends once your primary calibrations are complete.
Step-by-Step Calibration Process
1. Checking and Aligning the Blade
Start by unplugging the saw and removing the blade guard and throat plate. Rotate the blade by hand to verify it spins freely. Attach a dial indicator or blade alignment gauge so the probe rests on a tooth near the blade’s edge. Note the runout at multiple positions by rotating the blade slowly. If runout exceeds 0.005 inches, you’ll need to adjust the arbor or flange washers.
Next, check that the blade is parallel to the miter slot. Attach your straightedge in the miter slot and bring it alongside the blade. Use feeler gauges or a digital caliper to measure the gap at the front and back of the blade. Loosen the blade mounting bolts slightly and shift it until the gap measurements match. Tighten the bolts and recheck.
2. Aligning the Rip Fence
With the blade set, it’s time to align the rip fence. Position your straightedge in the miter slot and slide it up against the fence. Measure the gap along the length. If the fence tilts toward the blade at the rear, adjust the fence rails or mounting bolts accordingly. For T-square fences, loosen the locking handle, square up against the blade, then retighten slowly to maintain alignment. Always re-verify with your straightedge.
3. Adjusting the Miter Gauge
A misaligned miter gauge groove can compromise crosscut accuracy. Slide the miter gauge into the slot and set it to 90 degrees. Use your combination square to check the blade’s angle relative to the gauge. If it’s off by more than a few minutes of arc, adjust the gauge’s stop or shim the mounting surface as per the manufacturer’s instructions. Crosscut a test piece and measure the angle with a digital protractor to confirm.
4. Checking Table Flatness and Level
Even a slight dip or wobble in the table surface affects long cuts. Run a 48-inch straightedge over the table surface in multiple directions, checking for light passing under at any point. Minor high spots can be shaved with a file or surface planer if your cast aluminum table is serviceable. If the table is off-level, adjust the saw’s feet or shims until the surface registers level in both directions.
Advanced Tuning Tips
Trunnion Adjustment
The trunnion assembly controls blade height and tilt. Over time, pivot bolts can wear, causing slop. Disassemble the trunnions and inspect for worn bushings, washers, or bolts. Replace components or use shims to eliminate play. A tight trunnion ensures the blade moves smoothly without binding across the adjuster mechanisms.
Reducing Blade Vibration
Blade vibration leads to rough cuts and increased dust. Ensure your arbor nut is clean and free of debris before seating the blade. Use a single-finetooth or high hook blade for the material to reduce cutting resistance. Anti-vibration blade sharpeners can also help minimize runout. For heavy-duty cuts, choose a blade with stabilizer vents or dampening slots.
Maintaining Motor Belt Tension
A slipping or loose belt affects RPM consistency. Periodically check belt condition: look for glazing or cracks. Use a belt tension gauge to verify proper tension as recommended in your saw’s manual. Replace belts that show wear. Proper tension ensures smooth power transfer and consistent blade speed under load.
Routine Maintenance Schedule
Keeping your table saw calibrated is an ongoing process. Here’s a suggested schedule:
- Before each use: Inspect blade for damage, check arbor nut, confirm fence locks securely
- Monthly: Verify blade and fence parallelism, check table level, clean dust from trunnion slots
- Quarterly: Inspect motor belt and replace if needed, lubricate moving parts, test miter gauge accuracy
- Yearly: Fully disassemble trunnions for inspection, check arbor bearings, perform a full calibration cycle
For ongoing maintenance of related power tools, see our guide on how to extend the life of power tool batteries and our recommendations for dust extractors guide to keep your workspace safe and efficient.
Troubleshooting Common Issues
Blade Wander or Drift
If your rip cuts veer away from the fence, re-check the fence alignment and replace worn fence gears or rails. A faulty fence lock can also allow movement under pressure.
Uneven Depth of Cut
This often signals a tilted blade or uneven table. Re-align the blade tilt using your digital angle gauge and re-level the table surface.
Excessive Tear-Out
Try using a higher TPI blade or adding zero-clearance inserts to support the workpiece. Confirm the blade is sharp and properly aligned to minimize splintering.
Conclusion
Mastering table saw calibration delivers cleaner cuts, greater safety, and more professional results in every project. By following this detailed guide—investing in quality alignment tools, performing routine checks, and addressing advanced adjustments—you’ll maintain the accuracy and longevity of your saw. Ready to upgrade your toolkit? Consider adding a comprehensive digital angle gauge or a precision blade alignment kit to your workshop today and experience the difference precision makes.


