Creating a dedicated space for your boxing gear at home can transform your training routine from sporadic sessions into a consistent fitness habit. Whether you have a spare garage corner or an unused basement nook, crafting a DIY heavy bag stand and custom equipment storage ensures your boxing gear is always ready to go. This guide covers planning, construction, organization, and maintenance, using common power tools and storage ideas proven in portable workshop layouts to keep your training area neat and efficient from day one.
Planning Your Home Boxing Setup
Before picking up a drill, it’s crucial to map out exactly where your boxing setup will live. Start by measuring your available space and visualizing the flow of movement during a training session. Factor in the diameter of your heavy bag plus several feet of clearance on all sides to allow unrestricted punching and kicking. Next, evaluate load-bearing surfaces: a concrete floor or a sturdy wooden beam overhead can support a mounted bag, while a DIY stand requires a level surface to prevent tipping.
Choosing the Right Location
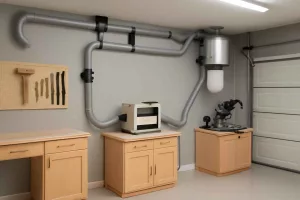
Select a spot with sufficient height—ideally at least 8 feet—to accommodate your bag without it scraping the floor. Garages and basements often make excellent training spaces, as long as humidity and temperature fluctuations are managed. Consider installing a dehumidifier or portable fan to maintain optimal conditions for both you and your gear. Placement near an outlet is a bonus if you plan to integrate lighting or a sound system.
Assessing Space and Load Capacity
If you plan to mount a heavy bag directly to the ceiling, locate a load-bearing beam and use a stud finder. For suspended setups, lag bolts and a heavy-duty chain or swivel hook will distribute weight safely. Alternatively, a free-standing frame eliminates the need for structural attachments but must be constructed from robust materials to handle the dynamic forces of boxing. Estimate the bag weight—usually between 70 and 100 pounds—and add a safety buffer of 20–30% when choosing hardware.
Building a DIY Heavy Bag Stand
A custom heavy bag stand gives flexibility without altering your home’s structure. By sourcing lumber, steel tubing, or unified hardware fittings, you can craft a stand that fits your style and space. Incorporating power tools you already own—like your corded wet/dry vacuum to clear debris during assembly—makes the process smoother and more professional.
Materials and Tools Needed
- Six 2×6 pressure-treated lumber pieces (8 feet long)
- Steel tubing or pipe (1″ diameter, cut to design specs)
- Heavy-duty eye bolt and swivel hook rated for 150+ pounds
- Lag bolts, washers, and lock nuts
- Power drill, impact driver, and angle grinder
- Level, measuring tape, and pencil
- Rubber or foam padding for base stability
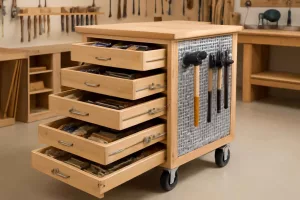
Protective gear like gloves and safety glasses are essential when operating power tools. Ensure your steel pegboard and bench space are organized before you start to avoid misplacing small hardware. This approach borrows from workshop best practices to keep workflow efficient.
Step-by-Step Construction Guide
- Cut all lumber to length, sanding edges to remove splinters.
- Assemble a rectangular base by securing the 2x6s in a box shape with lag bolts. Add cross-braces for rigidity.
- Attach vertical uprights at each corner or two central points, ensuring they stand perfectly plumb.
- Connect the top crossbar using steel tubing or reinforced lumber; secure with metal brackets for additional support.
- Drill pilot holes into the tubing or crossbar, then install the eye bolt and swivel hook.
- Apply rubber padding to the base to prevent sliding and protect your floor.
- Hang the heavy bag and test the stand’s stability by applying gradual weight before throwing punches.
With these steps, you’ll have a sturdy, cost-effective heavy bag stand ready for rigorous training sessions. If you’re curious about workspace air quality, consider building a DIY portable HEPA filter box to keep dust at bay while assembling and maintaining your boxing space.
Organizing Your Boxing Equipment
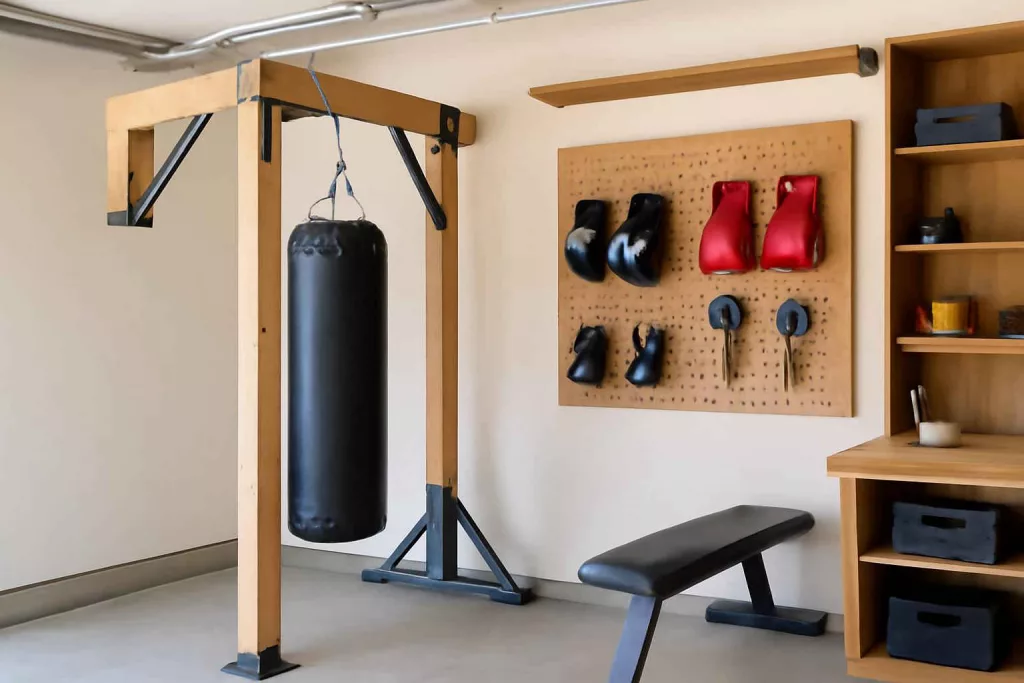
A well-organized training area promotes efficiency and prolongs the life of your gear. Using vertical space and wall-mounted solutions maximizes floor clearance and keeps equipment visible at a glance. Pegboards, shelving, and custom racks turn walls into functional storage, just like professional workshops.
Pegboard Storage Solutions
Installing a heavy-duty pegboard allows you to hang gloves, headgear, jump ropes, and resistance bands in clear view. Use specialized hooks designed for sports equipment—these often feature rubberized coatings to protect items. Arrange items by frequency of use, placing daily essentials like boxing gloves at eye level and less-used accessories higher up.
Custom Shelving and Racks
Open shelving units made from metal or reinforced wood hold wraps, hand protection, and medicine balls. Adding labeled bins or baskets keeps smaller items sorted and prevents clutter. Incorporate a small bench or stool nearby for wrapping hands before training sessions. This approach mirrors workshop tool storage systems, where each tool has a designated slot for easy access and accountability.
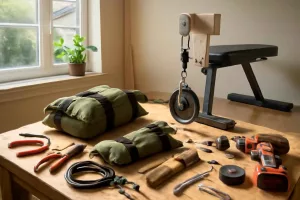
Essential Boxing Accessories and Where to Place Them
Beyond the heavy bag, several accessories elevate your boxing workouts. Identifying the best spot for each item reduces interruptions during training and keeps your space inviting.
Gloves and Wraps
Hang gloves on pegboard hooks or store them in bin-style shelves below your bag stand. Hand wraps can roll up neatly and sit in clear jars or mesh baskets atop shelving. Keep a small table or bench close by for quick changes, and avoid leaving wraps on the floor where they can collect dust or moisture.
Protective Gear and First Aid
Store shin guards, headgear, and mouthguards in labeled containers. Mount a small first aid cabinet on the wall near your setup, stocked with athletic tape, antiseptic wipes, and ice packs. Quick access to first aid materials ensures safety and peace of mind during intense workouts.
Maintenance and Safety Tips
Regular maintenance keeps both you and your equipment safe. Scheduled inspections and cleaning routines prevent wear-related accidents and prolong the lifespan of your gear.
Inspecting the Stand and Gear
Every month, check all bolts and hardware on your heavy bag stand for tightness. Look for fraying on bag straps and ropes, and inspect gloves for splitting seams or padding compression. Address minor issues promptly—replace worn straps or reinforce brackets—to avoid sudden failures during training sessions.
Cleaning and Upkeep
Sweat and chalk residue can degrade materials over time. Wipe down your bag with a damp cloth and mild detergent, and sanitize gloves and wraps with a sports gear disinfectant. Allow equipment to air dry fully in a ventilated area. Consider using a HEPA filter during cleaning to capture airborne particles and maintain air quality.
Incorporating Home Tools for Enhanced Functionality
Leverage tools and gadgets you already own to make your boxing area more versatile. From power tools used in construction to smart devices that automate lighting and sound, integrating home tech elevates your training environment.
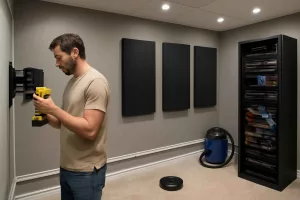
Using Power Tools for Custom Modifications
Attach accessory mounts directly to the heavy bag stand using an impact driver or drill. Create side hooks for resistance bands or a pull-up bar attachment with an angle grinder and metal tubing. These custom modifications keep your workout dynamic and can be disassembled when repurposing the stand for other uses.
Integrating Smart Home Devices for Lighting and Sound
Install smart LED strip lighting around your workout zone to maintain motivation during early mornings or late evenings. Pair a Bluetooth speaker with wall mounts to play training playlists without cluttering your floor space. Sync lights and music with a voice assistant or mobile app, creating an immersive atmosphere that keeps you focused.
Conclusion
Setting up a dedicated boxing space at home doesn’t require expensive equipment or a specialized contractor. By planning your layout, building a sturdy DIY heavy bag stand, and organizing your boxing gear with workshop-inspired storage solutions, you’ll create an efficient and motivating training environment. Regular maintenance and clever integration of power tools and smart devices ensure your setup remains safe, clean, and ready for every session. Get started today and experience the confidence and convenience of having your very own boxing gym at home. For more tips on workshop organization and tool guides, explore our workshop setup articles or check out boxing gloves to round out your equipment.