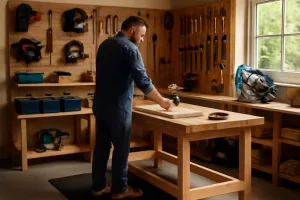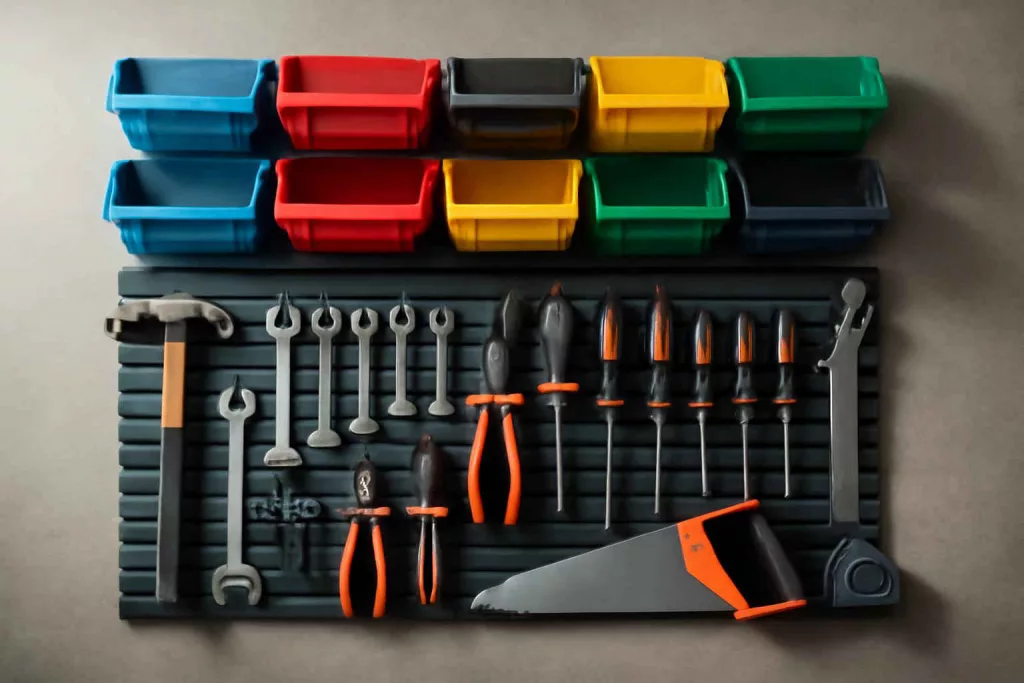
Creating an efficient and organized workshop starts with smart storage solutions. A modular wall-mounted tool organizer maximizes your workspace by keeping frequently used tools within arm’s reach, while freeing up valuable bench and floor space. Whether you’re a weekend DIYer or a weekend warrior tackling major renovations, this guide will walk you through planning, building, and customizing your own system.
Looking for high-quality storage bins to get started? Check out these durable modular storage bins on Amazon for versatile organization options. Pair them with heavy-duty rails to create a robust framework that adapts as your tool collection grows.
Planning Your Wall-Mounted Modular Tool Organizer
Assess Your Workspace and Tool Needs
Before you begin drilling holes, take stock of your workshop and tool inventory. Measure the wall area available for mounting your organizer. Consider factors such as:
- Height and width of the wall surface
- Stud spacing and wall material (drywall, plywood, concrete)
- Types of tools you use most often (hand tools, power tool accessories, fasteners)
- Weight capacity requirements for heavy items
For instance, if you regularly use hand tools like hammers, screwdrivers, and pliers, you’ll want bins and hooks positioned within easy reach. Larger power tool accessories or bulk fasteners can go in higher or lower compartments. Having a clear plan ensures you buy the right number of rails, brackets, and bins to match your needs.
Choosing the Right Materials and Bins
Your modular organizer’s backbone consists of mounting rails and support brackets. Look for heavy-duty galvanized steel or powder-coated aluminum rails rated for at least 50 pounds per linear foot. Combine these with sturdy plastic or metal bins that lock securely onto the rails.
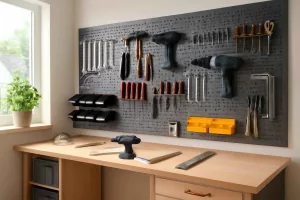
If you prefer a customizable solution, consider an industry-standard rail system compatible with accessories. You can also integrate hooks and magnetic tool holders. Browse options in our pegboard systems guide for inspiration on pairing rails with hooks and panels.
Popular bin choices include clear plastic bins for visibility or colored bins for quick identification. Make sure bins have front flaps or labels for easy access to contents without unhooking them. Note the bin dimensions and weight limits to avoid overloading.
Gathering Tools and Supplies
With plans in place, assemble the necessary tools and supplies:
- Mounting rails (steel or aluminum)
- Support brackets and hardware (lag bolts, anchors)
- Modular bins and hooks
- Stud finder
- Level and measuring tape
- Power drill with driver bits
- Safety equipment (glasses, gloves)
Having everything ready saves time and ensures a smooth installation process. Double-check you have appropriate anchors for concrete or drywall-only installations if you can’t hit studs.
Step-by-Step Build Instructions
Measuring and Marking the Wall
First, locate wall studs using a stud finder. Mark the stud centers at the desired rail height. Use a level to draw a straight horizontal line across the wall where the top of the rails will sit. This line guarantees your rails remain perfectly level throughout installation.
Next, measure and mark the horizontal spacing for each rail section. Typical rail lengths range from 24 to 48 inches. Keep spacing consistent so bins can be evenly distributed. Mark pilot hole positions 16 inches apart (stud centers) and verify measurements twice to avoid mistakes.
Installing the Mounting Rails
With pilot marks in place, drill ⅛-inch pilot holes through the rail’s mounting slots into the wall studs. Attach the rail using 3-inch lag bolts, tightening each until snug against the wall. Confirm the rail remains level as you work along its length. For drywall or concrete, use appropriate anchors rated for the expected load.
If your setup uses interlocking rail sections, slide the next piece into place before fully tightening the bolts on the first section. Secure each continuous span, maintaining level alignment. Splice brackets or rail connectors can reinforce longer runs over 6 feet.
Attaching the Modular Bins
Begin adding bins by hooking or sliding them onto the rails according to manufacturer instructions. Test each bin by applying downward pressure to ensure it locks properly. Arrange bins by size: small bins for screws, nails, and fasteners, medium bins for drill bits and blades, and large bins for bulk supplies.
Mix in accessory hooks and specialized holders for wrenches, tape measures, and power tool chargers. This combination of bins and hooks creates a highly versatile organizer that adapts to different projects. For more ideas on accessory integration, check our modular tool drawer inserts guide.
Customizing and Organizing Your Tools
Labeling and Color-Coding
Once all bins and hooks are installed, implement a labeling system. Use a label maker or pre-printed adhesive labels on the front of each bin. Group similar items together and apply color-coded labels—red for fasteners, blue for abrasives, green for electrical supplies. This visual cue accelerates tool retrieval and return.
For handheld tools like pliers, screwdrivers, and wrenches, consider colored heat-shrink tubing or handle wraps. This simple touch ensures that tools always go back to their designated spot, maintaining the organizer’s neat appearance.
Rotating and Reconfiguring Bins
The real advantage of a modular system is flexibility. As your tool collection grows or project demands shift, simply unhook bins and move them to new positions. For instance, rotate bulk-storage bins lower to reduce strain when lifting heavy items. Or cluster sanding discs and polishing pads in one area when preparing for finish work.
Document your preferred layout on paper or take a photo after each reconfiguration. This reference becomes invaluable when you decide to switch projects or re-balance storage weight across rails.
Incorporating Tool Holders and Hooks
Enhance your organizer’s functionality by adding tool holders, magnetic strips, and specialty hooks. Magnetic tool holders secure metal bits and blades, while shaped hooks hold hammers, levels, and saws. Hand saw racks, tape holder hooks, and utility knife mounts can also integrate seamlessly with the rail system.
Look for combinations like magnetic striker bars paired with bins of fasteners, so you can pick up dropped screws without bending over. Specialty holders keep power tool batteries charging in view but out of the way, preserving bench space. These small upgrades transform basic rails into a fully custom storage solution.
Maintenance and Upgrades
Keeping Your Organizer Clean and Rust-Free
To maintain peak performance, clean bins and rails periodically. Remove all contents and wipe down surfaces with a damp cloth. Dry thoroughly to prevent rust formation. For steel rails, apply a thin coat of multipurpose lubricant or rust inhibitor to mounting surfaces at least twice a year.
Inspect hooks and bin clips for wear or bending. Replace any accessories that no longer grip securely. If you notice cracked plastic bins, swap them out before they fail under load.
Expanding Your System
If you outgrow your initial installation, simply add rail sections to adjacent wall space. Plan for expansion by leaving empty studs to anchor future rails. You can also stack two rows of rails vertically—one for heavy items at the bottom, one for lighter supplies at eye level.
For corner workspaces, install angled rail connectors or corner brackets to carry rails around the room corner. This continuous loop maximizes every inch of wall space without sacrificing accessibility.
Integrating with Other Storage Solutions
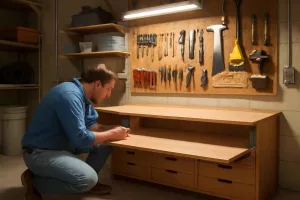
Combine your modular organizer with additional setups for a complete workshop system. Wall-mounted cabinets, shelving units, and workbenches with integrated drawers complement the modular bin system. For example, mount a small shelf above the rails for quick-grab items like sandpaper packs and cleaning supplies.
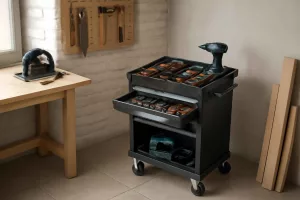
Pair this organizer with a DIY rolling tool chest to move heavy tools to different areas of your garage or workshop. The combination of mobile storage and wall-mounted modular bins ensures that both large and small tools have a dedicated home.
Conclusion
A DIY modular wall-mounted tool organizer transforms cluttered walls into highly efficient storage hubs. By planning your layout, choosing quality materials, and customizing bins and hooks, you create a system that grows with your tool collection. Regular maintenance, strategic labeling, and future expansions keep your workspace optimized for any project.
Ready to build your own? Start gathering materials today and enjoy the freedom of a personalized, out-of-the-way tool storage solution.
For more inspiration on workshop storage, explore our pegboard systems and modular inserts guides. And if you need heavy-duty bins, check out the industrial storage bins on Amazon to kick off your project with confidence.