Creating a sustainable garden composting system has never been easier with these detailed DIY pallet compost bin plans. By repurposing wooden pallets, you can build a functional, cost-effective compost bin that turns kitchen scraps and yard waste into rich soil amendments for your garden beds. In this guide, we’ll walk you through every stage—from selecting materials to troubleshooting common composting issues—so you can enjoy healthy, organic compost all year round. For a quick way to get started, consider picking up a ready-made compost bin on Amazon: best compost bins.
Why Choose a Pallet Compost Bin?
Using pallets for your compost bin offers unique benefits. First, wooden pallets are widely available for free or at minimal cost from local warehouses, hardware stores, or online marketplaces. When you follow these DIY pallet compost bin plans, you’re not only saving money but also giving new life to materials that might otherwise become waste. The natural gaps between pallet slats provide excellent airflow, which is essential for aerobic composting. A well-ventilated pile breaks down organic matter faster and reduces unpleasant odors.
Benefits of Using Pallets for Composting
Pallet wood is sturdy and durable, able to withstand fluctuating weather conditions in your backyard. Unlike plastic bins, a pallet compost bin can be easily expanded or modified to suit your needs. For more ways to organize outdoor gear alongside your compost system, check out our guide on garden storage boxes for a tidy workspace.
Cost-Effectiveness and Sustainability
When you choose pallet wood, you’re reducing the demand for new lumber and keeping wood out of landfills. Combined with free kitchen scraps and yard trimmings, this makes composting one of the most budget-friendly garden practices. Recycling pallets aligns perfectly with eco-friendly gardening methods and a zero-waste lifestyle.
Planning Your Pallet Compost Bin Project
Selecting the Right Materials
Before starting your DIY pallet compost bin, gather materials: three to four sturdy wooden pallets of similar size, galvanized screws or nails, a hammer, a saw, and protective gloves. Ensure pallets are untreated and free of chemical stains—look for the “HT” stamp indicating heat-treated wood. Secondary materials like a hinge for a lid and a latch for the front panel can improve functionality, making it easier to turn or remove compost.
Choosing the Perfect Location
Select a level, well-drained spot in your garden, ideally near a water source and away from direct foot traffic. Good drainage prevents waterlogging, while accessibility helps you add materials and aerate the pile regularly. Position your bin in partial shade to maintain consistent moisture and temperature—trees can provide natural shelter without depriving the pile of sunlight.
Understanding Composting Basics
Effective composting depends on balancing “green” nitrogen-rich materials (fruit and vegetable scraps, grass clippings, coffee grounds) with “brown” carbon-rich materials (dry leaves, straw, shredded cardboard). Aim for a ratio close to 2:1 by volume (browns to greens) to keep decomposition active. Maintaining moisture similar to a damp sponge and turning the pile every week accelerates breakdown, producing compost in as little as two to three months.
Step-by-Step Build Instructions
Preparing the Pallets
Inspect each pallet for loose boards or protruding nails, then sand rough edges to reduce splinters. Remove one board from one pallet’s front side to create a door panel—this allows easy access to finished compost. Label this pallet “front panel” in your DIY pallet compost bin plans so you don’t mix it up during assembly.
Assembling the Bin Frame
Stand three pallets upright in a U-shape, with the open sides of the U facing you. Secure adjacent corners by drilling screws or hammering nails through overlapped boards. For extra stability, drive stakes or metal brackets into the ground at each corner. Make sure the structure is square by measuring diagonals and adjusting before fully tightening fasteners.
Adding a Removable Front Panel
Attach the pallet you prepped as a door panel using hinges at the bottom. Install a simple latch or hook at the top to keep it in place. This removable front makes it easy to harvest finished compost without disturbing the active pile above. If you prefer, you can also build the door to swing outward.
Securing the Structure and Adding Lids
Place two additional pallets on top as lids or create custom boards cut to size. Hinged lids protect your compost from excess rain and pests while allowing sunlight and airflow. Line the inside of the lid with fine hardware cloth to prevent rodents. Consider adding a thermometer probe to monitor internal temperatures for optimal decomposition.
Tips for Effective Composting
Balancing Green and Brown Materials
Always add kitchen scraps at the center of the pile, covered by a layer of brown materials to prevent flies and odors. Chop or shred large items for faster breakdown. To accelerate the process, introduce a handful of finished compost or garden soil, which contains beneficial microbes.
Maintaining the Right Moisture Level
Your compost should feel like a damp sponge—too dry, and decomposition slows; too wet, and anaerobic bacteria take over, causing smells. Use a garden hose to lightly water dry patches, and add more browns if the pile becomes soggy after heavy rain.
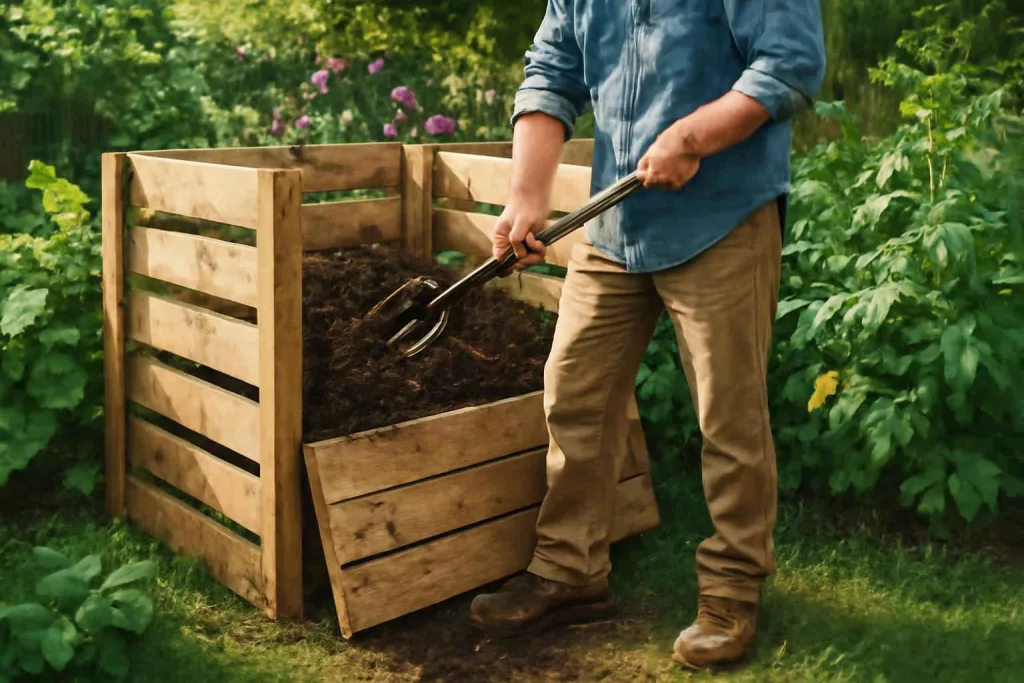
Turning and Ventilating Your Compost
Use a pitchfork or compost aerator to mix materials weekly. This reintroduces oxygen and distributes moisture and heat evenly. A well-turned pile can reach temperatures between 135°F and 160°F, killing weed seeds and pathogens for safe, nutrient-rich compost.
Maintenance and Troubleshooting
Preventing Pests and Odors
If fruit flies or rodents become an issue, add more browns to cover fresh greens thoroughly. Weigh down lids or secure wire mesh over openings. Avoid adding meat, dairy, or oily foods, as these attract unwanted visitors and slow the composting process.
Repairing and Reinforcing the Bin
Outdoor elements eventually weather pallet boards. Inspect the structure every season and replace damaged boards with reclaimed wood or new pallet slats. Tighten loose screws and re-secure corners. Regular maintenance ensures your DIY pallet compost bin remains functional for years.
Alternative Compost Bin Upgrades
Adding a Thermometer and Thermostat
Embedding a compost thermometer into the design lets you track internal temperatures accurately. If you’re serious about hot composting, a thermostat-controlled heating cable can maintain ideal temperatures in cooler climates, speeding decomposition year-round.
Installing a Compost Tumbler System
If you prefer a rotating design, attach a metal rod through the center of your pallet bin and mount it on sturdy supports. A DIY pallet compost bin plans tutorial can be adapted into a tumbler-style composter, combining the benefits of both worlds—easy turning and ample capacity.
Conclusion
Building a DIY pallet compost bin is an accessible, eco-friendly project that transforms waste into valuable garden compost. By following these pallet compost bin plans, balancing green and brown materials, and maintaining proper moisture and aeration, you’ll create nutrient-rich soil to boost plant health and productivity. Ready to enhance your composting experience? For specialized compost tumblers, check out this compost tumbler selection and start optimizing your organic gardening journey today!