Creating a DIY rolling tool cart with power strip transforms your workshop into a mobile, organized workspace. By combining sturdy casters, a retractable power strip, and ample storage, you can move your essential tools and power source wherever you work. Early in your build, consider high-quality components: for example, heavy-duty swivel casters available on Amazon here ensure smooth movement even under load. Integrating a retractable power strip not only keeps cords tidy but also brings power directly to tools without tripping hazards. You can find a variety of retractable power strips on Amazon here.
This guide covers every step: from planning and material selection to assembly, wiring, and finishing touches. Whether you’re a seasoned DIY enthusiast or setting up your first workshop, these instructions will help you create a versatile workshop cart that enhances productivity and safety. Be sure to explore our Workshop Setup & Tool Storage resources for additional tips on optimizing your workspace.
Planning Your DIY Rolling Tool Cart with Power Strip
Every successful project begins with careful planning. For a rolling tool cart with integrated power, you’ll need to determine dimensions, weight capacity, and power requirements. First, measure the footprint of your workspace and the maximum size that can navigate doorways and tight aisles. Standard carts range from 24″ to 36″ in width and 18″ to 24″ in depth. Consider the height of your bench and tool cabinets to ensure the cart aligns with your ergonomic needs.
Select materials that balance strength and weight. Plywood or MDF combined with hardwood framing can support heavy loads while remaining reasonably light. For professional-grade durability, consider using ¾” birch plywood for shelves and 2×4 lumber for the frame. If moisture is a concern, opt for exterior-grade plywood or treated lumber.
Choosing the Right Materials
Material selection impacts cost, weight, and longevity. Plywood offers a smooth finish and easy drilling, while hardwood framing provides solid support. Reinforced metal brackets at stress points can prevent sagging over time. For a budget-friendly build, pine studs and standard plywood work well, though they show wear sooner. Always purchase slightly more material than estimated to accommodate errors or design changes.
Designing for Mobility and Durability
Mobility depends on caster quality and placement. Heavy-duty swivel casters should be rated for at least 100 kg each. Install two swivel and two fixed casters to maintain straight tracking. Reinforce caster mounts with metal plates or extra plywood layers to spread the load. Durability also requires protective finishes like polyurethane or industrial enamel paint to resist spills and abrasions.
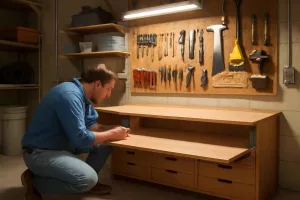
Building the Cart Frame and Platform
Once planning is complete, cut and assemble the frame using pocket screws or metal brackets for strong joints. Start with the base: two long 2×4 rails and two shorter cross supports. Use wood glue and screws to secure connections, ensuring the base remains square by measuring diagonals. Add a plywood deck on top of the frame to serve as the main tool platform.
Cutting and Assembling the Main Supports
Mark and cut all lumber parts precisely. A miter saw ensures clean crosscuts, while a circular saw with a guide rail can rip plywood accurately. Label each piece before assembly to avoid confusion. Pre-drill screw holes to prevent splitting, especially near edges. Check each joint with a framing square as you build.
Installing Casters for Smooth Movement
Flip the assembled base upside down and mark caster positions. Drill pilot holes for caster mount screws, then secure each caster using heavy-duty screws or bolts. Ensure the swivel range is unobstructed and that two opposing casters are fixed to maintain directional stability. Test roll the empty frame to confirm smooth travel and no wobble.
Integrating a Retractable Power Strip and Cable Management
Adding a retractable power strip to your tool cart brings electricity directly to your tools without tangled cords. Select a strip with multiple outlets, surge protection, and a locking mechanism. A recessed housing or custom box on one side of the cart keeps the strip flush and protected when not in use.
Selecting a Retractable Power Strip
Look for retractable strips designed for workshops that offer durable cables, smooth retraction, and tamper-resistant outlets. Models with built-in surge protection safeguard sensitive electronics. Ensure the cable length accommodates the cart’s maximum travel distance from your wall outlet.
Installing and Wiring Safely
Mount the power strip housing using screws or brackets. If you have experience with basic wiring, you can hardwire the strip to a plug and cord assembly. Always use cables rated for workshop use and consult local electrical codes. If in doubt, seek assistance from a qualified electrician. Secure the main power cord to the cart frame with cable clamps to prevent strain on the outlet.
Effective Cable Management Strategies
Cable clutter defeats the purpose of a mobile cart. Use velcro straps, cable clips, or a dedicated coiling mechanism to keep excess cable tidy. Route cables along the cart frame using adhesive-backed clips to avoid snags. Label each outlet on the retractable strip for quick identification of connected tools.
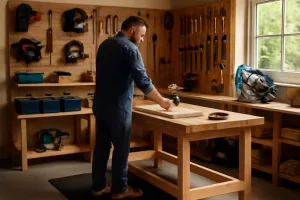
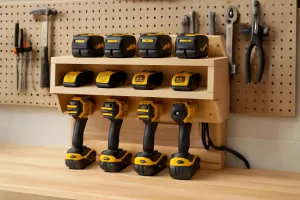
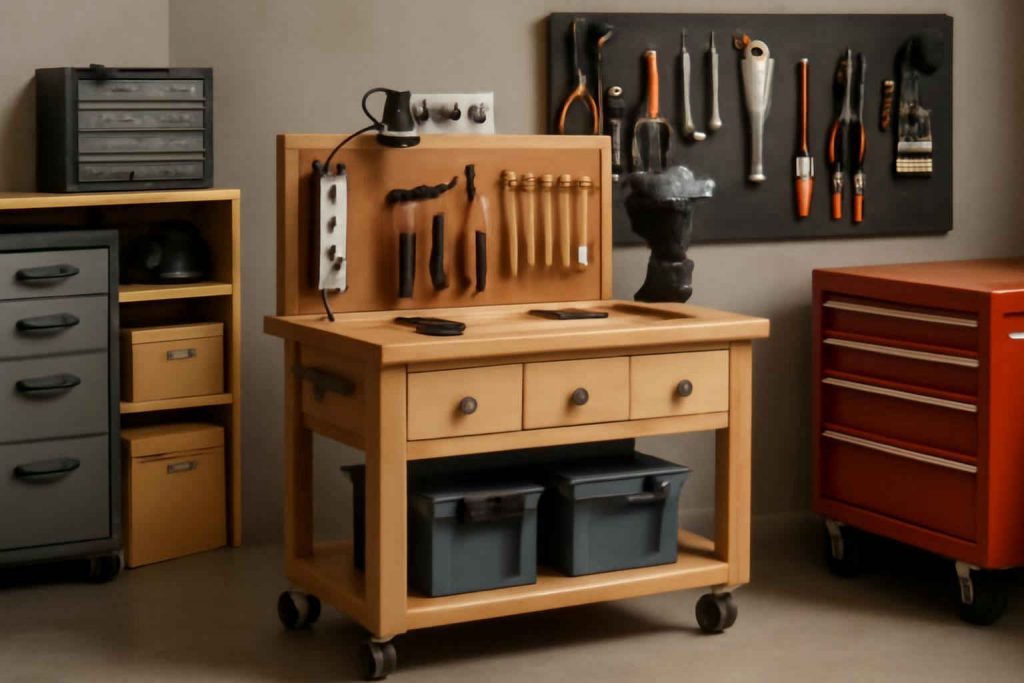
Finishing Touches: Storage Solutions and Customization
Customize your cart with drawers, bins, and hooks to organize hand tools, fasteners, and accessories. Modular drawer systems can be installed under the top deck, while vertical dividers on the sides hold screwdrivers or wrenches. Magnetic strips on the sides secure small metal tools for quick access.
Adding Drawers and Hooks
Prefabricated drawer slides simplify installation and ensure smooth operation. Position the slides under a shelf or deck and build lightweight drawers from plywood. Hooks and pegboard panels can be mounted on the cart sides to hang pliers, hammers, and tape measures. This keeps frequently used tools at hand without taking up shelf space.
Protective Coating and Paint Options
Protect wood surfaces from spills and wear with a clear polyurethane finish or workshop-grade enamel paint. Use primer before applying color coats for better adhesion. For a non-slip top deck, consider adding a rubber mat or textured paint designed for flooring. This prevents tools from sliding off during movement.
Maintenance and Best Practices for Long-Lasting Use
Routine maintenance extends the life of your rolling tool cart. Inspect casters, hardware, and cables regularly for wear. Clean the cart surface to remove sawdust, oil, and debris that can degrade finishes and moving parts. Tighten screws and reapply finish as needed.
Regular Inspection and Cleaning
Schedule a quick check every month: roll the cart and listen for unusual noises, verify power strip retraction, and clean surfaces with a damp cloth. Remove and clean caster wheels to prevent dirt buildup that hinders movement.
Upgrading Components Over Time
Over years of use, you may want to upgrade to larger casters, a more advanced power strip, or additional storage modules. Consider integrating battery charging stations or a wireless charging pad into the cart surface for cordless tool batteries. Explore more ideas in our DIY Projects & Tool Guides section or learn how to install pegboard on your workshop wall for complementary storage solutions.
Conclusion
Building a DIY rolling tool cart with power strip not only boosts your workshop’s flexibility but also keeps tools and power within easy reach. With careful planning, quality materials, and attention to cable management, you’ll have a durable, mobile solution tailored to your workflow. Use this versatile cart to streamline tasks, reduce clutter, and enhance safety in any workspace. For further inspiration and detailed guides, visit our site’s comprehensive library of workshop organization articles.