To set up a DIY smart home energy monitoring system, install current sensor clamps on your main breaker panel and connect them to a compatible smart hub. Then configure the monitoring software to collect and display real-time energy usage, helping you cut costs and spot anomalies.
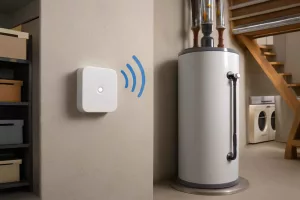
With the right tools—like a whole-home monitor available on Amazon (whole home energy monitor)—you’ll gain visibility into appliance-level consumption and system-wide trends.
Step-by-Step Guide
1. Select Compatible Monitoring Hardware
Choose a whole-home energy monitor kit that fits your panel type (split-bus, single-phase, or three-phase). Popular options include models from Sense, Emporia, and TED. Look for Wi-Fi connectivity and an open API if you plan custom dashboards. Ensure your breaker panel has spare space for sensor clamps and a communication module.
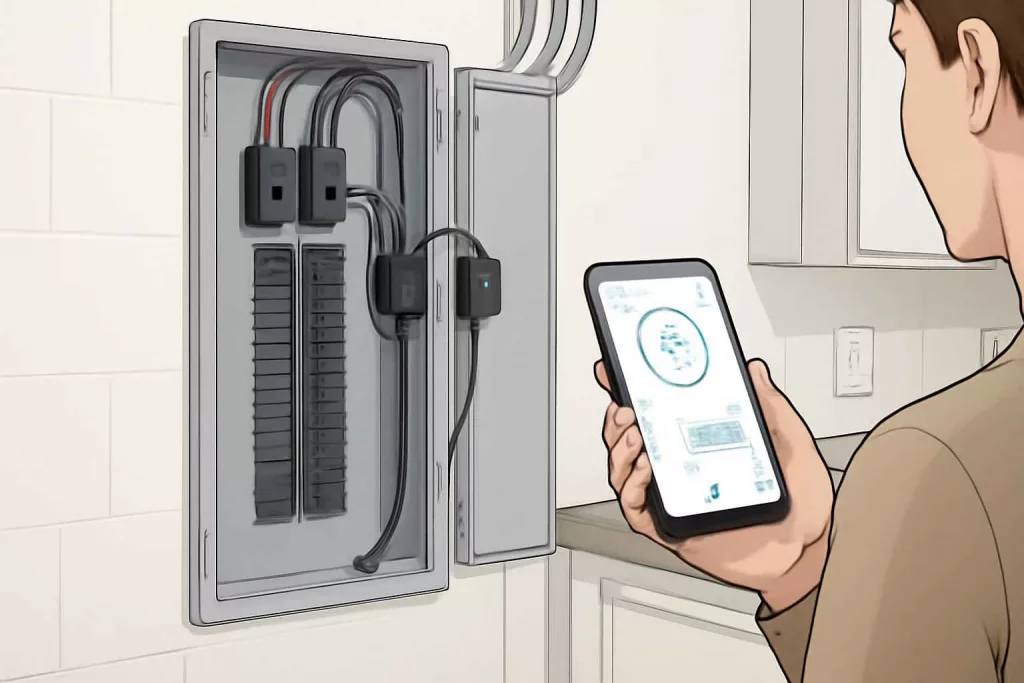
2. Shut Off Power and Mount Sensor Clamps
Before installing, turn off the main breaker to cut power. Attach the sensor clamps around the main hot legs—usually the two largest wires—following manufacturer polarity guides. Snap the clamps closed firmly, avoiding loose fits. Mount the monitor’s communication module nearby using the provided bracket.
3. Wire the Monitor to the Panel
Use low-voltage wiring to connect the monitor’s communication module to the sensor clamps and a 120V circuit for power. Secure all connections with wire nuts and cable ties. Double-check wiring diagrams in the manual to avoid reversed phase installation, which can skew data.
4. Restore Power and Confirm Sensor Function
Flip the main breaker back on and ensure the monitor powers up. Most devices have LEDs indicating successful sensor detection and network status. If lights blink red or don’t light at all, shut down and review wiring.
5. Connect to Your Smart Home Hub
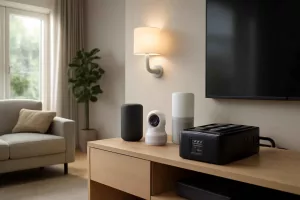
Open the companion app on your smartphone and follow the in-app pairing process. Provide your Wi-Fi credentials so the monitor can stream data. Some systems integrate directly with Home Assistant, SmartThings, or Google Home—verify compatibility before purchase.
6. Configure Data Visualization and Alerts
Within the app or hub dashboard, set up charts for real-time consumption, historical trends, and cost estimates. Enable push notifications for abnormal spikes, like an AC unit stuck in constant operation. You can also create automations—such as turning off nonessential circuits when usage exceeds a threshold.
Practical Example
Imagine you own a two-bedroom home with an older HVAC system and energy-hungry refrigerator. After installing an Emporia Vue whole-home monitor, you notice that your freezer cycles every 20 minutes, double the expected rate. Diving into appliance-level data, you identify the culprit: faulty door seals. Replacing the seals drops consumption by 15%. Over a year, that translates to $120 saved.
Meanwhile, you set up a weekly summary email showing usage by category—HVAC, kitchen, lighting—and redirect savings into an emergency fund. You also integrate the monitor with your smart plugs: if total energy usage exceeds 5 kWh in a one-hour window, noncritical devices like your gaming console shut off automatically. For guidance on compatible smart plugs, see our smart plugs with energy monitoring article.
Common Mistakes
- Incorrect Clamp Placement: Placing sensor clamps on neutral wires or branch circuits instead of the two main hot legs leads to inaccurate readings.
- Weak Wi-Fi Signal: Mounting the communication module far from the router can cause data dropouts. Use a Wi-Fi extender or switch to a 2.4GHz network.
- Forgetting Firmware Updates: Skipping updates can leave you vulnerable to bugs or security flaws. Check the app regularly.
- Ignoring Phase Balancing: On split-phase systems, mismatched clamp installation skews individual leg data and masks circuit-level problems.
- Overlooking Appliance-Level Data: Focusing only on whole-home data hides inefficient devices. Pair your monitor with smart sensors or smart plugs for appliance insights.
Tips to Improve Your Monitoring System
- Integrate with Voice Assistants: Link to Alexa or Google Assistant to ask, “What’s my energy usage today?” for hands-free updates.
- Use Smart Thermostats and Radiator Valves: Coordinate your energy monitor with a smart thermostatic radiator valve to optimize heating based on real-time data.
- Set Budget Alerts: Create cost-based triggers in your monitoring app to get notified when consumption costs exceed a predefined budget.
- Implement Solar Feed-In Tracking: If you have rooftop solar, monitor both import and export to maximize credits and ensure panels operate correctly.
- Community Comparison: Join manufacturer forums or subreddits to compare consumption patterns with similar homes and learn advanced setups.
- Schedule Maintenance: Use irregular usage spikes as cues to inspect HVAC filters, refrigerator coils, or other high-draw appliances.
Conclusion
Installing a DIY smart home energy monitoring system gives you real-time visibility into your household power use, helping you save money, detect faults, and make smarter choices. By selecting compatible hardware, following proper installation steps, and leveraging automations, you’ll turn raw data into actionable insights.
Start by ordering a reliable whole-home monitor on Amazon (home energy monitor kit), then follow this guide to configure and optimize your setup. With a few hours of work, you’ll gain control over your energy profile and unlock savings year-round.