Converting a standard power rack into a fully functional smith machine is a cost-effective way to enhance your home gym without breaking the bank. In this guide, you’ll learn how to assemble a DIY smith machine attachment using readily available materials, essential tools, and detailed step-by-step instructions. Get started with the right parts, including smith machine attachment parts, and transform your power rack into a precision lifting system.
Before jumping in, ensure you have adequate workspace and follow safety guidelines. You may find inspiration for organizing your tools in our space-saving wall-mounted workbench guide to keep your workshop tidy while you build.
Why Build a DIY Smith Machine Attachment?
A smith machine offers guided vertical movement, reducing the need for a spotter and improving stability. By converting your existing power rack, you save on the cost of a full smith machine unit while customizing it to fit your space. A DIY solution also allows for upgrades, like adding custom safety stops or resistance band pegs. Plus, building it yourself enhances your workshop skills and gives you complete control over materials and dimensions.
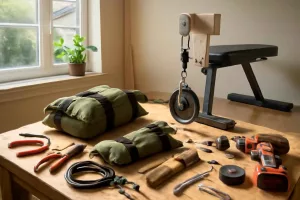
Materials and Tools Required
Material List
- Two precision guide rods (e.g., 1-inch diameter hardened steel)
- Linear bearings compatible with guide rods
- Steel mounting plates and brackets
- High-tensile barbell sleeve or bar attachment
- Stopper plates or safety catch straps
- Bolts, nuts, and washers (grade 8 recommended)
Recommended Tools
- Cordless drill with metal bits
- Angle grinder or metal file
- Torque wrench for precise tightening
- Measuring tape and level
- Welding machine (optional for added strength)
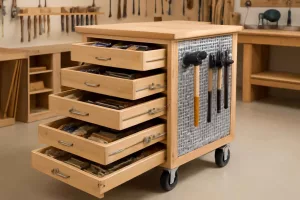
If you need guidance on workshop organization and tool placement, check out our custom tool shadow board article to optimize your workspace.
Step-by-Step Assembly Guide
1. Preparing the Power Rack
Clean and inspect your power rack. Remove any attachments or accessories. Use a level to ensure the rack is stable on a flat surface. Mark the vertical posts at equal heights where the guide rods will attach. Precise measuring at this stage ensures smooth bar movement later.
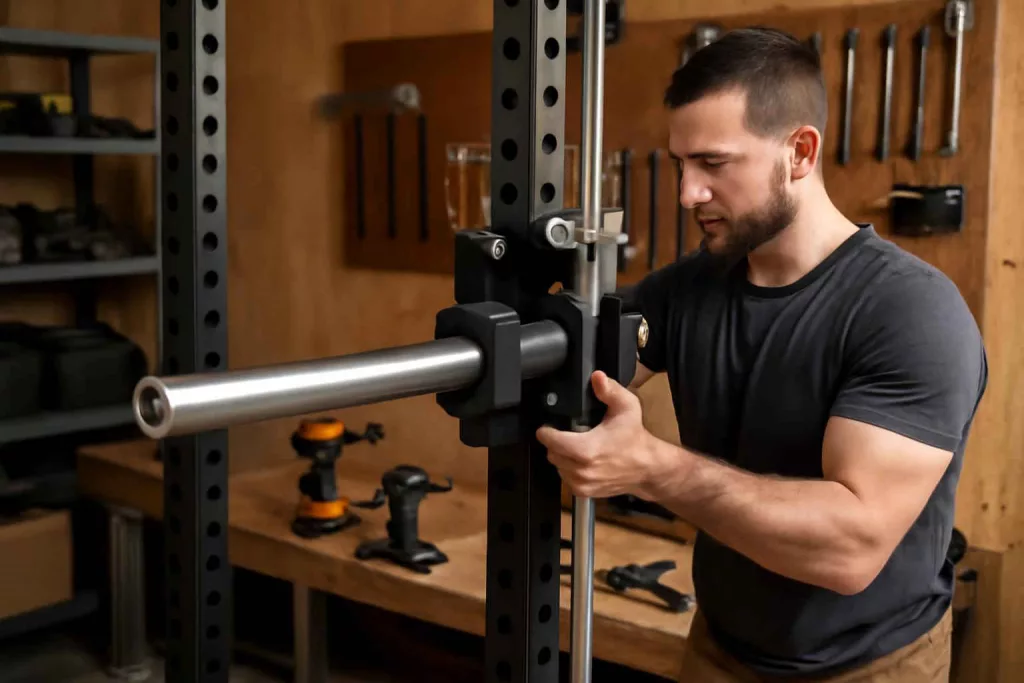
2. Installing Linear Bearings on Guide Rods
Slide linear bearings onto each guide rod. Bearings should move smoothly with minimal play. If too tight, carefully file the rod ends. Use retaining clips to secure bearings at the top and bottom of each rod to prevent overtravel.
3. Securing the Barbell Carriage
Attach the barbell sleeve or mounting plate to the linear bearings. Align the sleeve so it sits perfectly level. Bolt through the mounting plate and bearings using grade 8 bolts. Tighten with a torque wrench to the manufacturer’s specification.
4. Adding Safety Stops and Straps
Install adjustable stopper plates on the rack’s uprights. Alternatively, attach heavy-duty catch straps rated for at least 1000 lbs. Position stops a few inches below the bar’s lowest point to catch any dropped weight safely.
Installation and Setup in Your Home Gym
Position your newly converted smith machine in the desired location, ensuring clearance on all sides. Anchor the power rack to the floor or wall if possible, using heavy-duty anchor bolts to prevent tipping. Set the guide rods parallel to the uprights and confirm bar movement is vertical without binding.
Adjusting for User Height
Test the barbell carriage at different heights. Mark ideal starting and locking positions for squats, bench presses, and overhead movements. Having preset height guides speeds up workout transitions.
Incorporating Resistance Bands
Add band pegs to the base of your rack. Loop resistance bands over the bar carriage to increase variable resistance. This simple add-on enhances strength curves and provides accommodating resistance throughout the lift.
Maintenance and Safety Tips
Regular lubrication of guide rods with a light machine oil keeps linear bearings running smoothly. Inspect bolts and brackets monthly to ensure tightness. Replace worn bearings or straps at the first sign of wear. Always perform a test lift with an empty bar before adding weight to confirm smooth operation.
Lubrication Schedule
- Weekly: Wipe rods clean, apply oil, and cycle the carriage 10 times.
- Monthly: Inspect bearings for play, tighten mounting bolts.
- Quarterly: Check anchor points and safety stops, replace as needed.
Alternatives and Add-Ons
If you prefer less permanent solutions, consider a band-only smith machine attachment that uses only linear bearings without welding. You can also integrate a counterweight system for true free-bar feel or add digital sensors to track reps and speed for progressive overload.
Smart Gym Integration
Pair your DIY smith machine with smart gym trackers and apps. Attach a phone mount to log workouts and monitor bar velocity. This mid-funnel integration can boost user engagement and provide real-time feedback during lifts.
Conclusion
Building a DIY smith machine attachment for your home gym is a rewarding project that combines workshop skills with fitness innovation. By converting your existing power rack, you save money, tailor the design to your needs, and gain a deeper understanding of the mechanics behind guided lifting systems. With proper installation, maintenance, and safety checks, your custom attachment will deliver reliable, gym-quality workouts in the comfort of your own space.
Ready to upgrade your home gym? Grab the essential parts on Amazon and start your project today: smith machine attachment kit.