Insulating your garage door is one of the most impactful DIY upgrades you can perform to boost energy efficiency, improve comfort, and extend the lifespan of your garage door. Proper garage door insulation installation creates an effective barrier against heat loss in winter and heat gain in summer, leading to lower energy bills and a more stable indoor temperature. Whether you use foam board kits or reflective foil insulation, this step-by-step guide covers everything you need to know—from selecting the right materials to sealing the final edges. For a quick look at popular insulation products, check out this range of garage door insulation kits on Amazon, and let’s dive into transforming your garage into a well-insulated, comfortable space.
Why Insulating Your Garage Door Matters
Energy Savings and Lower Utility Bills
Uninsulated garage doors allow significant heat transfer, forcing your HVAC system to work harder. By adding insulation, you reduce thermal bridging and keep conditioned air inside your home. Studies show that homeowners can save up to 5-10% on heating and cooling costs by properly insulating attached garages. These savings can quickly offset the cost of insulation kits and installation materials.
Enhanced Comfort and Temperature Control
A well-insulated garage maintains a more consistent temperature year-round. If you use your garage as a workshop or utility space, insulation helps prevent extreme temperature swings that can affect tools, paints, and equipment. This stable environment is also more comfortable for family activities, exercise, or hobby projects.
Noise Reduction and Increased Door Lifespan
Insulation dampens the sound of wind, rain, and mechanical noise from the opener. Over time, reduced vibration extends the life of springs, rollers, and opener components. This simple upgrade can translate into fewer maintenance calls and a quieter garage experience.
Types of Garage Door Insulation Materials
Foam Board Panels
Foam board panels, typically made of polystyrene or polyisocyanurate, offer high R-values per inch of thickness. They are rigid, lightweight, and easy to cut with a utility knife. Most DIY kits include pre-cut panels that match standard garage door panel dimensions. foam board insulation is resistant to moisture and mold, making it a durable choice.
Reflective Foil Insulation
Reflective insulation consists of aluminum foil laminated to bubble wrap or foam. It works by reflecting radiant heat away from the door surface. While it delivers a lower R-value compared to foam board, reflective foil is very thin and lightweight—a good option if clearance is limited. It’s ideal for hot climates where radiant heat is the primary concern.
Fiberglass Insulation Kits
Fiberglass batt insulation kits fit inside the door panel cavities. They offer moderate R-values and are often less expensive up front. However, they can sag over time if not properly supported, and they require protective facing to prevent fiberglass fibers from becoming airborne. These kits usually include tack strips or adhesive fasteners for easy installation.
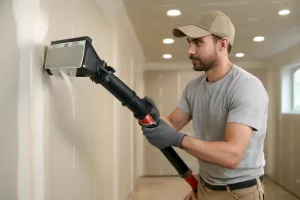
Tools and Materials Needed for DIY Installation
Before you begin, gather all necessary tools and supplies to streamline the process. Here’s what you’ll need:
- Measuring tape and straightedge
- Utility knife or insulation saw
- Adhesive spray or double-sided tape
- Protective gloves and safety glasses
- Weatherstripping seals (foam or vinyl)
- Caulking gun and exterior-grade sealant
- Marker or chalk line
- Worklight or headlamp (optional)
Organize your tools efficiently by incorporating magnetic tool holders on your workbench. For a comprehensive layout of your workspace, review our guide on portable workshop setup for small garages.
Step-by-Step Guide to Installing Garage Door Insulation
1. Measure and Plan Panel Layout
Start by measuring the height and width of each garage door panel cavity. Record the dimensions carefully, as precision is key to avoiding gaps. Sketch a basic layout, noting which panels need foam board, reflective foil, or fiber insulation based on your chosen material.
2. Cut Insulation to Fit
Using a straightedge and utility knife, cut the insulation panels or batts according to your measurements. Test-fit each piece before applying adhesive. For foam boards, allow a small expansion gap (around 1/8 inch) on all sides to accommodate temperature-induced expansion.
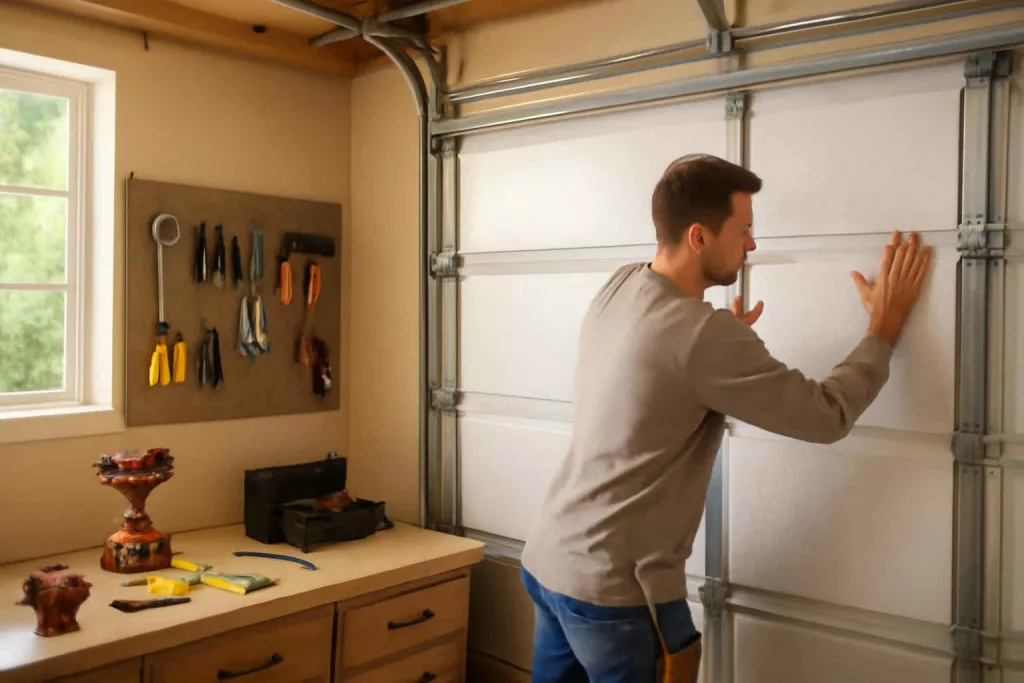
3. Secure Insulation Panels
Peel-and-stick foam panel kits usually include an adhesive backing. For non-adhesive materials, apply a spray adhesive or double-sided tape around the perimeter of each cavity. Press the insulation firmly into place, smoothing out any air pockets or wrinkles.
4. Install Weatherstripping and Sealing
Seal all edges and gaps with weatherstripping to prevent air infiltration. Apply caulk along panel seams and around the frame of the door. For bottom sealing, attach a new vinyl door sweep to the bottom edge. This step not only stops drafts but also keeps out pests and dust.
5. Test and Adjust
Open and close your garage door several times to ensure the added insulation doesn’t interfere with the operation. Check for any loose panels or residue that may need trimming. Adjust the tension on torsion springs if the door feels heavier than before.
Tips for Maximizing Insulation Performance
Choose the Right R-Value
Select insulation with an R-value that matches your climate zone. In colder regions, aim for R-10 or higher. In milder climates, R-6 to R-8 may suffice. Higher R-values block more heat transfer but may require thicker panels.
Maintain Proper Ventilation
While sealing your garage door, ensure adequate ventilation elsewhere in the garage. Install a vent or use a wall fan if your garage houses fuel-powered equipment. Proper airflow prevents moisture buildup and condensation on metal surfaces.
Enhance Door Hardware and Weatherseal
Upgrading old hinges, rollers, and seals complements insulation efforts. Replace worn parts to eliminate unwanted noise and improve the door’s weather seal. Inspect your garage door opener’s springs and lubricate moving components for smooth performance.
Maintaining Your Insulated Garage Door
Regular Inspection and Cleaning
Every six months, inspect insulation panels for damage or moisture infiltration. Clean the surfaces gently with a damp cloth and mild detergent if dust accumulates. Replace any panels that show signs of mold or degradation.
Seal Gaps and Reseal Caulk
Over time, caulk and weatherstripping can shrink or crack. Check for air leaks along seams and around the frame, and reapply sealant where necessary. Keeping a maintenance kit on hand ensures you’re ready for minor repairs.
Rotate and Adjust Insulation
If your garage door panels compress over time, swap them between sections or add thin foam sheets behind compressed areas. This rotation helps maintain even insulation coverage and extends kit life.
Conclusion
Proper garage door insulation installation pays dividends in energy savings, thermal comfort, and reduced noise. By following this guide’s step-by-step instructions and choosing the right materials, you’ll transform your garage into a more efficient and comfortable space. For hassle-free shopping, explore top-rated insulation kits on Amazon. Ready to upgrade? Gather your tools, select your insulation, and start enjoying the benefits of a well-insulated garage today.