Setting up a functional home workshop starts with a solid checklist of essential tools and equipment that serve your DIY projects and repairs. By following this home workshop setup checklist, you an avoid missing key items and create a safe, efficient space from day one.
Step-by-Step Guide to Establishing Your Home Workshop
1. Identify Your Project Scope: Begin by listing common tasks you expect to tackle, such as furniture assembly, basic carpentry, or minor repairs. This step clarifies which tools are indispensable.
2. Secure a Dedicated Space: Choose a well-ventilated, dry area—like a garage corner or basement nook—with enough room for a workbench, storage, and movement around large tools.
3. Plan Your Layout: Sketch a simple floor plan placing the workbench centrally, power outlets along walls, and storage units within easy reach. This reduces time spent hunting for tools.
4. Install Essential Infrastructure: Mount a power strip under your workbench and hang bright LED shop lights overhead. Proper lighting prevents mistakes and eye strain. You can learn more about choosing the right shop lights for your space.
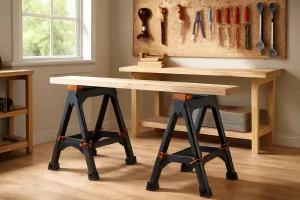
5. Build or Buy a Sturdy Workbench: A solid workbench is the heart of your workshop. Look for one with integrated vises or outlets, or upgrade an existing table with a bolt-on vise.
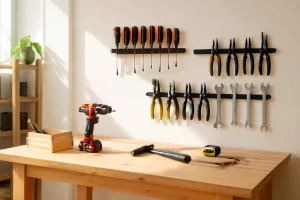
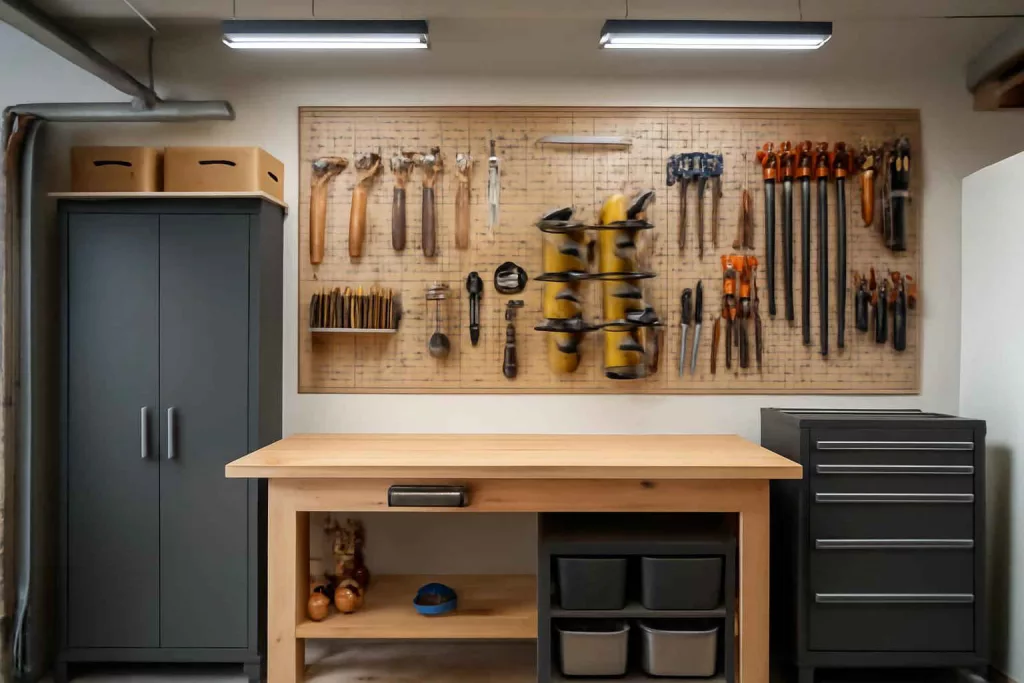
6. Set Up Storage Solutions: Install a pegboard or wall-mounted shelving to keep cordless drills, clamps, and wrenches organized. For larger items, consider a rolling tool cart and heavy-duty cabinets.
7. Add Safety Features: Place a fire extinguisher, first-aid kit, and anti-fatigue mats in accessible spots. Keep safety glasses and ear protection at hand.
Workshop Setup Checklist
- Work Surface: Sturdy workbench with vise (DIY guide: mobile workbench build)
- Power Tools: Cordless drill, jigsaw, circular saw
- Hand Tools: Screwdriver set, hammer, tape measure, utility knife
- Safety Equipment: Safety glasses, ear defenders, work gloves
- Lighting: Overhead LED shop lights (see top LED shop lights)
- Storage: Pegboard, tool chest, rolling tool cart
- Electrical: Under-bench power strip, extension cords
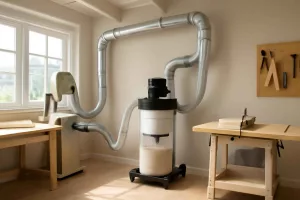
- Dust Collection: Shop vacuum or dust extractor (explore our dust extractor picks)
- Clamps: Bar and C-clamps in various sizes
- Measuring & Marking: Speed square, chalk line, level
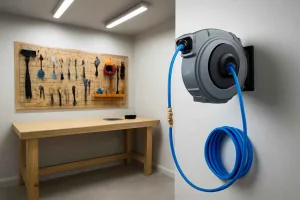
Practical Example: Building a Wall-Mounted Tool Rack
Imagine you need quick access to screwdrivers and wrenches while building a cabinet. Follow these steps:
- Measure and mark a 4�ft section on the wall above your workbench.
- Attach a 3�ft x 2�ft pegboard with screws into wall studs.
- Hang tool holders, hooks, and bins on the pegboard, grouping similar tools together.
- Label each zone using a tape measure sticker for fast identification.
- Remove tools after use and return them to their designated spots.
This simple setup cuts minutes off your workflow and keeps your work area tidy. For additional storage, a rolling tool cart can hold bulkier items like a miter saw or sander.
Common Mistakes to Avoid
- Overcrowding the Bench: Limiting workspace by placing too many tools on the work surface.
- Ignoring Lighting Needs: Working under a single bulb leads to shadows and errors.
- Poor Tool Placement: Storing frequently used tools in hard-to-reach cabinets wastes time.
- Skipping Safety Gear: Not having protective equipment at arm
ch reduces safety. - Neglecting Dust Control: Failing to connect a shop vacuum or dust extractor can clog tools and create a messy work environment.
Tips to Improve Your Workshop Setup
- Rotate Tool Stock: Keep heavy or seldom-used items in higher cabinets to free up bench space for daily tools.
- Label Everything: Use a label maker to mark drawer contents and pegboard sections for faster retrieval.
- Modular Storage: Invest in stackable bins and drawer inserts for small parts like screws and nails.
- Upgrade Lighting: Add portable LED task lights around complex tooling areas for precision work.
- Optimize Cable Management: Install under-bench power strip mounts to keep cords off the floor and reduce tripping hazards.
Conclusion
With this home workshop setup checklist in hand, you�re ready to build a functional and organized workspace tailored to your projects. Start by securing essential tools, then focus on storage, lighting, and safety features. A well-planned setup saves time, enhances safety, and makes DIY tasks more enjoyable.