Container gardens are a fantastic way to grow herbs, vegetables, and ornamental plants on patios, balconies, and small yards. However, keeping them properly watered can be a daily chore, especially during hot months. A DIY drip irrigation system solves this by delivering water directly to each container at a consistent rate, saving you time and reducing water waste. In this guide, you’ll discover how to design, install, and maintain a reliable drip irrigation setup for your container garden. Get started quickly with an off-the-shelf drip irrigation kit and basic garden hose accessories.
Benefits of DIY Drip Irrigation for Container Gardens
Drip irrigation offers several advantages over hand-watering or sprinkler systems, particularly in container gardening:
- Water Efficiency: Drip lines deliver water directly to the root zones, minimizing evaporation and runoff. You can cut water usage by up to 50% compared to overhead watering.
- Time Savings: Once installed, the system runs on a timer, freeing you from daily watering tasks and ensuring plants stay hydrated even when you travel.
- Healthier Plants: Consistent moisture levels help prevent stress, root rot, and foliar diseases caused by splashing water. Your herbs, vegetables, and flowers receive exactly what they need.
- Scalability: You can expand the layout as your container garden grows, adding new lines and emitters with minimal effort.
Planning Your DIY Drip Irrigation System
Before installing tubing, take time to plan the layout and water requirements for your containers:
1. Assess Your Garden Layout
Measure the distance between containers and note their arrangement. A well-designed plan reduces tubing waste and ensures each pot receives equal coverage. Sketch a simple diagram of container positions and mark where mainlines and branch lines will run.
2. Calculate Water Requirements
Different plants have varying flow needs. Most drip emitters deliver between 0.5 to 2 gallons per hour (GPH). Estimate each container’s emitter count by matching total GPH to plant size and sun exposure. For example, a larger vegetable pot might need two 1 GPH emitters, while a small herb container only needs one 0.5 GPH dripper.
3. Choose System Components
A basic drip setup includes a backflow preventer, filter, pressure regulator, main tubing (½ inch), micro tubing (¼ inch), emitters, connectors, and end caps. Investing in quality parts from reputable brands will extend system life and reduce clogs.
Essential Components and Tools
Gather the following supplies before you begin. Most parts are available at garden centers or online:
- Main Tubing (½ inch): Carries water from the faucet to branch lines.
- Micro Tubing (¼ inch): Connects main tubing to individual emitters.
- Emitters/Drippers: Regulate water flow into each pot at a set GPH.
- Pressure Regulator: Ensures water pressure stays within 15–25 PSI to protect fittings.
- Filter: Prevents debris from clogging emitters. Always install before the regulator.
- Connectors & Fittings: Tees, elbows, barbed couplings, and end caps to customize your layout.
- Tools: Hose punch tool, utility scissors, and pliers for cutting and securing tubing.
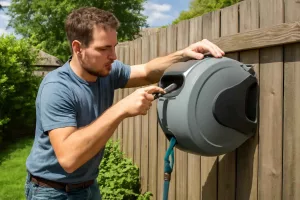
For storing excess hose and keeping your workspace tidy, consider a set of retractable garden hose reels to prevent tangles and protect tubing when not in use.
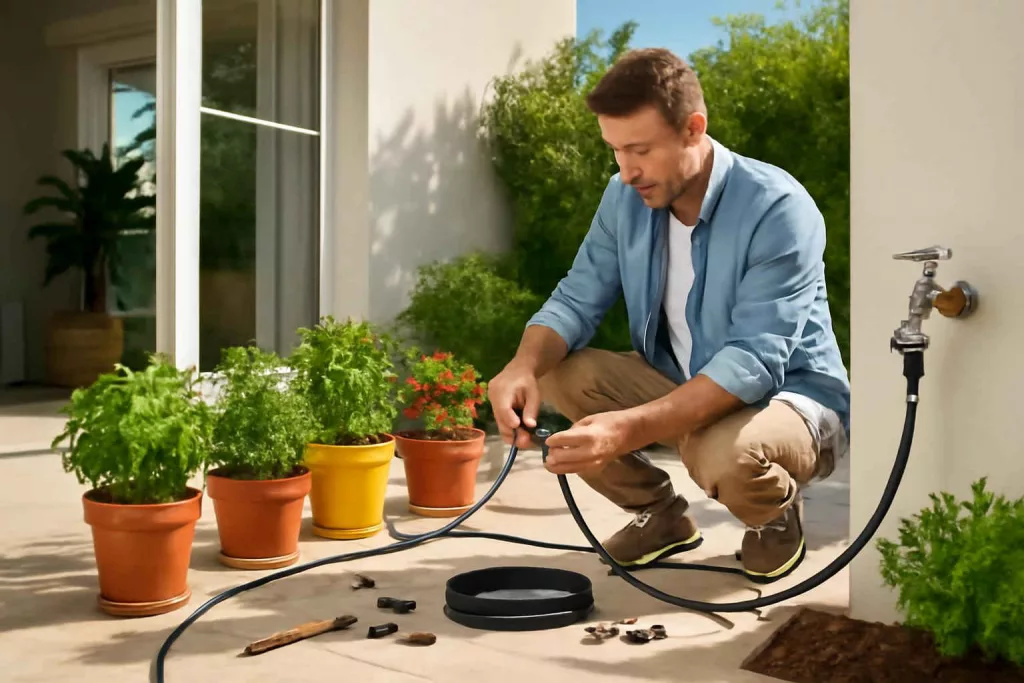
Step-by-Step Installation Guide
1. Setting Up the Water Source
Attach a backflow preventer to your outdoor faucet to protect your home’s drinking water. Next, connect a filter to remove sediment. Finally, attach the pressure regulator to maintain even flow. Secure the ½-inch mainline to the regulator using a barbed fitting and clamp.
2. Laying Mainlines and Branch Lines
Unroll the ½-inch tubing along your container rows, following your garden diagram. Use stakes to anchor the mainline near containers. At each container location, insert a tee fitting and attach a short length of ¼-inch micro tubing to the side outlet.
3. Installing Emitters and Drippers
Use the hose punch tool to create holes in the micro tubing, one per emitter. Push each emitter into the hole until it clicks. Position emitters at the base of plants or beneath the soil surface to deliver water directly to roots. For adjustable flow, choose emitters with flow control settings.
4. Pressure Regulation and Filtration
Verify your filter screen is clean before running the system. Check the regulator gauge and adjust the screw cap to maintain 15–25 PSI. Higher pressure can burst tubing or damage emitters, while lower pressure may reduce flow.
5. Testing and Adjusting the System
Turn on the water slowly and observe each emitter. Look for uniform drips – not sprays or blockages. If an emitter clogs, remove and rinse under running water. Replace or upgrade filters as needed. Adjust emitter count or flow rates until each container receives consistent moisture.
Maintenance and Troubleshooting Tips
Proper upkeep ensures your drip irrigation system runs smoothly season after season:
- Regular Filter Cleaning: Flush the filter cartridge monthly to prevent clogs.
- Line Flushing: Remove end caps and briefly run water through mainlines at full pressure to clear debris.
- Emitter Replacement: Swap damaged or worn drippers annually. Keep a few spare emitters on hand.
- Pressure Checks: Inspect the regulator gauge periodically. Replace regulators showing erratic readings.
- Winterization: In cold climates, drain all tubing before freezing temperatures to avoid cracks and splits.
You can also integrate advanced monitoring with smart garden irrigation controllers to schedule watering cycles via smartphone and track water usage.
Common Mistakes to Avoid
- Skipping the Filter: Dirty water quickly clogs emitters and reduces flow.
- Incorrect Pressure: Too high or too low pressure leads to uneven watering or system damage.
- Poor Layout Planning: Tubing that’s too long or poorly routed wastes water and complicates maintenance.
- Neglecting Winter Care: Frozen lines rupture without proper drainage.
Conclusion
Installing a DIY drip irrigation system for your container garden transforms routine watering into a hands-off task, promotes healthier plants, and conserves water. With careful planning, quality components, and regular maintenance, you’ll enjoy lush herbs and vegetables all season long. Ready to upgrade your garden? Pick up a complete drip emitter kit and start building today!