Proper winterization is essential to protect your gas pressure washer from freezing temperatures and ensure it’s ready to perform when spring arrives. Neglecting to winterize your unit can lead to cracked hoses, damaged pumps and costly repairs. In this guide, you’ll learn every step needed to fully winterize your gas pressure washer, from draining water lines to applying pump saver solutions and antifreeze. Early preparation not only prolongs equipment life but also saves time and money on professional servicing.
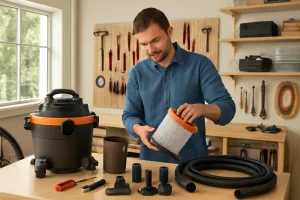
Before you begin, gather the necessary supplies: a pressure washer pump saver product, non-toxic antifreeze and basic hand tools. If you need a pump saver solution, you can find quality options on Amazon: pressure washer pump saver. Having the right supplies at hand will streamline the process and help you avoid common mistakes.
Why You Should Winterize Your Gas Pressure Washer
Gas pressure washers rely on water being pumped through metal components, hoses and seals that are vulnerable to freezing damage. When water freezes, it expands and can create internal cracks in the pump housing, hose fittings or nozzles. Even a small amount of trapped water left inside can lead to malfunction or total failure in colder months.
Moreover, residual water often contains minerals and debris that can settle and corrode internal parts over time. Winterizing by fully draining and purging the system prevents mineral buildup and corrosion, preserving the integrity of seals and valves. Regular winter maintenance also reduces the risk of bacterial growth in your pressure washer, which can clog valves and reduce water flow.
Proper winterization means fewer repairs, lower maintenance costs and less downtime when you need your pressure washer next season. By following each step carefully, you’ll ensure smooth startup in spring and extend the life of your investment.
Step-by-Step Winterization Guide
1. Run and Shut Off the Engine Properly
Begin by starting the gas pressure washer and letting it run for two to three minutes. This warms up the engine and pump, helping to push out residual water in the internal passages. Aim to operate at low throttle to minimize stress on the unit.
Once the washer is warmed up, turn off the engine and relieve pressure in the system. Trigger the spray gun to release any remaining water in the hose and lance. This step reduces the chance of water trapping under pressure in the pump.
Always follow the manufacturer’s manual for proper shutoff procedure. Safety is paramount: wear protective gloves and eye protection when handling a warm or hot engine. Ensuring you’ve released all pressure in the lines prepares your unit for draining.
2. Drain Water from Hoses, Wand and Pump
Disconnect the high-pressure hose and spray wand from the unit. Position the hose vertically to allow water to drain completely. Take time to shake the hose to dislodge any trapped water droplets. Be thorough to avoid any moisture remaining inside.
Next, remove the inlet water filter and drain any remaining water. If your washer has a quick-connect coupling, detach it and let residual water drip out. Store hoses, guns and nozzles in a dry, elevated area to prevent moisture from seeping back in.
Finally, access the pump drain valves on the pressure washer’s pump housing. Refer to your model’s manual to locate these valves. Open each drain valve and let all water run out into a drip pan. This step is crucial for preventing freeze damage inside the pump body.
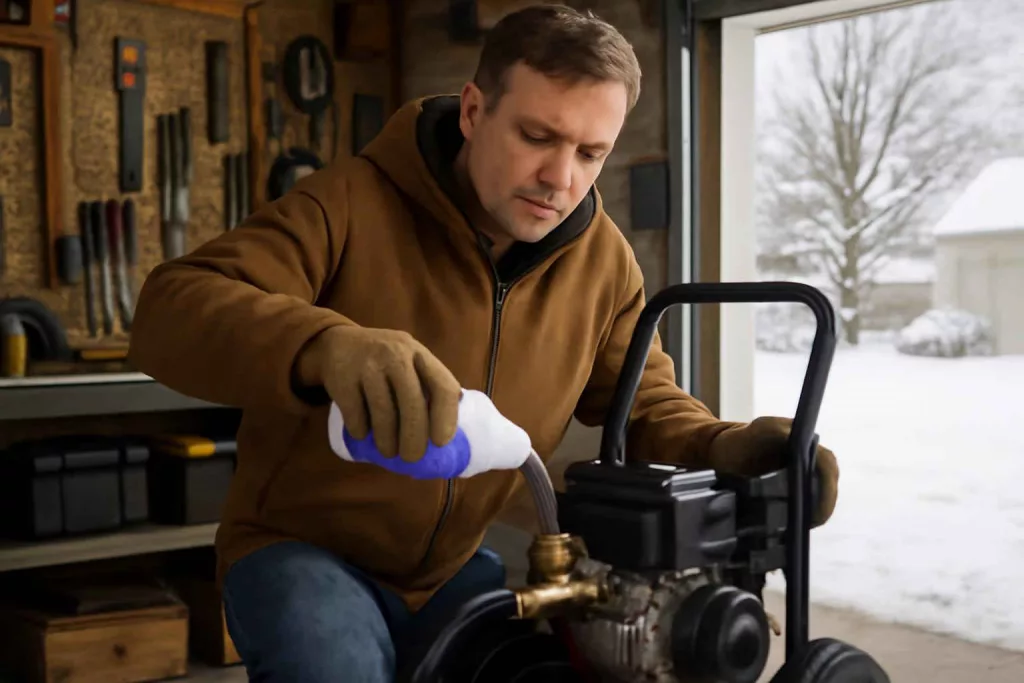
3. Apply a Pump Saver Solution
Using a pump saver product is highly recommended for long-term storage. These solutions contain corrosion inhibitors and antifreeze components that coat internal parts and protect seals and valves.
Attach a garden hose adapter or siphon kit to the pump inlet. Pour the recommended amount of pump saver into the adapter and manually pull the trigger on the spray gun until the solution flows through the pump and exits the nozzle. This distributes protective fluid throughout the entire pump frame.
Follow the manufacturer’s instructions on dilution ratios and application methods. Proper application ensures all moving parts receive a thin film of protective lubricant, minimizing wear and preventing corrosion during winter storage.
4. Add Non-Toxic Antifreeze for Extra Protection
For regions with extreme cold, adding a non-toxic antifreeze to your pump and water lines offers an extra layer of defense. Use a biodegradable RV or marine antifreeze designed for delicate seals.
Pour a small amount of antifreeze into each inlet port and dual-valve drain lines. Repeat the process of pulling the spray gun trigger to distribute the fluid. Avoid using automotive radiator antifreeze, as it may contain harmful chemicals that damage seals.
Label any hoses or parts treated with antifreeze to avoid accidental connection to potable water systems. Safe handling and clear identification will simplify your spring startup process.
5. Store in a Dry, Insulated Location
Once all fluid lines are dry and protected, position your pressure washer in a well-ventilated, temperature-controlled space. Avoid uninsulated garages or sheds where temperatures drop below freezing.
Elevate the machine on wooden blocks or a pallet to keep it off damp floors. Cover your unit with a breathable, water-resistant tarp to shield it from dust and humidity. Do not use plastic wrap, as it can trap moisture and promote corrosion.
Perform periodic checks over winter: inspect for any leaks or fluid accumulation and top up pump saver if necessary. Maintaining a dry environment ensures your pump, engine and hoses remain in top condition.
Common Mistakes to Avoid
Many homeowners underestimate the amount of water trapped in their pressure washer. Failing to run the unit before shutdown or to open drain valves can leave water in hidden areas, leading to freeze damage. Always follow each draining step to completion.
Using the wrong type of antifreeze or pump saver can harm pump seals. Automotive antifreeze often contains glycol-based chemicals that degrade rubber components. Stick to non-toxic, biodegradable formulations specified for pump protection. You can also check our guide on pressure washer nozzles to optimize your setup before storage.
Another error is poor storage conditions. Storing the unit on a concrete floor may expose it to moisture. Instead, keep it elevated and in an insulated area. If you need to clean debris after winter, consider using a portable air compressor to blow out dirt safely.
Conclusion
Winterizing your gas pressure washer may seem time-consuming, but the effort prevents costly damage and extends the life of your equipment. By following these detailed steps—running and shutting off the engine, fully draining water, applying pump saver and antifreeze, and storing properly—you’ll be ready to tackle outdoor cleaning tasks as soon as the weather warms up.
Regular winter maintenance keeps seals and valves in prime condition, reduces repair bills and ensures fast spring startups. Invest a little time each fall, and your pressure washer will reward you with reliable performance year after year.