Using a laser level ensures your floating shelves are perfectly straight and aligned. This guide walks you through setting up, calibrating, and using a laser level for precise installation. A laser level projects a horizontal beam on the wall, eliminating guesswork and saving time. If you’re new to leveling tools, check out the best laser level on Amazon to get started.
Floating shelves offer a clean, modern look but require exact alignment to appear professional. A slight tilt can be glaringly obvious once items are placed. With the right approach and tools, including a quality laser level, even beginners can achieve a flawless installation. This guide assumes you have basic DIY skills and covers preparation, execution, common pitfalls, and pro tips to avoid mistakes.
Step-by-Step Guide
1. Choose the Right Laser Level
There are several types of laser levels: manual line lasers, self-leveling cross-line lasers, and rotary lasers. For floating shelves, a self-leveling cross-line laser is ideal because it quickly projects horizontal and vertical lines without manual adjustment. Look for one with an accuracy of at least ±1/8″ at 30 feet and a bright, visible beam indoors.
Key features to consider:
- Self-leveling mechanism for fast setup
- Magnetic base or tripod mount for versatility
- Rechargeable battery for extended use
- Lock function to protect the pendulum during transport
Investing in a reliable laser level reduces frustration and increases accuracy. If you plan multiple projects, consider options with both cross-line and plumb-point functions.
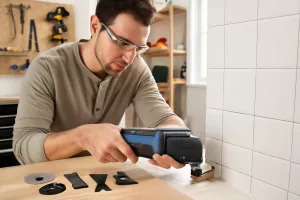
2. Gather Tools and Materials
Before you begin, make sure you have all necessary tools:
- Laser level
- Tripod or magnetic mount
- Measuring tape
- Pencil or chalk line
- Drill with appropriate bit
- Wall anchors or masonry anchors (depending on wall type)
- Screwdriver or impact driver
- Floating shelf brackets and screws
- Stud finder
Organize these materials on a workbench or sturdy surface. A dedicated workspace helps you focus and prevents misplacing small parts. For workshop setup ideas, see our workshop setup checklist.
3. Prepare the Wall
Use a stud finder to locate studs behind the drywall. Mark stud centers lightly with a pencil. Mounting shelf brackets into studs adds strength and prevents sagging. If studs don’t align with your desired shelf placement, choose heavy-duty wall anchors rated for the shelf’s load.
Clean the wall surface to remove dust or debris that could interfere with the laser beam or bracket alignment.
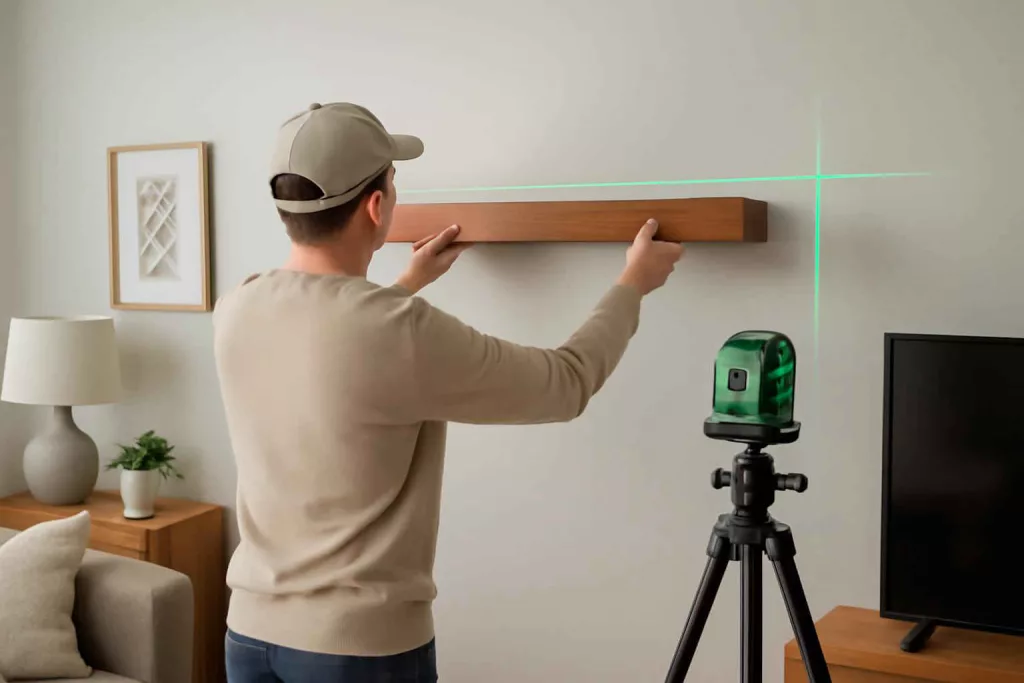
4. Set Up and Calibrate the Laser Level
Place the laser level on a tripod or attach it to a magnetic mount at roughly chest height. Turn it on and allow the self-leveling mechanism to stabilize. The beam should project a perfectly horizontal line across the wall. Verify calibration by marking the beam at two points 5 feet apart and rechecking at 10 feet; the beam should align at both points.
If you don’t have a laser level yet, you can learn more about similar measuring tools like the laser distance measurer for other home projects.
5. Mark Shelf Height and Bracket Positions
Decide the desired height for your floating shelves. Use the laser beam as your reference line and mark the height on the wall with a pencil. For multiple shelves, note the spacing between them, ensuring enough clearance for items you’ll display.
Next, on the reference line, mark the bracket holes—typically two or more per bracket—ensuring they’re level. Double-check distances between brackets so the shelf weight distributes evenly.
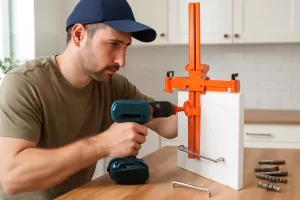
6. Drill Pilot Holes and Install Anchors
Select a drill bit matching your anchor size. Drill pilot holes at all marked points, using steady pressure and keeping the drill perpendicular to the wall. For masonry walls, switch to a masonry bit and use appropriate anchors.
Insert anchors flush with the wall surface. Tap them gently with a hammer if needed. Proper anchors ensure the brackets hold firm under load.
7. Mount Floating Shelf Brackets
Align each bracket with the drilled holes. Drive screws through the bracket holes into the anchors or studs. Use a screwdriver or impact driver on low torque to avoid stripping screws. Tighten until the bracket feels solid and doesn’t move.
8. Align and Attach the Shelf
Slide the shelf onto the mounted brackets. The laser beam helps confirm the shelf sits level—look for any gap between the beam and the shelf edge. Adjust as needed by loosening bracket screws slightly, repositioning, then re-tightening.
9. Final Check
Step back and visually inspect the shelf. Use a carpenter’s level to confirm the laser beam alignment. Place a few lightweight items on the shelf and recheck—shelves often shift slightly when loaded.
Practical Example
Imagine you’ve just bought a pair of floating shelves to display family photos above your living room console. You plan to hang two shelves, spaced 12 inches apart. After positioning the laser level on a tripod in the center of the wall, you turn it on and let it self-level. The bright green beam clearly marks your reference height at 60 inches off the floor.
You mark bracket positions at 60 and 72 inches for the second shelf. With the stud finder, you locate two studs at 16-inch intervals and adjust bracket placement slightly to hit both studs. After drilling pilot holes and installing anchors on non-stud points, you mount the brackets securely.
Sliding the shelves onto the brackets, you notice the top shelf tilts slightly downward. You loosen one bracket screw, nudge the bracket up by a millimeter, and retighten. The shelf now aligns with the laser beam perfectly. You place photo frames and small potted plants—everything sits straight, and the installation looks professional.
Common Mistakes
- Ignoring Calibration: Failing to verify the laser’s accuracy can lead to uneven shelves. Always test alignment at two distant points.
- Skipping Stud Finder: Mounting heavy shelves only with anchors risks pull-out. Locate studs or use high-weight-rated anchors.
- Overdrilling Pilot Holes: Holes too large for anchors or screws reduce holding power. Match bit size to anchor diameter.
- Rushing Alignment: Tightening screws before fine-tuning positions can lock shelves slightly off-level. Always make minor adjustments first.
- Poor Lighting: A faint laser beam in bright light may lead to misreading. Dim overhead lights or close window shades for better visibility.
Tips to Improve Your Workflow
- Use a Laser Detector: For long walls or bright rooms, pair your laser level with a detector for precise beam location.
- Mark Reference Lines on Adjacent Walls: When hanging multiple shelves or aligning with other fixtures, extend the beam onto side walls for consistent height.
- Charge Batteries in Advance: A mid-project power loss can disrupt workflow. Keep spare batteries or a charger nearby.
- Store the Laser Properly: Protect the pendulum by engaging the lock and using a padded case. Consider magnetic tool holders in your workshop for easy storage.
- Combine with a Chalk Line: For long runs of shelves, snap a chalk line along the laser beam first, then mark drilling points without keeping the laser on continuously.
Conclusion
Installing floating shelves with a laser level transforms a tricky DIY task into a straightforward project. By choosing the right tool, preparing your workspace, and following this step-by-step guide, you’ll achieve professional results without the guesswork. Remember to calibrate your laser, locate studs, and double-check alignment under load.
Ready to upgrade your wall storage? Grab a reliable laser level, gather your tools, and get started today. With practice and the tips above, you’ll master precise shelf installation and tackle more home improvement projects with confidence.