Replacing the vacuum cleaner belt may seem daunting, but it’s a quick maintenance task that can restore lost suction and brush roll performance. Whether your upright vacuum isn’t picking up debris like it used to or the brush roll isn’t spinning at all, learning how to replace vacuum cleaner belt can save you money and keep your home cleaning routine on track. In this guide, we’ll walk through the entire process step by step, from identifying a worn belt to choosing the right replacement parts. For a hassle-free solution, consider grabbing a vacuum belt replacement kit before you begin.
Signs Your Vacuum Belt Needs Replacement
Vacuum belts are made of durable rubber, but over time they stretch, crack, or break, leading to decreased cleaning efficiency. Recognizing these warning signs early can prevent further damage to the brush roll and motor shaft:
Reduced Suction Power and Visible Debris
If you notice that dirt and pet hair remain on carpets after a thorough pass with your vacuum, a failing belt might be the culprit. Worn belts slip on the brush roll pulley, causing the bristles to drag instead of agitate the carpet fibers. This slipping prevents the vacuum from picking up debris effectively. Regularly checking your vacuum’s performance and cleaning out the dust cup will help you determine whether poor suction is due to a clogged filter or a weakened belt.
Brush Roll Isn’t Spinning
The most obvious sign of a broken or slipped belt is a stationary brush roll. When you turn on your vacuum, you should hear the belt drive the roller brush at high speed. If the brush remains still while the motor hums, the belt is likely stretched or snapped. Continuing to run the vacuum in this state can cause the motor to overheat or the brush roll bearings to wear out.
Screeching or Burning Smell
A slipping belt often produces a high-pitched squealing noise as the rubber rubs against the motor pulley. Additionally, a burning rubber smell signals excessive friction. Ignoring these signs can lead to belt disintegration, leaving fragments inside the vacuum housing and potentially damaging internal components.
Visible Cracks or Fraying
Perform a quick visual inspection of the belt during routine maintenance. Remove the vacuum’s base plate and examine the belt for cracks, glazing, or frayed edges. If you spot any irregularities, it’s time to install a new belt. Having replacement parts on hand, such as a universal vacuum belt replacement kit, will make the process seamless.
Tools and Materials You’ll Need
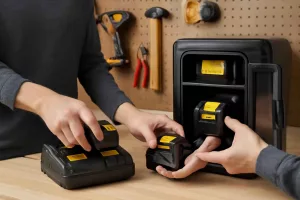
Before diving into the replacement process, gather all necessary tools and materials to avoid interruptions:
- Replacement vacuum belt: Purchase the belt compatible with your vacuum model or opt for a versatile kit. Many universal belts work across multiple upright brands.
- Precision screwdriver set: Removing the base plate and accessing the belt housing often requires Philips or flathead screwdrivers. A precision screwdriver set ensures you have the right sizes.
- Clean cloth or microfiber towel: Wipe away accumulated dust inside the housing to maintain smooth belt operation.
- Flashlight: Improves visibility when inspecting the belt path and pulley system.
- Protective gloves: Keep your hands clean and safe from sharp edges.
Having these tools organized on a workbench or a wall-mounted vacuum hose reel station in your home workshop ensures quick access. If you’re unfamiliar with vacuum parts, refer to your owner’s manual or check the manufacturer’s website for belt diagrams.
Step-by-Step Vacuum Belt Replacement Guide
Follow these steps carefully to replace vacuum cleaner belt and restore optimal brush performance:
1. Prepare Your Workspace
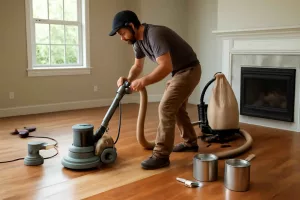
Unplug the vacuum cleaner from the power outlet for safety. Lay it on a flat surface, handle side down, and clear the surrounding area. A well-lit workspace will help you spot small screws and belt fragments. Place a cloth underneath to catch any debris that falls out.
2. Remove the Base Plate
Locate the screws holding the base plate in place—typically Philips-head screws along the edges. Using your precision screwdriver set, carefully remove each screw and store them on your cloth. Gently pry off the plate; if it’s stuck, wiggle it until it pops free without forcing to avoid damaging the plastic housing.
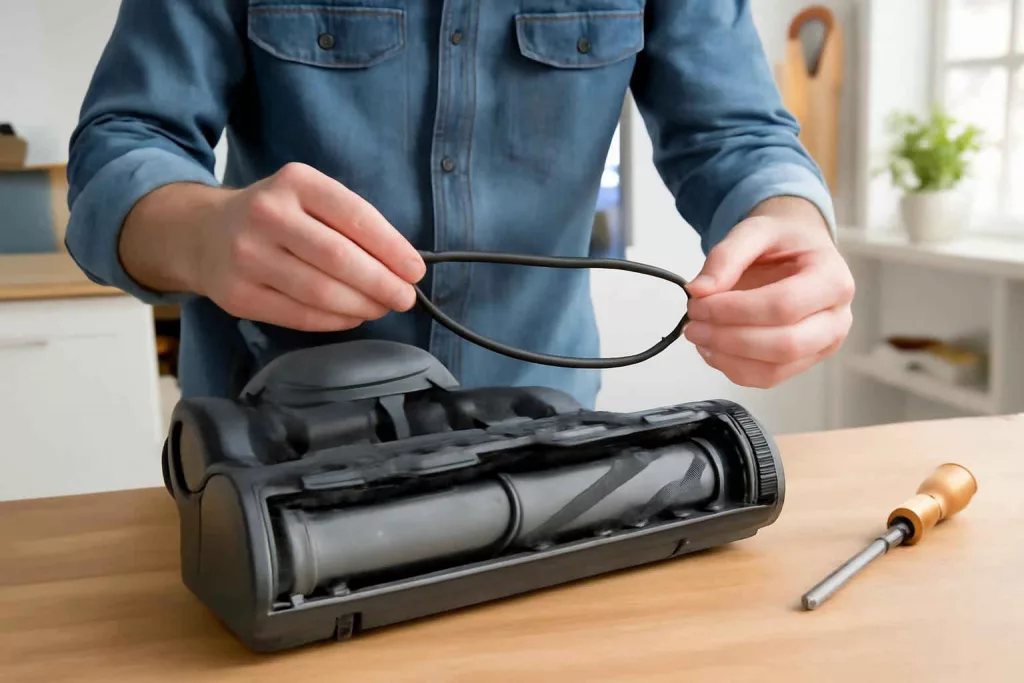
3. Inspect the Old Belt and Brush Roll
With the base plate removed, you’ll see the brush roll and belt assembly. Slide the brush roll out of its slots and inspect it for hair tangles or debris—clean it using scissors or a brush. Next, examine the belt: if it’s loose or broken, remove it from the motor shaft and brush roll pulley. Take note of the belt’s routing path before removal; you’ll need to follow the same path with the new belt.
4. Install the New Belt
Slip one end of the new belt onto the motor shaft, then loop the other end around the brush roll pulley. If the belt feels stiff, gently stretch it without overstretching—the natural tension will keep the brush roll engaged. Rotate the brush roll by hand to ensure smooth movement and correct alignment.
5. Reassemble the Vacuum
Slide the brush roll back into its housing slots, ensuring it sits flush and spins freely. Align the base plate with the housing and reinsert all screws, tightening them securely but not overtightening. Give the vacuum a gentle shake to confirm there are no loose parts.
6. Test for Proper Operation
Stand the vacuum upright, plug it in, and power it on. Listen for smooth roller spin and watch how the belt drives the brush roll. Run the vacuum on a carpeted section and test its suction. If everything sounds and feels right, you’ve successfully replaced the belt.
Maintenance Tips to Prolong Vacuum Belt Life
Regular maintenance extends the life of your new belt and ensures consistent cleaning performance. Incorporate the following habits into your routine:
- Clean the brush roll weekly: Remove hair and fibers wrapped around the roller to reduce belt strain.
- Empty or replace filters: A clogged filter forces the motor to work harder, putting additional stress on the belt.
- Check belt tension monthly: Inspect for signs of loosening or glazing. Early detection allows timely replacement and prevents further wear.
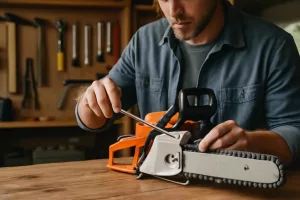
- Avoid large debris: Vacuuming larger objects or sharp debris can damage the belt and brush roll—use dedicated shop vacuums for workshop cleanups.
- Rotate brush roll direction: Some modern vacuums allow reversing the roller direction to even out wear patterns.
For homeowners seeking automated solutions that minimize manual maintenance, explore our guide on automatic vacuum mop combos. These hybrids reduce belt usage by integrating mopping functions, extending belt life.
Frequently Asked Questions
How often should I replace my vacuum belt?
Most vacuum belts last between six months to a year, depending on usage frequency and floor type. Check for wear signs every three months and replace as soon as cracks or stretching appear.
Can I use a universal belt instead of a model-specific one?
Universal belts often work across multiple brands, but always confirm diameter and width match your vacuum’s requirements. The wrong size can slip or overstrain the motor.
Is belt replacement covered under vacuum warranty?
Routine maintenance like belt replacement is typically considered homeowner responsibility and not covered by most warranties. Always refer to your manufacturer’s warranty terms.
Why is my new belt slipping?
If the replacement belt is slipping, ensure it’s correctly seated on both the motor shaft and brush pulley. Excessive dust or debris on pulleys can also cause slippage—clean both surfaces before installation.
Can I continue using my vacuum with a broken belt?
Running the motor without a functional belt can overheat the motor and damage internal rollers. Always replace the belt before operating.
Where can I find replacement belts?
You can purchase belts from vacuum manufacturer websites, local parts stores, or online retailers. A vacuum belt replacement kit is a convenient option that often includes multiple belt sizes.
Conclusion
Mastering how to replace vacuum cleaner belt empowers you to maintain peak cleaning performance and extend the life of your upright vacuum. By following this detailed guide—recognizing wear signs, gathering the right tools, and completing the step-by-step replacement—you’ll save time and money on repairs. Remember to perform routine maintenance, like cleaning the brush roll and inspecting belt tension, to prevent future issues. With the right replacement parts on hand, you’ll keep your home spotless and your vacuum running smoothly.