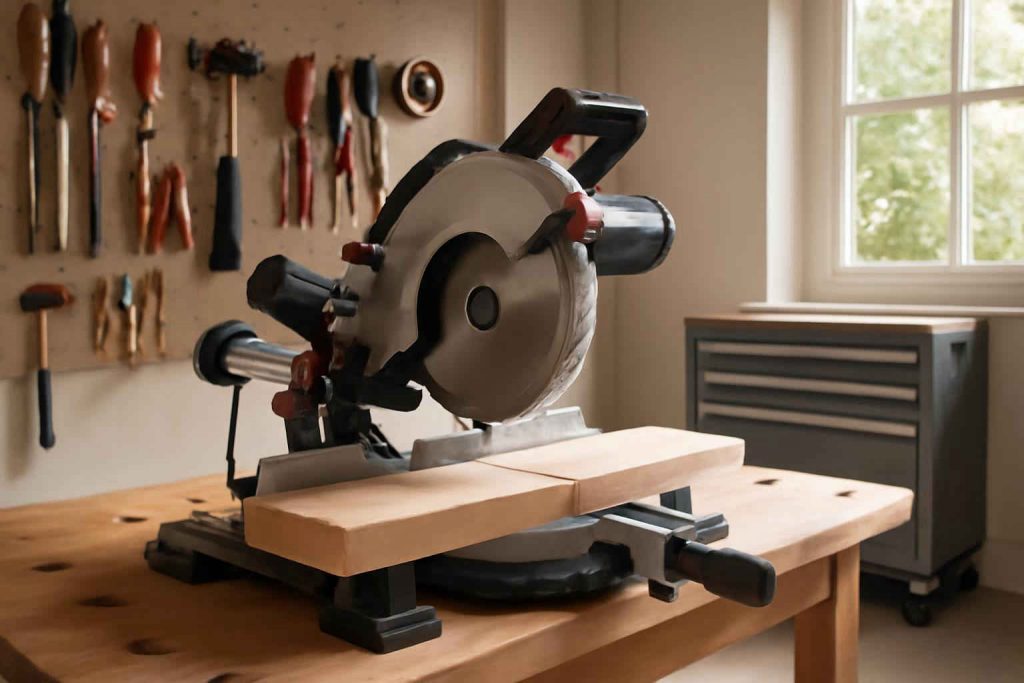
Selecting the right tool can make or break a woodworking project. A sliding compound miter saw delivers versatility, accuracy, and power for trim work, framing, and custom carpentry. Kick off your search with the top sliding compound miter saws available, or explore options directly on Amazon: sliding compound miter saws. In this sliding compound miter saw buying guide, we cover critical features, budget-friendly options, setup instructions, and maintenance strategies to maximize performance in your home workshop.
Why Choose a Sliding Compound Miter Saw for Home Projects?
Woodworking enthusiasts and DIY homeowners often debate between basic miter saws and sliding compound models. A sliding compound miter saw offers two axes of tilt—miter and bevel—while the sliding feature extends the blade’s cutting capacity. This combination allows you to make precise angled cuts on wide boards, crown molding, door frames, and picture rails without repositioning the workpiece.
Compared to a non-sliding or basic miter saw, the sliding compound design handles larger lumber up to 12 inches wide in a single cut. That extra travel capacity becomes invaluable when cutting baseboards, chair rails, or framing beams. Whether you’re installing wainscoting or building a custom cabinet, choosing the right sliding compound saw ensures clean, square cuts every time.
The sliding action also reduces material tear-out, which is critical when working with delicate hardwoods or softwoods prone to splintering. Coupled with precise miter detents—often at common angles like 15°, 22.5°, 31.6°, and 45°—you can quickly dial in repeatable settings for crown molding or picture frames. If you’re looking for the best miter saw for DIY woodworking, investing in a sliding compound miter saw pays dividends in speed and accuracy, making it one of the most versatile power tools for home workshops.
Key Features to Consider When Buying a Sliding Compound Miter Saw
Motor Power and Blade Size
When evaluating a sliding compound miter saw, motor power—measured in amps for corded models and volts for cordless variants—directly impacts cutting performance. Most corded sliding compound saws feature motors between 12 and 15 amps, sufficient for cutting hardwoods, dimensional lumber, and plywood. If you plan to tackle tougher materials like oak or maple, opt for a 15-amp motor to prevent bogging down during crosscuts.
Blade size is equally important. The standard diameter for many sliding compound miter saws is 10 or 12 inches. A 12-inch blade delivers deeper cuts and can handle wider crown molding profiles without flipping the board upside down. Conversely, 10-inch blades are lighter and more compact, making the saw easier to transport if you work at multiple job sites. Weigh your project needs: for frequent heavy-duty cutting, choose a 12-inch model; for portability and smaller trim work, a 10-inch saw may be ideal.
Sliding vs. Non-Sliding Mechanisms
Sliding compound miter saws feature rails or arms that allow the blade to move forward and backward, broadening the cutting swath. This mechanism contrasts with non-sliding models where the blade remains fixed over the turntable. Sliding saws excel at bevel cuts on large boards without requiring multiple passes, saving time and ensuring consistent angles.
However, sliding rails add weight and complexity. If your workshop space is limited or you frequently transport the saw, consider a compact sliding design or a lighter sliding rail system. Check rail lock mechanisms to ensure they are robust and easy to engage—loose rails can lead to wobble and inaccurate cuts over time.
Miter and Bevel Range
Precision miter and bevel adjustments distinguish a high-quality sliding compound miter saw from basic models. Look for positive stops at common angles (0°, 15°, 22.5°, 31.6°, 45°) to speed up repetitive cuts. Some professional-grade saws offer extended bevel capacity up to 48° or dual-bevel capabilities, allowing you to tilt the blade left or right without manually flipping the board. Dual-bevel sliding compound models streamline crown molding installation by keeping the workpiece stationary while changing bevel direction.
Accuracy is paramount. Check manufacturer specifications for angular accuracy (+/- 0.5°) and read user reviews to confirm real-world performance. Laser guides or LED cutline indicators further enhance precision by showing the exact blade path before cutting.
Dust Collection and Safety Features
Effective dust collection keeps your workspace clean and reduces airborne particles. Many sliding compound miter saws include a dust port that connects to a shop vacuum or dust collector. While most onboard collection systems capture only 70–80% of sawdust, supplementing with a high-powered shop vac improves visibility during cuts and minimizes cleanup.
Safety features such as electric brakes—instantly stopping the blade when the trigger is released—add crucial protection. Blade guards that retract smoothly without impedance, clear safety shields, and robust clamp systems secure the workpiece to prevent kickback. Always wear safety glasses, hearing protection, and a dust mask when operating a miter saw.
Top Sliding Compound Miter Saw Models Under $500
Shopping on a budget doesn’t mean sacrificing quality. Here are three top sliding compound miter saws priced under $500 that balance performance with value:
- Bosch GCM12SD: Known for its Axial-Glide system, this 12-inch saw delivers smooth sliding action with minimal rail maintenance. With a 15-amp motor and precise bevel stops, it’s ideal for framing and trim. Pros: Compact footprint, dual-bevel capability. Cons: Slightly heavier than competitors. Find it on Amazon.
- DEWALT DWS779: This popular 12-inch sliding saw offers rack-and-pinion sliding rails for stability and smooth operation. The dual-bevel design and positive stops make quick work of crown molding. Pros: Excellent dust collection port, bright cutline laser. Cons: Laser requires calibration. Shop on Amazon.
- Makita LS1019L: Featuring a 10-inch blade and compact design, this saw weighs just 45 pounds and includes a built-in laser guide. The dual-bevel system and lightweight construction make it a versatile choice for DIYers. Pros: Portability, efficient LED cut path. Cons: 10-inch blade limits depth capacity. Check it out on Amazon.
Setting Up Your Sliding Compound Miter Saw: Step-by-Step
Proper setup ensures accuracy and safety. Follow these steps to mount and align your sliding compound miter saw:
- Secure a Stable Base: Mount the saw on a robust workbench or stand. For a mobile workshop storage solution, consider building or buying a rolling tool cart—check this DIY rolling tool cart with power strip guide for plans.
- Level the Saw: Use a carpenter’s level to ensure the base is perfectly horizontal. Adjust base feet or shim as needed.
- Align the Fence and Blade: Lower the blade and align the fence so the blade just touches it at 0° miter and bevel. Confirm squareness to the blade by running a test cut on scrap wood.
- Attach Dust Collection: Connect to a shop vacuum or dust collector to minimize sawdust buildup. Ensure the port is snug to capture maximum debris.
- Install Safety Clamps: Secure a clamp system to hold stock firmly. This prevents movement and ensures consistent cuts.
- Test Miter and Bevel Stops: Rotate through each positive stop, confirming the blade aligns with preset angles accurately.
Maintenance Tips to Extend the Life of Your Miter Saw
Regular maintenance keeps your sliding compound miter saw running smoothly and safely. Here’s how to care for your saw:
- Clean After Each Use: Remove sawdust and debris from rails, pivot points, and vents using compressed air or a soft brush. Accumulated dust can cause binding and reduce rail precision.
- Lubricate Sliding Rails: Apply a dry-film lubricant or silicone spray designed for power tools. Avoid oil-based lubricants as they attract sawdust.
- Inspect the Blade: Check for dull or damaged teeth. Replace or sharpen blades regularly to ensure clean cuts and reduce motor strain.
- Check Motor Brushes: Worn brushes can cause power loss and overheating. Replace brushes if the saw exhibits reduced torque or intermittent power.
- Verify Calibration: Periodically recheck miter and bevel angles. Even minor misalignments can lead to cumulative errors in trim fitting.
Accessories and Upgrades for Enhanced Precision
Enhance your sliding compound miter saw’s capabilities with these accessories:
- High-Quality Carbide Blades: Choose blades with a high tooth count (ATB or combination tooth) for smooth crosscuts and fine finish on trim pieces.
- Digital Angle Gauge: Attach a digital protractor to verify bevel angles quickly and improve setup speed.
- Outfeed and Support Arms: Long boards require stable support. Add outfeed stands or adjustable support arms to prevent sagging and maintain cut accuracy.
- Flip Stops and Hold-Down Clamps: Flip stops allow rapid repetitive cuts at the same length, ideal for picture frames or shelf trims. Hold-down clamps secure material without manual pressure.
Safety Best Practices When Using a Sliding Compound Miter Saw
Safety is paramount when operating a high-speed blade. Follow these guidelines:
- Personal Protective Equipment (PPE): Always wear safety glasses, hearing protection, and a dust mask. Enclosed-ear muffs with integrated respirators offer combined protection.
- Stable Workpiece Support: Ensure lumber is firmly against the fence and table. Use auxiliary fences or sacrificial backers to prevent tear-out on sensitive materials.
- Keep Hands Clear: Maintain a minimum 6-inch distance from the blade path. Use push sticks or clamps for narrow cuts.
- Avoid Distractions: Focus on the cut and avoid talking or reaching for tools when the blade is spinning.
- Allow Blade to Stop: While electric brakes halt blades quickly, always wait for blades to fully stop before lifting the guard or removing cut pieces.
Conclusion
A well-chosen sliding compound miter saw is an indispensable tool for any serious DIYer or home workshop. From motor power and blade size to sliding mechanisms and safety features, understanding each specification helps you select the best miter saw for DIY projects. Whether you opt for Bosch’s Axial-Glide, DEWALT’s rack-and-pinion system, or Makita’s compact design, following proper setup and maintenance practices ensures years of reliable performance. Ready to upgrade your toolkit? Find the perfect saw on Amazon and tackle your next woodworking challenge with confidence.


