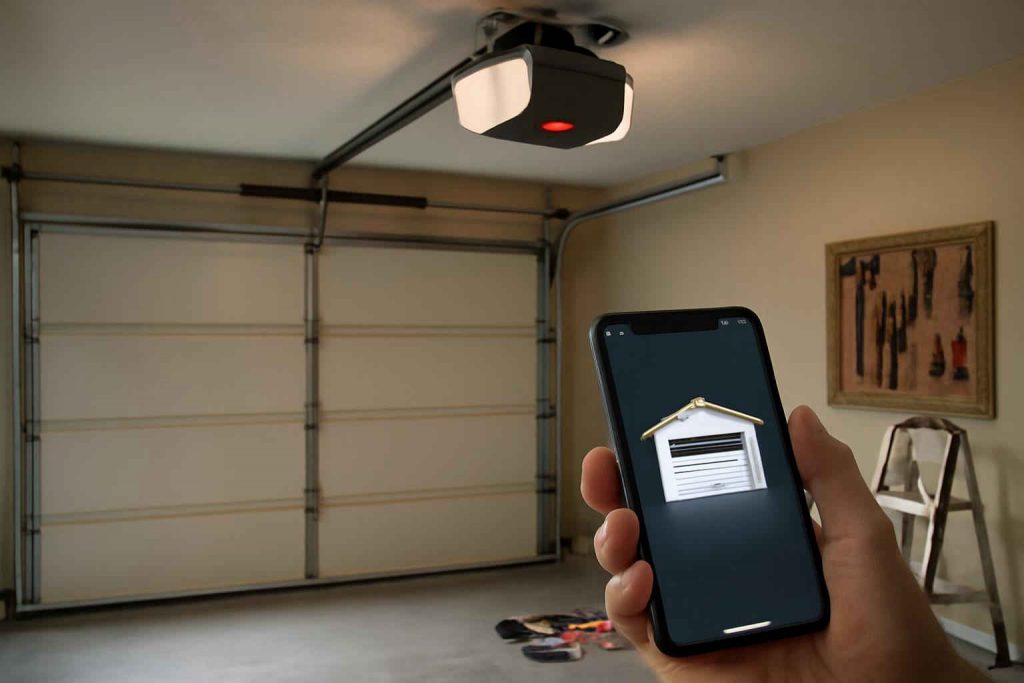
Embarking on smart garage door opener installation can transform your home access with modern convenience and enhanced security. Whether you’re a seasoned DIY enthusiast or tackling your first home automation project, this guide walks you through every step of the process. You’ll learn about essential tools and materials, discover how to choose the right Wi-Fi garage door opener, and get detailed instructions for mounting, wiring, and configuring your new smart device. By following these steps, you’ll avoid common pitfalls in DIY smart garage door opener installation and ensure a seamless integration with your existing home system. Ready to upgrade? Check out some of the top Wi-Fi garage door openers to find a model that fits your needs: smart garage door openers.
Tools and Materials Needed
Before diving into the installation, gather all required tools and supplies to streamline the process. Having everything on hand will minimize interruptions and ensure a smooth smart garage door opener installation. Below is a comprehensive list of what you’ll need:
- Smart garage door opener kit (includes motor unit, rail, trolley, sensors, and remote controls)
- Drill with a set of drill bits (1/8 inch, 1/4 inch, 3/16 inch)
- Screwdrivers (flathead and Phillips head)
- Crescent wrench or adjustable wrench
- Socket wrench set for mounting hardware
- Wire strippers and electrical tape
- Long ladder or stepladder
- Stud finder for locating ceiling joists
- Measuring tape and level
- Zip ties and cable clips for wire management
- Smartphone or tablet with Wi-Fi connection
In addition to these standard tools, you may benefit from organizing your work area with a DIY rolling tool cart to keep hardware and small parts within easy reach. Setting up your workspace in an orderly fashion can save time and reduce frustration during the installation process. Ensure the area around your garage door track is clear and well-lit before you begin.
It’s also advisable to have a helper on standby. While most steps can be handled by one person, tasks like lifting the motor unit and aligning the rail over a closed door are safer and easier with an extra set of hands.
Choosing the Right Smart Garage Door Opener
Selecting the ideal model is a critical step that can impact your daily convenience and long-term satisfaction. With an overwhelming number of options on the market, narrowing down to a unit that meets your specific requirements is key. Here are the primary factors to consider when evaluating smart garage door opener setup options:
Compatibility and Connectivity
Not all garage door openers are created equal, and compatibility with your home’s Wi-Fi network is paramount. Before purchasing, verify the following:
- Frequency Band: Many smart openers operate on a 2.4 GHz Wi-Fi band, but some newer models also support 5 GHz for faster data transfer and reduced interference.
- Network Security: Choose a unit with WPA2 or WPA3 encryption capabilities to safeguard your network and garage access credentials.
- Existing Door Mechanism: Check if your current garage door springs, rollers, and tracks are in good condition. Upgrading a worn-out door can save time and avoid installation issues down the line.
Power and Security Features
Power range and safety functionalities can differ between models. Look for these key specifications:
- Motor Power Rating: Expressed in horsepower (HP), a higher rating offers smoother operation for heavier doors. Standard residential doors typically work well with a 1/2 HP or 3/4 HP motor.
- Manual Release: In case of a power outage, a manual release rope or latch allows you to disengage the opener and operate the door manually.
- Security Measures: Rolling code encryption prevents potential intruders from capturing and replaying your remote signal. Some openers also include motion-activated lighting and built-in cameras for added surveillance.
Smartphone App and Voice Control
Ease of use via mobile apps and integration with voice assistants can enhance your daily routine. Evaluate these aspects:
- App Compatibility: Ensure the companion app works with both iOS and Android platforms. Read user reviews to gauge app stability and update frequency.
- Voice Assistant Integration: If you’re already invested in a smart home ecosystem like Amazon Alexa or Google Assistant, confirm that the opener supports voice commands for hands-free operation.
- Notification Settings: Some apps allow you to receive alerts when the door opens or closes, offering real-time monitoring when you’re away from home.
Step-by-Step Installation Guide
With preparation complete and your new device selected, it’s time for the heart of the project: smart garage door opener installation. Follow these detailed instructions for a safe and efficient setup.
Preparing the Garage Door and Opener Location
1. Power Off and Secure the Door: Disconnect any existing opener from power. Close the garage door and use C-clamps or locking pliers on the track just below the bottom roller to prevent the door from moving during installation.
2. Locate Ceiling Joists: Use a stud finder to identify solid attachment points for the rail brackets and motor unit. Mark these locations with a pencil. Always mount heavy components to structural elements, not solely to drywall or plasterboard.
3. Unpack and Inspect: Open the smart garage door opener kit and verify that all parts listed in the instruction manual are present. Check for visible damage, missing screws, or bent rails. Contact the manufacturer immediately if any components are defective.
4. Measure and Mark Rail Placement: Follow the manufacturer’s template to mark the exact distance from your garage door header to the center of the track. Use a level to ensure the rail will align perfectly with the door’s path when the trolley is engaged.
Mounting the Smart Opener Motor Unit
1. Attach Rail to Motor Unit: Connect the rail or chain assembly to the trolley on the motor unit as per instructions. Secure all bolts and nuts snugly but avoid over-tightening, which can strip threads.
2. Lift and Secure Motor Unit: With the help of a partner, lift the motor unit into position and align it with the previously marked ceiling joists. Use lag bolts and washers to fasten the mounting bracket to the joists. Double-check for level orientation before fully tightening hardware.
3. Align the Rail with the Door: Slide the trolley to the closed-door position. The tip of the rail should meet the header bracket installed above the door. Loosen rail fasteners if necessary to adjust alignment, then retighten once level.
Wiring and Power Connection
1. Install Door Sensors: Mount the infrared safety sensors on either side of the door frame, no more than six inches above the floor. Ensure sensor lenses align perfectly; misalignment will prevent the opener from closing the door.
2. Route Wires and Connect: Run the low-voltage wires from the sensors and wall control panel to the motor unit. Use cable clips or zip ties to keep wiring neat and away from moving parts. Strip wire ends and connect to the designated terminals on the opener’s control board.
3. Power Supply: Plug the opener’s power cord into a nearby outlet, ideally dedicated for the opener to prevent circuit overload. If an outlet isn’t available, hire a licensed electrician to install one. Avoid using extension cords for permanent power.
Configuring the Wi-Fi and App Setup
1. Download the Manufacturer’s App: Install the companion application on your smartphone or tablet. Create an account if required, and follow on-screen prompts for initial setup.
2. Put Opener in Pairing Mode: Locate the Wi-Fi setup button on the motor unit. Press and hold until the status LED begins to flash, indicating that the device is ready to pair.
3. Connect to Home Network: Open the app and select “Add New Device.” Enter your Wi-Fi network credentials. Wait for confirmation that the opener has successfully connected to your router.
4. Calibrate Door Limits: Use the app or onboard buttons to set the fully open and fully closed positions. Follow the manufacturer’s instructions carefully, as accurate limits prevent potential damage to the door and opener.
Integrating with Your Smart Home System
One of the greatest advantages of a smart garage door opener is seamless integration with your existing home automation ecosystem. Most modern openers support popular platforms such as:
- Amazon Alexa: Enable the developer skill in your Alexa app, then discover new devices. You can issue voice commands like “Alexa, open the garage door” once verbal confirmation settings are configured.
- Google Assistant: Link your opener’s service within the Google Home app. Manage routines that automatically open or close the garage door based on time of day or other triggers.
- IFTTT: Create custom applets to integrate your opener with additional services, such as sending text alerts when the door opens or linking the opener to motion sensors for advanced security workflows.
Consider creating automation routines that close the garage door if left open beyond a specified time, or that turn on garage lighting when the door is activated. These integrations enhance convenience and boost home safety.
Testing, Troubleshooting, and Maintenance
After completing smart garage door opener installation, thorough testing and periodic maintenance will maximize performance and lifespan. Follow these guidelines:
Initial Function Test
1. Open/Close Cycles: Using your smartphone app and any included remote controls, run the door through multiple open and close cycles. Ensure smooth operation without unusual sounds or jerking movements.
2. Sensor Check: Place an object in the door’s path and attempt to close it. The infrared sensors should detect the obstruction and reverse the door immediately. Realign or clean sensor lenses if this safety feature fails to activate.
3. Manual Release Test: Engage the manual release to disconnect the trolley from the rail. Open and close the door manually to confirm the release mechanism functions properly.
Troubleshooting Common Issues
• Door Doesn’t Close: Check sensor alignment and wiring connections. Consult the app’s error notifications for specific codes. If wiring appears damaged, refer to step-by-step electrical instructions or seek professional help.
• Wi-Fi Connection Drops: Ensure your router firmware is up-to-date and positioned near the opener for optimal signal. Consider a Wi-Fi range extender in large garages.
• No App Response: Verify account credentials and check for app updates. Restart your smartphone and the motor unit by unplugging it for 10 seconds.
Routine Maintenance
1. Lubrication: Every six months, apply a lithium-based garage door lubricant to the rail, rollers, and hinges. Wipe away excess to prevent dust accumulation.
2. Hardware Inspection: Tighten loose bolts and screws on the motor unit, rail brackets, and door hinges. A periodic check avoids excessive wear.
3. Battery Backup: If your opener includes a battery backup, test it quarterly by cutting power to the unit. Confirm the door continues to operate via the backup battery.
4. Seasonal Adjustments: Temperature changes can affect spring tension and opener force settings. Refer to your opener’s manual for instructions on recalibrating force limits.
By staying proactive with maintenance, you’ll extend the life of your opener and keep your garage operating safely and quietly. For additional maintenance projects around your home, explore our guide on rebuilding a lawn mower carburetor to keep all your equipment in top shape.
Conclusion
Completing a smart garage door opener installation on your own offers a rewarding sense of accomplishment and a significant boost in home convenience. With the right tools, precise preparation, and careful adherence to each installation step, you’ll achieve a reliable, secure, and fully integrated system. From selecting the best Wi-Fi garage door opener to configuring app controls and voice assistant routines, this DIY approach puts you in control of your home’s access points. Remember to perform regular maintenance, update firmware when available, and review safety features periodically to ensure ongoing performance.
Ready to experience smarter home living? Browse reputable models and accessories on Amazon for your next upgrade: Wi-Fi garage door opener options.


