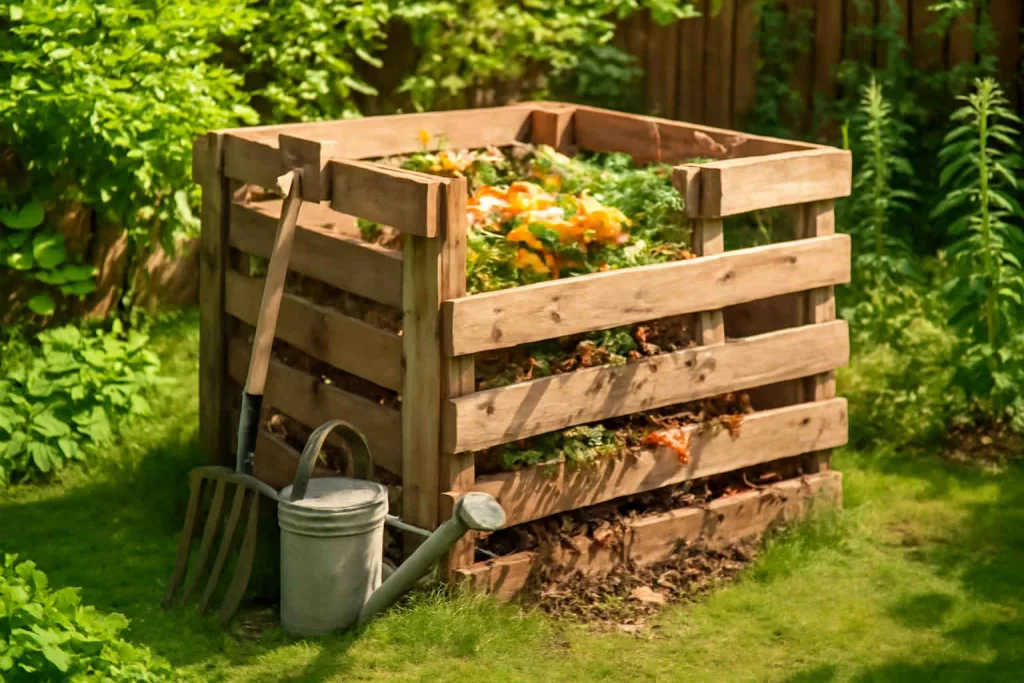
Building a compost bin from pallets is a cost-effective, eco-friendly way to recycle yard and kitchen waste into nutrient-rich compost. With just a few common tools and reclaimed pallets, you can have a functional bin up and running in a weekend.
Step-by-Step Guide
1. Gather Materials and Choose a Location
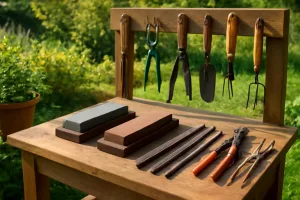
Start by collecting three or four sturdy wooden pallets in good condition—free of chemical treatments. You’ll also need galvanized screws or nails, weather-resistant hinges, and basic tools like a drill, hammer, and saw. Choose a level, well-drained spot in your garden that’s convenient for adding scraps and turning the pile. Avoid spots under dense shade or too close to structures.
2. Prepare and Inspect Pallets
Inspect each pallet for damage, protruding nails, or splinters. Sand rough edges and replace any broken boards. If you’re concerned about pallet treatments, look for the “HT” stamp indicating heat-treated wood. Lay pallets flat to ensure they stand evenly when assembled.
3. Assemble the Bin Walls
Stand three pallets upright in a U-shape, leaving the open side for access. Use galvanized screws to join corners: drive screws through the pallet frame at top and bottom, anchoring them into each other. Reinforce the joints with steel brackets if needed. If you have a fourth pallet, cut it in half to fashion a removable front panel secured with hinges—this makes turning and harvesting compost easier.
4. Add Ventilation and Drainage
Pallet slats naturally provide airflow. To improve drainage, prop the bin slightly off the ground using four concrete blocks or landscape timbers at the corners. This prevents waterlogging and encourages aerobic decomposition. Leave the bin open at the bottom so worms and microorganisms can migrate freely.
5. Start Composting
Layer brown materials (dry leaves, straw, shredded paper) and green materials (grass clippings, kitchen vegetable scraps) in roughly equal volumes. Aim for a pile at least 3 feet high to maintain heat. Occasionally insert a compost thermometer in the center to monitor temperature. When it cools, turn the pile using a garden fork every two weeks to aerate and maintain decomposition.
Practical Example
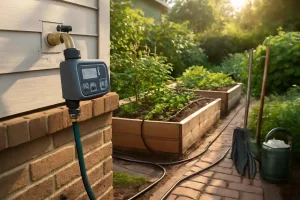
Jane, a homeowner in Illinois, needed a large compost bin but had a tight budget. She collected four pallets from a local hardware store’s free pile and chose a sunny corner beside her raised beds. After sanding and reinforcing the pallets, she installed a hinged front panel for easy access. Within a month, Jane had a hot compost pile reaching 140°F. By autumn, she harvested rich black compost to top-dress her vegetable patch. For watering the pile during dry spells, she linked to our guide on setting up a DIY drip irrigation system for container gardens to ensure consistent moisture without manual watering.
Common Mistakes
- Using chemically treated pallets—always look for “HT” marking.
- Building on uneven ground—leads to unstable walls and poor drainage.
- Skipping aeration—omitting regular turning slows decomposition.
- Overloading with wet greens—excess moisture causes odors.
- Placing bin in deep shade—lowers internal temperatures.
Tips to Improve Your Pallet Compost Bin
- Add a hinged lid or tarp to retain heat and keep rain out during heavy storms.
- Install a removable front slat for easy access to finished compost.
- Use a manual compost aerator tool to speed up turning.
- Mix in small amounts of garden soil or finished compost to introduce beneficial microbes.
- Keep a moisture gauge on hand to maintain a damp (not soggy) pile—learn more in our drip irrigation guide.
Conclusion
A pallet compost bin is an affordable, sustainable way to manage organic waste and enrich your garden soil. With basic tools and reclaimed pallets, you can build a durable bin in just a few hours. Follow proper layering, aeration, and moisture management to yield rich compost within months—perfect for boosting plant growth and reducing landfill waste.