Keeping your garden pruning shears clean and sharp ensures healthier cuts, promotes plant health, and extends tool life. With the right approach, you can quickly turn a dull, gunky pair of shears into a precise cutting instrument. In just five straightforward steps, you’ll have your shears ready for the next pruning season. Many gardeners use a precision sharpening tool—find one at pruning shears sharpener to make the job even easier.
Step-by-Step Guide to Clean and Sharpen Garden Pruning Shears
Step 1: Gather Tools and Materials
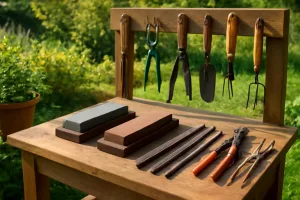
Before you begin, assemble everything you need: protective gloves, a stiff brush or old toothbrush, mild dish soap, warm water, a soft cloth or rags, a flat file or diamond sharpening stone, lubricant (like 3-in-1 oil), and a small screwdriver or Allen wrench if your shears have removable blades. Having these on hand will streamline the process. If you’re also looking to keep your workspace organized, check out our guide on organize and store seasonal outdoor power tools for tips on storing garden gear and accessories efficiently.
Step 2: Remove Dirt, Sap, and Debris
Scrub your shears under warm, soapy water using the stiff brush to loosen hardened sap and soil. Focus on the joint area where residue builds up. For really stubborn gunk, dip the brush in a vinegar solution or use a dedicated sap remover. After scrubbing, rinse thoroughly and dry completely with a clean cloth to prevent rust. Ensure every nook of the blade is free from grit, as even small particles can gouge metal during the sharpening step.
Step 3: Disassemble and Inspect the Blades
Most pruning shears allow blade removal for maintenance. Using the screwdriver or Allen wrench, loosen the pivot bolt and slide the blades apart. Lay out the components in order to simplify reassembly. Inspect each blade for deep nicks, bent tips, or cracks. Small scratches are normal, but significant damage may require blade replacement. Check the spring mechanism, handles, and pivot bolt for wear or rust. Address any parts that need replacement, ensuring smooth operation once you’ve reassembled the tool.
Step 4: Sharpen the Blades
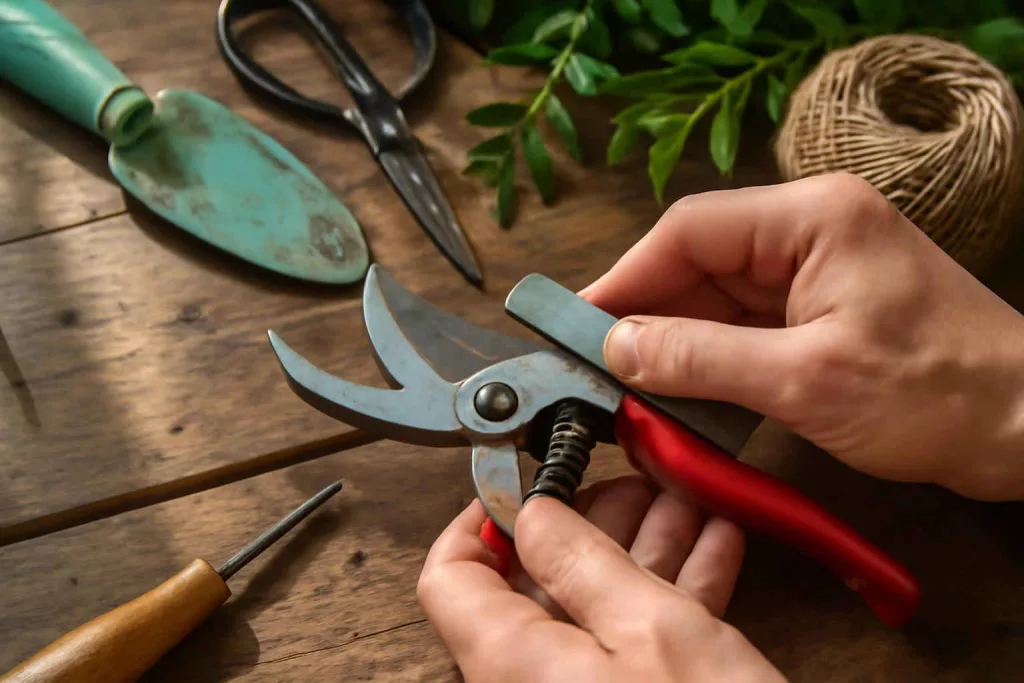
Place the blade on a stable, flat surface with the bevel facing up. Maintain the factory angle—typically around 20 degrees—while you work. With a flat file or diamond sharpening stone, stroke the blade from the base to the tip in one direction, applying even pressure. Keep your strokes consistent, and count each pass to maintain uniformity. After several passes, test the edge by gently running a leaf across the blade; a sharp bevel will slice cleanly. Repeat on the other blade if it has a bevel edge. Avoid sharpening the flat side of bypass shears, which only needs to remain smooth.
Step 5: Reassemble, Lubricate, and Test
Once sharpening is complete, reassemble the shears in reverse order. Before tightening the pivot bolt fully, apply a drop of lubricant to the joint and blade surfaces to reduce friction and prevent rust. Run the shears open and closed repeatedly to distribute the oil. Tighten the pivot bolt so the blades move smoothly without excessive play. Finally, test on a healthy branch or a piece of paper; a clean cut with minimal effort signals successful maintenance.
Practical Example
Imagine you just finished pruning rose bushes that left your shears coated in sticky sap. Follow these steps exactly: start by wiping off fresh residue with a rag. Next, soak the blades in warm, soapy water for five minutes. Using your brush, loosen saps spots before disassembling the shear by loosening the Allen bolt. Lay the blades on your workbench and examine a small nick near the tip—this calls for extra sharpening strokes. With your diamond stone, make 10 passes along the bevel at the factory angle, then check the edge’s feel. After sharpening both blades, reassemble, add lubricant at the pivot, and adjust tension. Your garden shears now glide through woody stems effortlessly. For ongoing care, store them on a magnetic tool holder for workshop walls to keep them accessible and protected.
Common Mistakes to Avoid
- Using the Wrong Angle: Sharpening at too steep or too shallow an angle can ruin the blade’s cutting profile and lead to uneven edges.
- Over-Sharpening: Excessive filing removes too much metal, weakening the blade and shortening its lifespan.
- Neglecting Lubrication: Failing to oil pivot points and blades encourages rust and stiff action, making future cleaning harder.
- Skipping Disassembly: Sharpening without taking the shears apart can trap debris inside and lead to uneven results.
- Ignoring Safety: Not wearing gloves or protective eyewear increases the risk of cuts or metal shards during sharpening.
- Using a Dull File or Stone: A worn sharpening tool makes the process slow and inefficient, and may not restore a sharp edge.
Tips to Improve Your Shear Maintenance Routine
- Clean After Every Use: Quickly wipe down blades to prevent residue buildup and reduce the frequency of deep cleans.
- Store in a Dry Place: Keep shears indoors or in a sealed toolbox to avoid moisture and dirt exposure.
- Check Tension Regularly: Adjust the pivot bolt if handles separate too much or if blades feel too tight when operating.
- Use Protective Covers: Blade guards prevent accidents and protect edges from nicks while stored in a shed or garage.
- Rotate Tools Seasonally: If you own multiple pairs of shears, alternate their use to ensure even wear and longer overall life.
- Upgrade to Quality Sharpeners: Investing in a diamond stone or a guided sharpening system can yield more consistent edges.
- Keep Spare Parts on Hand: Springs, pivot bolts, and even replacement blades should be readily available for quick repairs.
- Document Your Process: Note sharpening dates and techniques in a maintenance log to track what works best for your specific tools.
Conclusion
Regularly cleaning and sharpening your garden pruning shears is an easy way to maintain healthy plants, ensure clean cuts, and extend the life of your tools. By gathering the right materials, following our five-step process, and avoiding common mistakes, you’ll consistently achieve professional results. Remember to oil moving parts, store shears properly, and sharpen at the correct angle to keep your garden gear ready for action. Invest a little time in routine care now—your future self and your plants will thank you.