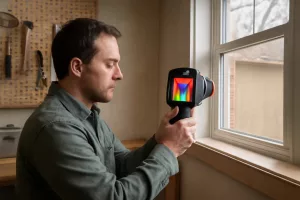
Creating reliable tactical home defense gear doesn’t require a big budget or professional installation. By leveraging your workshop’s existing power tools, organizers, and a few key accessories, you can design and build custom security solutions tailor-made for your home. In this guide, you’ll find step-by-step projects—complete with tool lists, material recommendations, and clear instructions—to reinforce entry points, conceal essential items, and maintain your equipment. Whether you’re a DIY enthusiast or a homeowner looking for practical ways to boost safety, these hands-on projects will help you get the job done.
Choosing the Right Tactical Home Defense Gear for DIY Projects
Before diving into the projects, it’s important to select gear that balances durability, effectiveness, and compatibility with basic workshop tools. Focus on long-lasting materials like hardened steel, impact-resistant plastics, and weatherproof finishes. Your shopping list should include foundational items such as heavy-duty deadbolts, tactical LED flashlights, and modular organizers. For example, tactical flashlights with adjustable beam modes are versatile for both indoor inspections and outdoor perimeter lighting.
When researching specific products, look for user reviews that highlight ease of installation and longevity. Check out our low-profile tactical gear recommendations for concealed essentials that integrate seamlessly with your existing decor. You’ll also want to consider storage solutions—our Safe Home Gear Essentials article covers power tool and organizer setups perfectly suited for a neat workshop environment.
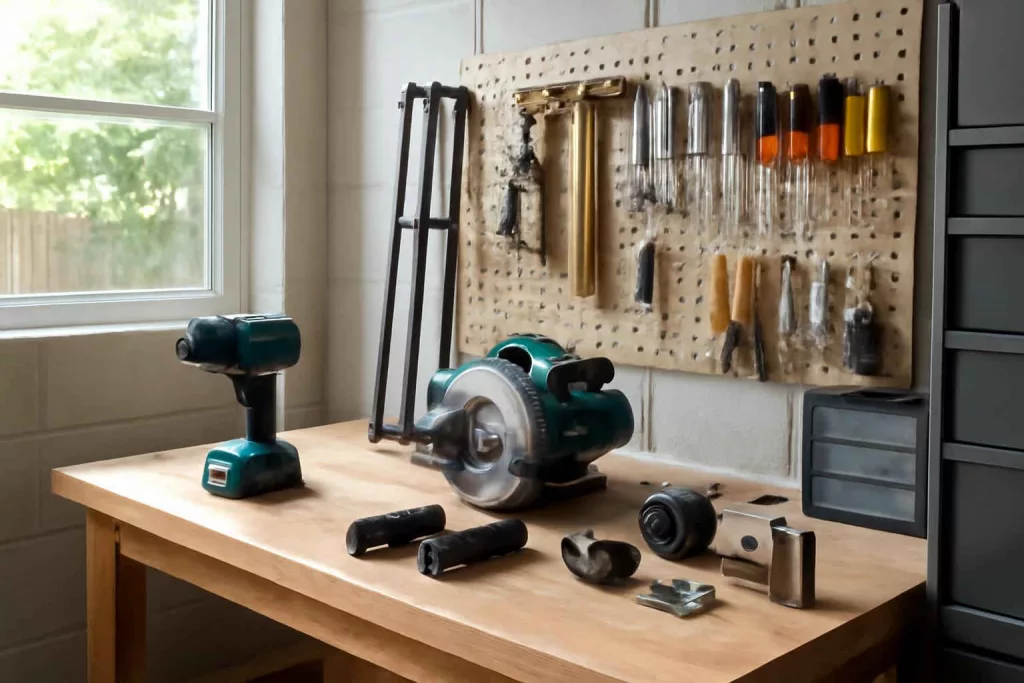
With your primary items in hand and a stocked tool chest—drills, saws, and fastening kits—you’re ready to tackle these five DIY projects. Each builds on familiar workshop practices while delivering tailored tactical enhancements for your home’s security.
Project 1: Reinforce Entry Doors with Heavy-Duty Deadbolts
One of the most effective DIY upgrades is installing a high-strength deadbolt on your main entry door. Standard locks often fail under force, but a Grade 1 deadbolt fortified with a reinforced strike plate can resist kicking and prying attempts.
Materials and Tools Needed:
- Grade 1 deadbolt lock kit
- Reinforced strike plate with long screws
- Power drill with wood and metal bits
- Chisel and hammer
- Measuring tape and pencil
Step-by-Step:
- Measure and mark: Use your tape to find the recommended height (usually 6 inches above the existing handle) and outline the lock body on the door edge.
- Drill the lock body hole: With a hole saw attachment, drill through the door face and edge to create the lock pocket. Clean up edges with a chisel for a snug fit.
- Install the deadbolt: Slide the lock assembly into place, secure with screws, and ensure the bolt extends and retracts smoothly.
- Reinforce the strike plate: On the door jamb, chisel a recess for the plate, then fasten it using 3-inch screws that penetrate deep into the framing stud.
- Test operation: Confirm smooth locking and unlocking. Adjust the strike plate or bolt alignment if necessary.
This simple upgrade can be completed in under an hour, providing a solid first line of defense. For a guide on maintaining your new hardware, see our maintenance tips section.
Project 2: Install Tactical LED Floodlights on Exteriors
Illuminating potential entry points deters intruders and gives you clear visibility around your home’s perimeter. DIY tactical floodlights combine bright output, motion sensors, and rugged housing that stands up to the elements.
Materials and Tools Needed:
- Weatherproof LED floodlight kit with motion sensor
- Outdoor-rated electrical box and conduit
- Wire connectors and waterproof sealant
- Drill and Masonry bits (if installing on brick)
- Screwdriver and level
Step-by-Step:
- Choose locations: Identify dark corners, driveways, and entryways. Mount lights 8–10 feet high for optimal coverage.
- Install electrical box: Cut a hole and secure the box. Run conduit back to your home’s junction box, pulling wire for hot, neutral, and ground.
- Connect wiring: Match colors (black to black, white to white, green to ground), secure with connectors, and apply sealant to prevent moisture intrusion.
- Mount the fixture: Use anchors for masonry or wood screws for siding. Level and tighten all fasteners.
- Adjust sensor settings: Test detection range and light duration. Aim the sensor toward the most vulnerable approach paths.
High-output LED floodlights provide reliable nighttime deterrence. For guidance on tool organization after installation, reference our organizer setup guide.
Project 3: Build a Concealed Weapon Storage Organizer
Quick access to defensive tools is key during emergencies. A hidden drawer or wall-mounted organizer can keep tactical flashlights, multi-tools, and non-lethal deterrents within reach but out of plain sight.
Materials and Tools Needed:
- Plywood or MDF board for drawer frame
- Heavy-duty drawer slides
- Velcro straps or EVA foam inserts
- Power drill, jigsaw, and router
- Mounting brackets and hardware
- Paint or veneer to match décor
Step-by-Step:
- Measure installation area: Under a shelf, within a cabinet, or inside a closet wall. Note depth and clearance for the drawer slides.
- Cut the drawer components: Use the jigsaw to cut side, front, back, and bottom panels. Route the edges for smooth insertion.
- Install slides: Attach one side to the drawer box, the other to the mounting surface. Ensure level alignment for seamless operation.
- Add organizers: Secure EVA foam cutouts or Velcro straps inside to keep items from shifting. Label discreetly if desired.
- Finish and conceal: Paint or apply veneer. If inside a cabinet, consider a hidden latch. Test smooth opening and silent closing.
This DIY concealed organizer offers rapid access without advertising its contents. For product ideas, browse Amazon’s selection of concealed drawer organizers.
Project 4: Fabricate a Tactical Window Security Bar with Power Tools
Windows are common weak points in home defenses. A removable security bar made of steel tubing can prevent forced entry while allowing easy removal from the inside.
Materials and Tools Needed:
- Hardened steel tubing (e.g., 1″ diameter)
- Adjustable locking bracket kit
- Metal cutting blade for circular saw or chop saw
- Drill and metal bits
- Protective finish spray (powder coat or enamel)
Step-by-Step:
- Measure window frame: Account for depth and width. Subtract 1/2″ for smooth insertion.
- Cut tubing to length: Use a chop saw with a metal blade. Deburr edges with a file.
- Install brackets: Attach one side permanently to the window sill or jamb. The other bracket holds the bar when in place.
- Test fit: Slide the bar in and out. Ensure a snug fit without excessive force.
- Apply finish: Coat with rust-resistant spray. Let cure fully before use.
These bars add a robust layer of defense for sliding or double-hung windows. Keep one bar for each entry-level window to ensure coverage. For more detailed hardware advice, review our home improvement tool comparisons.
Project 5: Maintain and Clean Your Tactical Gear with Vacuum Accessories
After installing and using tactical gear, upkeep is essential for reliability. Dust, debris, and corrosion can degrade performance. Harness your workshop vacuum or a portable vacuum cleaner to clean small parts, Rails, and crevices.
Materials and Tools Needed:
- Portable vacuum cleaner with crevice and brush attachments
- Compressed air canister
- Dry cloth and silicone-based lubricant
- Cleaning solvent for metal surfaces
Step-by-Step:
- Disassemble gear: Remove batteries from flashlights, detach slides from organizers, and take apart locks per manufacturer instructions.
- Vacuum loose debris: Use the crevice attachment to remove dust from rails, screw holes, and tight spots.
- Blow out fine particles: Aim compressed air into barrel, lock chambers, and sensor housings.
- Wipe and lubricate: Dampen a cloth with cleaning solvent, wipe metal surfaces, then apply a thin coat of silicone lubricant to moving parts.
- Reassemble and test: Once dry, put items back together. Verify smooth operation before reinstalling.
For tips on vacuum maintenance and best practices, see our guide on robot vacuum maintenance—the principles apply to any portable vacuum model you own.
Conclusion
By following these five DIY tactical home defense gear projects, you’ll significantly enhance your home’s safety without calling in professionals. From high-strength deadbolts and motion-activated floodlights to concealed organizers and window security bars, each build leverages common workshop tools and straightforward techniques. Regular maintenance using vacuum cleaners and proper lubricants ensures long-term reliability. Gather your power tools, stock your organizer, and take control of your home’s defenses today—your future peace of mind depends on the preparations you make now.
Ready to organize your new gear? Check out this tactical gear organizer on Amazon to keep everything in order.