The best smart light switches for home automation are Wi-Fi-enabled models like the Lutron Caseta, TP-Link Kasa HS200, and Leviton Decora Smart. They work with existing wiring, support voice assistants, and deliver reliable performance. In this guide, you’ll learn how to choose, install, and optimize smart switches for energy savings and ultimate convenience, with practical examples and step-by-step instructions.
What Are Smart Light Switches?
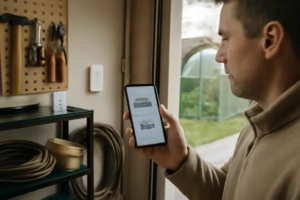
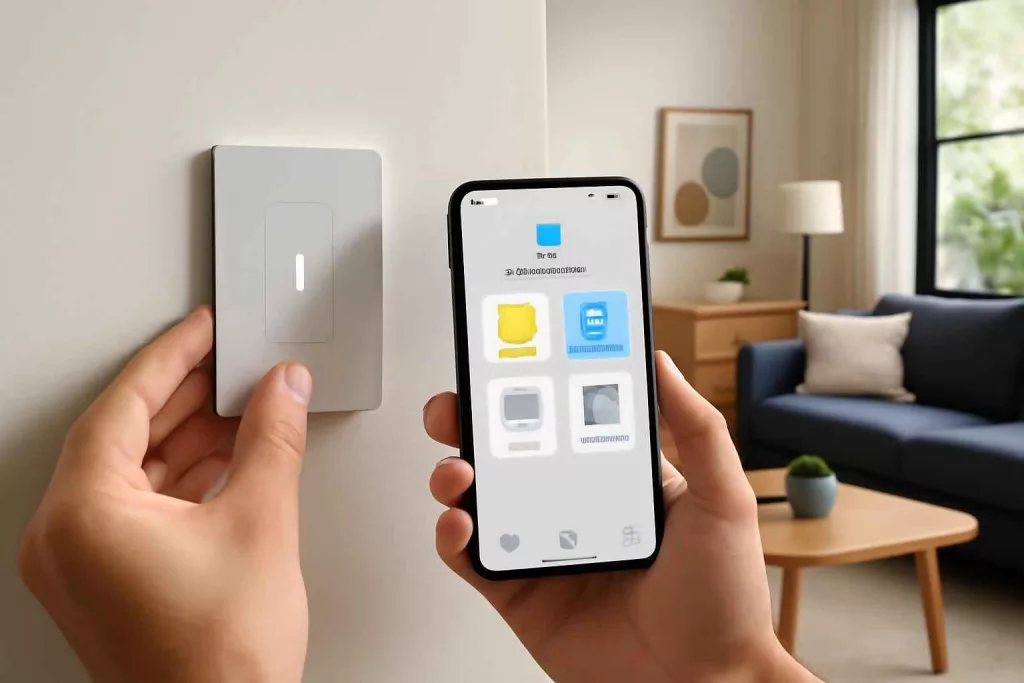
Smart light switches replace traditional wall switches, allowing you to control lighting via smartphone apps, voice commands, or automation routines. Unlike smart bulbs, smart switches integrate directly into your home’s wiring, controlling one or multiple fixtures without needing special lamps. They can connect via Wi-Fi, Zigbee, Z-Wave, or proprietary protocols, offering options for every smart home platform.
Key features include:
- Remote control: Turn lights on or off from anywhere using a smartphone app. Shop smart light switches
- Voice integration: Works with Amazon Alexa, Google Assistant, and Apple HomeKit.
- Scheduling & scenes: Automate lighting based on time, sunset/sunrise, or other triggers.
- Energy monitoring: Track usage and optimize for savings.
Key Benefits of Installing Smart Light Switches
Moving beyond simple on/off control, smart switches offer significant benefits:
1. Convenience and Safety
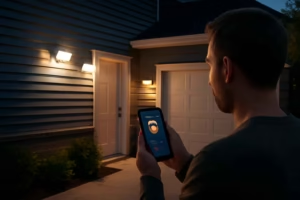
Control all home lighting from one app or voice command. Schedule lights to turn on before you arrive, deterring intruders. With geofencing features, lights can switch on automatically when you approach home, adding a layer of safety.
2. Energy Efficiency
Smart switches often include energy monitoring tools. You can view usage patterns and adjust schedules to reduce wasted electricity. Pair them with a Home Energy Monitoring System to get granular insights.
3. Integration with Home Automation
Link lighting to other smart devices: have lights dim when the TV turns on, or flash when your smart doorbell rings. Most smart switches integrate with platforms such as SmartThings, HomeKit, or your preferred hub.
How to Choose the Right Smart Light Switch
Selecting the perfect smart switch depends on home wiring, automation needs, and platform compatibility. Consider these factors:
- Neutral Wire Requirement: Most smart switches need a neutral wire. Verify your switch box has one.
- Load Type: Confirm the switch supports LED, CFL, or motor loads like ceiling fans.
- Automation Protocol: Wi-Fi for direct app control, Zigbee/Z-Wave for hub-based networks, or proprietary like Lutron Clear Connect.
- Single-Pole vs. 3-Way: Determine if you have multi-switch setups and choose the correct model.
- Voice Assistant: Ensure compatibility with Alexa, Google Assistant, or Siri if you rely on voice control.
Step-by-Step Installation Guide
Follow these steps to install a Wi-Fi smart light switch. Always consult local electrical codes and consider hiring a professional if unsure.
Step 1: Gather Tools and Materials
- Voltage tester
- Flathead and Phillips screwdrivers
- Wire stripper and cutter
- Smart switch kit (includes wires and faceplate)
- Wire nuts and electrical tape
Step 2: Turn Off Power
Locate the circuit breaker for the switch you’re replacing. Use the voltage tester to confirm the power is off.
Step 3: Remove Existing Switch
Unscrew the wall plate, then the switch. Carefully pull it from the box, exposing wires. Label the existing hot, load, neutral (if present), and ground wires.
Step 4: Connect the New Switch
- Attach the ground wire to the green terminal on the new switch.
- Connect the neutral wire (usually white) to the switch’s neutral lead.
- Connect the hot wire to the common terminal.
- Connect the load wire to the load terminal.
- Secure connections with wire nuts and wrap with tape.
Step 5: Mount and Restore Power
Carefully push the switch into the box, screw it in place, and install the faceplate. Turn the breaker back on and test the switch manually.
Step 6: Configure the App
Download the switch manufacturer’s app (e.g., Kasa, Leviton). Follow on-screen instructions to add a new device, connect to Wi-Fi, and assign the switch to rooms or groups.
Practical Example: Installing the TP-Link Kasa HS200 in Your Living Room
Imagine upgrading the main light switch in your living room with the TP-Link Kasa HS200. Here’s how it plays out:
- You verify the neutral wire at the back of the box.
- After a quick swap, the new switch is wired in minutes.
- In the Kasa app, you create a “Movie Night” scene that dims lights to 50% and integrates with your smart curtain controller.
- Voice commands like “Alexa, movie mode” instantly set the mood.
- Energy data shows your lights consumed 20% less power compared to before.
This real-world scenario highlights ease of installation, improved comfort, and energy savings.
Common Mistakes to Avoid
- Skipping Power Off Verification: Always test with a voltage tester. Never assume the breaker off covers your circuit.
- Forgetting the Neutral Wire: Installing a smart switch without a neutral will result in flickering or failure.
- Incorrect Load Wiring: Mixing hot and load leads can prevent the switch from working and pose a safety risk.
- Neglecting App Firmware Updates: Missing updates can lead to connectivity issues and security gaps.
- Overloading the Circuit: Adding multiple high-wattage loads to one switch can trip breakers.
Tips to Improve Your Smart Lighting Setup
- Group Switches and Scenes: Organize switches by room or function for one-tap control.
- Use Schedules and Geofencing: Automate lights to match sunrise/sunset or your location.
- Enable Voice Commands: Link switches to Alexa routines or Siri shortcuts for hands-free control.
- Monitor Energy Usage: Combine with a smart plug or energy monitoring hub for detailed insights.
- Backup Configuration: Export your scenes and settings within the app to save time after resets.
Conclusion
Switching to smart light switches like the Lutron Caseta, TP-Link Kasa HS200, or Leviton Decora Smart transforms your home’s lighting control with convenience, safety, and energy savings. Follow the installation guide, avoid common mistakes, and use the tips above to fine-tune your setup. Ready to upgrade? Start by picking one of the top models and enjoy effortless, automated lighting all year round.
Discover more on smart home automation in our step-by-step guide to automating smart window blinds and elevate your home’s comfort and efficiency.