Winterizing your pressure washer protects its pump, hoses, and internal parts from freeze damage and corrosion. Disconnect the unit, drain all water, and flush protective antifreeze through the system before storing in a dry, covered space. By following this guide, you’ll extend the life of your machine and avoid costly repairs.
Step-by-Step Guide
1. Turn Off, Depressurize, and Disconnect
Before you begin, switch off the engine or electric motor and release any residual pressure. Squeeze the trigger on the spray gun until water stops flowing. Then disconnect the high-pressure hose, garden hose, spray gun, and nozzles. This prevents water from remaining under pressure and damaging seals when it freezes.
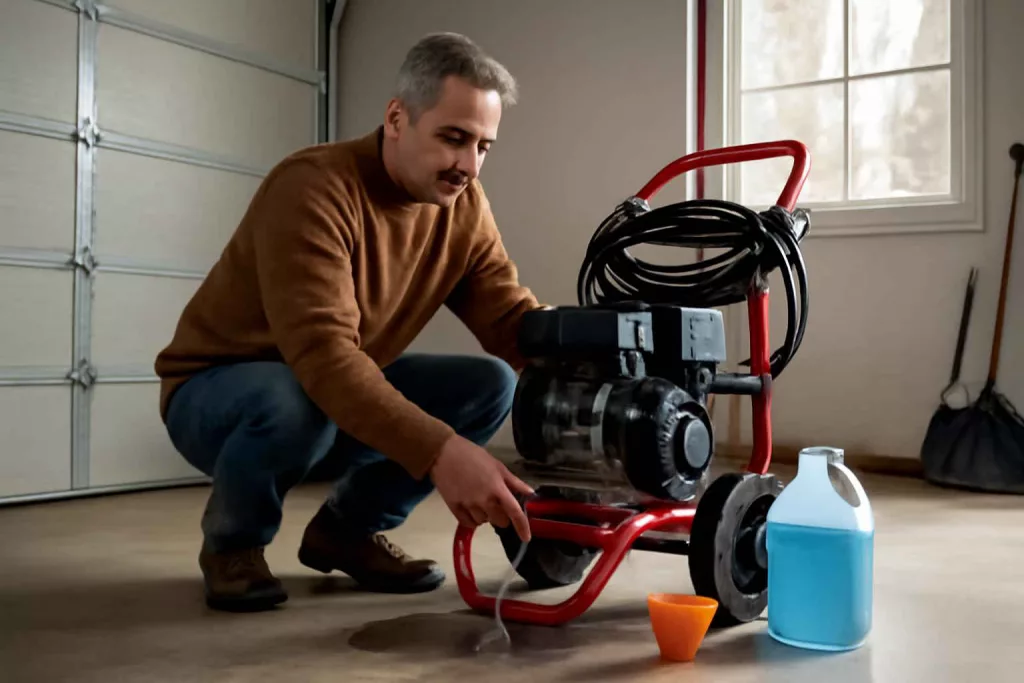
2. Drain Water from Pump and Hoses
Lift the pressure washer slightly to angle the pump downward—or use its built-in drains if available—and remove drain plugs. Let water flow out until it stops. Next, run your finger along the hoses to force any trapped water toward the ends. Detach the hose from the pump and tip it up to drain every drop.
3. Clear Detergent Lines
If you used detergent during the last cleaning session, flush the system with clean water. Fill the detergent tank with plain water, then run the washer briefly. This clears soap residue that can gum up lines or cause corrosion over winter.
4. Flush with Pump Saver or Antifreeze
Add a commercial pump saver solution or non-toxic RV antifreeze designed for winterizing water systems. Pour the recommended amount into the water inlet, then pull the trigger until the antifreeze emerges from the nozzle. This protective film coats internal components and prevents freeze cracks.
5. Lubricate the Pump
Check your owner’s manual for lubrication points. Apply a few drops of pump oil or general-purpose lubricant to the inlet and outlet valves. This keeps seals supple and stops rust. Some models have specific pump oil reservoirs—top these off according to the manual.
6. Clean and Dry the Exterior
Wipe down the frame, engine cover, spray gun, and nozzles with a clean cloth. Remove grass clippings, mud, and debris that could trap moisture and lead to rust. Let all parts air dry in a well-ventilated area before storing.
7. Inspect and Store Accessories
Lay out nozzles, spray tips, and wands. Check O-rings for wear and replace if needed. Store small parts in labeled plastic bags or a bin to avoid losing them. Refer to our winterize your lawn mower guide for tips on organizing outdoor equipment.
8. Protect the Engine or Motor
For gas pressure washers, drain the fuel tank or add a fuel stabilizer. Run the engine for a minute so the stabilizer circulates through the system. Change oil if it’s due. For electric models, wipe down cords and store them coiled without tight kinks to extend their lifespan.
9. Choose the Right Storage Location
A cool, dry garage or shed is ideal. Keep the washer off a cold concrete floor by placing it on a piece of plywood or a shelf. Avoid unheated outdoor areas where temperatures drop well below freezing.
10. Document Your Maintenance
Record the winterizing date, the model, and any parts replaced. Keep this journal with the operator’s manual. When spring arrives, you’ll know exactly what maintenance was done and what to repeat.
Practical Example
John in Minnesota uses a gas-powered portable pressure washer to clean his deck every summer. Last October, he followed these steps using a 2-ounce bottle of pump saver solution. In his unheated shed, nighttime lows were regularly in the teens. Because he drained and flushed the system completely, he avoided the minor pump crack that his neighbor experienced the previous winter. In March, his unit started on the first pull. Accessories like nozzles and the spray gun were stored in a plastic bin on a shelf, making his spring startup quick and trouble-free.
If you have a compact electric model, consider ordering essential accessories now and storing them in labeled bins. This ensures you’re ready for spring projects without last-minute shopping.
Common Mistakes
- Skipping the pump saver flush—leaves internal parts vulnerable to ice damage.
- Leaving water trapped in hoses—causes splitting and leaks.
- Storing the washer outdoors—exposes it to temperature extremes.
- Neglecting fuel stabilizer for gas models—leads to stale gas issues.
- Ignoring protective lubricant—seals and O-rings dry out and crack.
Tips to Improve Winterizing
1. Use a portable tray beneath your unit to catch residual drips during draining. This keeps your floor clean and helps you spot remaining water.
2. Invest in a high-quality pump saver kit that includes antifreeze and lubricant in one. It saves time and ensures correct ratios.
3. Label each hose and nozzle with masking tape so you can identify spray tips quickly in spring. Color-code if you have multiple machines.
4. Store the pressure washer in a breathable cover or custom-fit tarp. This prevents dust accumulation without trapping moisture.
5. Place a moisture absorber or silica gel pack inside the cover area to keep humidity low. It prevents rust on metal fittings.
6. Every two years, perform a deeper service: change engine oil, spark plug, and air filter for gas models. Even if you didn’t use it heavily, fresh oil prevents corrosion inside the engine.
7. Check hose connections for new O-rings each season. A small crack can cost time and money when it leaks under pressure.
8. Keep a simple maintenance chart on the wall near your workbench. Checking off each winterizing step ensures you don’t overlook anything.
9. Before storing nozzles, spray a small amount of antifreeze through each tip. It prevents blockages from mineral deposits.
10. If you live in an area with mild winters, still follow these steps. Freeze–thaw cycles can happen unexpectedly even in moderate climates.
Conclusion
Winterizing your pressure washer is a straightforward process that safeguards your investment and ensures reliable performance come spring. By draining water, flushing with pump saver or antifreeze, lubricating seals, and storing in a protective location, you’ll avoid freeze damage and costly repairs. Follow these steps and record each task to maintain a clear service history. Ready to tackle spring cleaning projects with confidence? Ensure your washer is prepared now for trouble-free startup when warmer weather arrives.