Winterizing garden hoses and outdoor spigots is essential to prevent freezing, cracking, and costly repairs. By draining hoses, insulating spigots, and storing equipment properly, you’ll extend the life of your watering system even in subzero temperatures. Much like learning how to winterize your pressure washer or winterize your lawn mower, these steps are straightforward and safeguard your home against winter damage.
Step-by-Step Guide
1. Shut Off the Water Supply
Locate the interior shutoff valve that feeds your outdoor spigot. Typically found in the basement or utility room, this valve prevents new water from reaching the outdoor faucet. Turn the valve clockwise until it stops. You may hear a slight click or feel resistance, indicating the supply is off.
2. Drain the Spigot and Hose
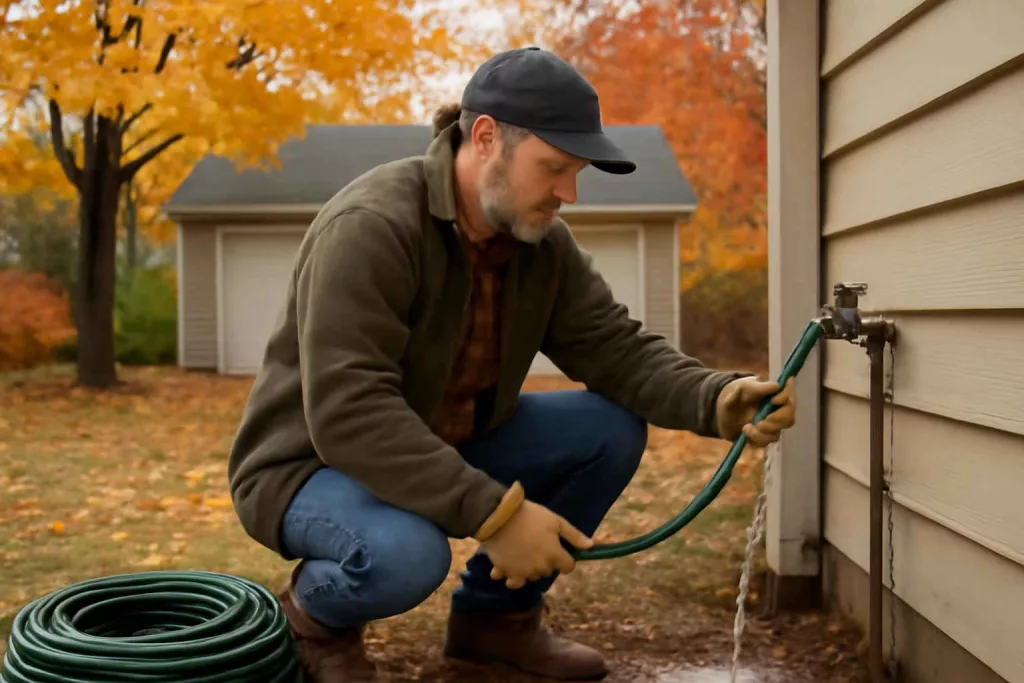
Open the outdoor spigot fully to release any remaining water. Stand ready with a bucket or allow water to drain onto a safe surface. Next, disconnect your garden hose and lift it to drain residual water. If you have a retractable garden hose reel, extend the hose completely and activate the reel’s drain setting if available.
3. Blow Out Remaining Water (Optional)
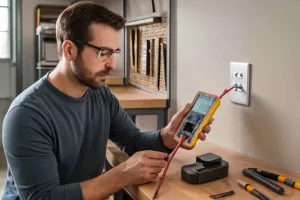
For extra protection in regions with severe freezes, attach an air compressor to the hose bib. With the compressor set to a low pressure (around 30–50 psi), blow air through the spigot and hose until only air emerges. This ensures no hidden water pockets can freeze and expand.
4. Insulate the Spigot
Purchase a dedicated faucet cover or wrap the spigot with foam insulation and waterproof tape. A simple styrofoam cover costs under $10 and slips over the spigot like a hat. Secure it with a strap or zip tie. This barrier blocks cold air and reduces the chance of pipe freeze.
5. Store Hoses Properly
Coil hoses neatly and store them indoors in a cool, dry spot such as a garage or basement corner. Avoid tight knots or kinks that stress the hose material. For long-term storage, hang hoses on a wall-mounted rack to maintain their shape.
Practical Example
Imagine Sarah from Minnesota, where winter temperatures regularly dip below 0°F. Last year her garden hose split at the fitting because water froze overnight. This year, she followed a simple routine every November:
- Shut off the basement valve feeding the backyard spigot.
- Opened the outdoor faucet and detached a 75-foot rubber hose.
- Used her portable air compressor to blow out water until none remained.
- Covered the insulated spigot with a weatherproof foam cap.
- Stored the hose on a wall-mounted reel inside her garage.
By December, Sarah’s yard remained damage-free. The spigot stayed intact through multiple cold snaps, and her hose was ready to use when spring arrived.
Common Mistakes
- Not fully draining hoses: Leftover water expands when frozen, cracking the hose wall.
- Skipping spigot insulation: Even brief exposure to subfreezing air can freeze the pipe beneath the wall.
- Storing hoses outdoors: Cold, damp air causes rubber to become brittle and fail faster.
- Using high-pressure air: Setting the compressor too high (over 50 psi) can damage hose fittings.
- Neglecting shutoff valves: Forgetting to close the interior valve keeps water under pressure behind the wall.
Tips to Improve Winterization
- Upgrade to frost-free outdoor faucets: These models angle the inner valve deeper into the heated wall.
- Install a hose bib vacuum breaker: Prevents backflow and reduces freeze risk in connected systems.
- Label shutoff valves: Mark each line in your basement so you can quickly identify the hose spigot feed.
- Use a premium heavy-duty hose: Premium vinyl hoses resist kinking and split less when drained properly.
- Combine with seasonal equipment storage: Learn more about storing seasonal outdoor equipment to maximize garage space.
Conclusion
Winterizing your garden hoses and outdoor spigots takes just a few steps but delivers big savings by preventing freeze damage. Shut off the water, drain and blow out hoses, insulate faucets, and store equipment indoors for the best protection. Start this simple routine before the first hard freeze and enjoy damage-free water lines until spring thaw.