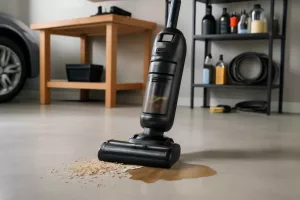
You can restore your vacuum cleaner’s suction by identifying and clearing blockages, replacing worn filters, checking the belt, and inspecting the motor airflow path. With the right steps, most suction issues can be fixed at home in under an hour.
Maintaining suction power ensures efficient cleaning and prolongs your vacuum’s lifespan. Whether you have a canister, upright, or stick vacuum, this guide covers practical diagnostics and repairs for beginners.
Step-by-Step Guide
Step 1: Unplug and Inspect the Dust Container
Always start by unplugging the vacuum for safety. Remove and empty the dust container or bag. Overfilled dust compartments restrict airflow and cut suction by up to 50%, according to industry tests. Rinse reusable bins with warm water, let them dry completely before reassembling. For bagged units, replace the bag when it’s more than two-thirds full.
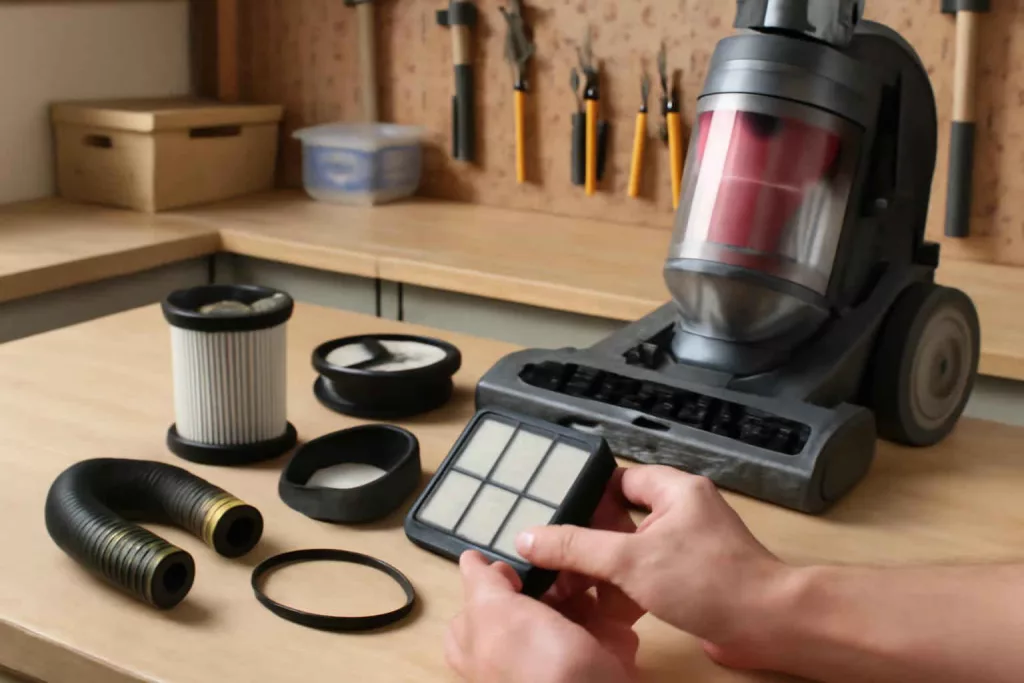
Step 2: Clean or Replace Filters
Clogged filters are a common culprit. Check pre-motor and post-motor filters—these trap fine debris that bypasses the dust container. Washable filters should be rinsed under running water and air-dried for at least 24 hours. If heavily soiled or damaged, invest in new filters such as replacement vacuum filters to restore optimal performance. For guidance on HEPA filter swaps, see our detailed replace HEPA filters guide.
Step 3: Inspect and Replace the Belt
The belt transfers motor power to the brush roll. A stretched, cracked, or broken belt won’t spin the brush properly, reducing floor agitation and suction. Remove the brush roll housing, slide off the old belt, and install a new one—many universal belts fit most brands. You can find belts through vacuum belts. For a full walkthrough, check our replace vacuum cleaner belt tutorial.
Step 4: Check for Hose and Nozzle Blockages
Disconnect the hose and attachments. Shine a flashlight through the hose to spot clogs. Use a long flexible brush or a broom handle to gently push debris out. Remove the nozzle and accessory tools—hair, fibers, and large debris often trap in crevices. A quick rinse under water can clear the dust cup, but never soak hoses—moisture inside can damage the motor.
Step 5: Inspect Motor and Air Pathway
Advanced users can remove the vacuum’s casing to check the motor inlet and exhaust pathways. Ensure no debris clusters around the fan blades. If airflow feels restricted even after cleaning bin, filters, belt, and hose, the motor or fan assembly may require professional service or replacement.
Practical Example
Sarah, a busy mom from Ohio, noticed her upright vacuum left carpet fibers after cleaning. She followed these steps: emptied the dust cup, rinsed her washable filter, and dried it overnight. The next day, she replaced the belt using a generic fit, clearing a clog in the hose. Within 30 minutes, her vacuum regained full suction, saving her $75 in service fees and extending the machine’s life for another year.
In a similar home, a pet owner discovered hair wrapped around the brush roll. After removing the brush housing, she cut away the hair, washed the filter, and reassembled. The vacuum suction improved immediately, making quick work of pet dander and daily messes.
Common Mistakes
- Ignoring filter maintenance—dirty filters restrict airflow and overwork the motor.
- Using the wrong belt size—an ill-fitting belt either slips or strains the motor.
- Soaking non-washable parts—water in the motor housing can lead to costly damage.
- Forcing tools into the hose—this can tear the hose lining and create leaks.
- Reassembling wet components—always ensure parts are 100% dry to prevent mold and motor issues.
Tips to Improve Suction and Longevity
- Schedule monthly filter cleaning—set a calendar reminder so filters stay clear.
- Use the correct vacuum bag type—OEM bags often fit better and seal more tightly.
- Store hoses untwisted—prevent kinks that can weaken plastic from repeated flexing.
- Upgrade to a sealed HEPA system—improves allergen capture and airflow management.
- Invest in quality attachments—a crevice tool and upholstery brush enhance cleaning without blocking suction.
Conclusion
Restoring a vacuum cleaner’s suction is straightforward if you systematically empty chambers, clean or replace filters, inspect the belt, and clear hose blockages. With routine maintenance and the right replacement parts from Amazon, you’ll maintain peak performance and avoid costly repairs. Try these steps today to get your vacuum back to full power and your home spotless.