Building a DIY rolling tool cabinet is the most effective way to keep tools organized and mobile in a compact workspace. With a few basic materials and tools, you can create a sturdy cabinet that fits your specific workshop needs and rolls effortlessly on heavy-duty casters.
Introduction
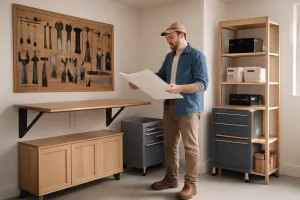
A rolling tool cabinet increases storage capacity and mobility, letting you bring your most-used tools directly to your project. Whether you’re working in a cramped garage or a small workshop, this guide walks you through the entire build process. For example, you can find quality caster sets on Amazon to get started here.
Step-by-Step Guide
1. Plan Your Cabinet Dimensions
Start by measuring the available floor space and determining how tall and wide your cabinet should be. A common size is 48″ wide, 36″ tall, and 18″ deep. Sketch a simple diagram to visualize drawer layout and overall height.
2. Gather Materials and Tools
- 3/4″ plywood sheets for sides, top, bottom, and shelves
- 1/2″ plywood for drawer bottoms
- Heavy-duty drawer slides (full extension)
- Four heavy-duty casters (two with locks)
- Wood screws, wood glue, and finish of choice
- Tools: circular saw, drill, sander, level, clamps
You can shop for drawer slides on Amazon: heavy-duty drawer slides.
3. Cut and Assemble Carcass
Use your circular saw to cut plywood panels. Assemble the cabinet frame by attaching the sides to the top and bottom panels with wood glue and screws. Check that all corners are square with a carpenter’s square before tightening fasteners.
4. Install Shelves or Dividers
If you want fixed shelves, measure and mark their positions on the sides. Attach with screws. For adjustable shelving, install shelf track hardware so you can reposition later.
5. Build and Install Drawers
Cut front, back, and side pieces from plywood. Assemble each box with glue and screws, then slide plywood bottoms into grooves or attach with screws. Mount drawer slides inside the carcass and on drawer boxes according to manufacturer instructions.
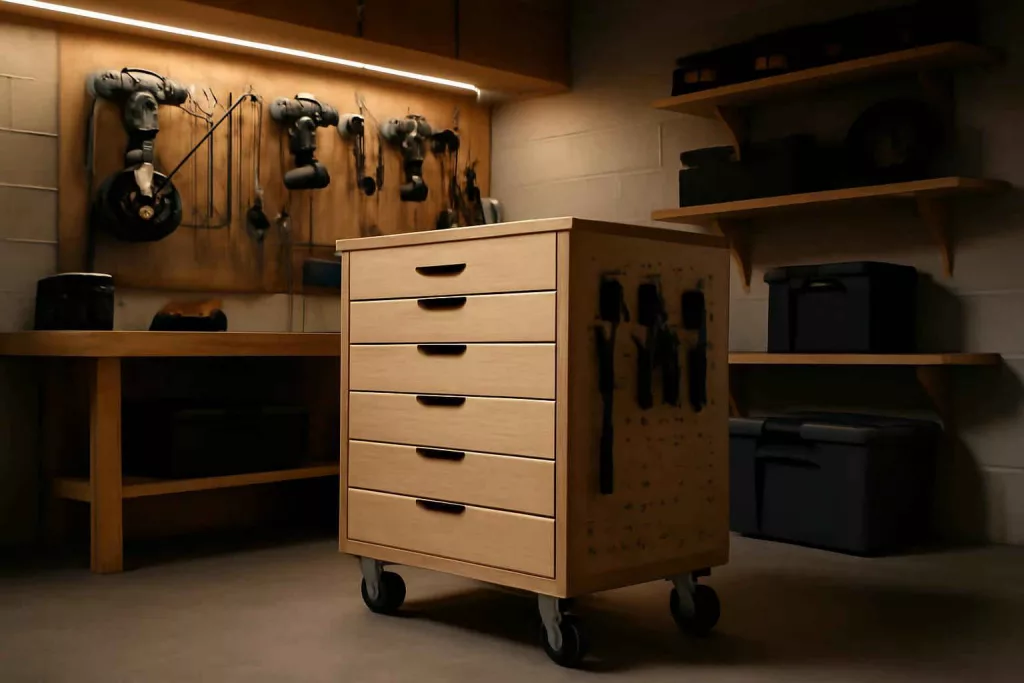
6. Attach Casters
Flip the cabinet upside down and mount casters at each corner, ensuring weight is evenly distributed. Locking casters should be at the front for stability when parked.
7. Finish and Customize
Sand all surfaces smooth, then apply paint or varnish. Add handles or label holders to drawer fronts. Consider pegboard panels on side walls for hanging frequently used hand tools.
Practical Example
Jane, a weekend woodworker, had a 7’×10’ garage workshop cluttered with loose tools. She built a cabinet measuring 42″ wide, 32″ tall, and 16″ deep to fit under her workbench. By mounting four locking casters, she rolls it away to access her miter saw. She arranged two shallow drawers on top for screwdrivers and chisels, and two deep drawers below for power tool batteries. Next, Jane used peg hooks on the side panel for hammers and wrenches. This setup transformed her limited space into an organized, efficient zone.
Common Mistakes
- Ignoring Square Corners: Skipping the squaring step leads to misaligned drawers.
- Underestimating Weight: Choosing light-duty casters that fail under the cabinet’s load.
- Poor Slide Alignment: Inaccurate measurements cause drawers to stick or bind.
- Skipping Finish Prep: Not sanding or sealing edges allows moisture to cause warping over time.
Tips to Improve
- Use full-extension slides to access the drawer’s entire depth without reaching in.
- Install foam liners in drawers to protect delicate tools and reduce noise.
- Add a power strip inside the cabinet to charge cordless tool batteries on the go.
- Include a back panel cut-out to pass air hose or power cords through.
- Link your build to a home workshop setup checklist to ensure you have all essential tools before starting.
- Check out tool drawer organizers to keep small parts sorted inside your new drawers.
Conclusion
Building a DIY rolling tool cabinet delivers customized storage and mobility for any small workshop. With careful planning, accurate cuts, and robust hardware, you’ll enjoy a clutter-free workspace and faster project workflow. Grab quality casters and drawer slides, follow this guide, and roll your new cabinet into place today!