To install ceiling-mounted tool storage racks, start by locating ceiling joists and securely fastening the rack supports. Then measure, assemble, and mount your overhead rack according to the manufacturer’s load capacity guidelines.
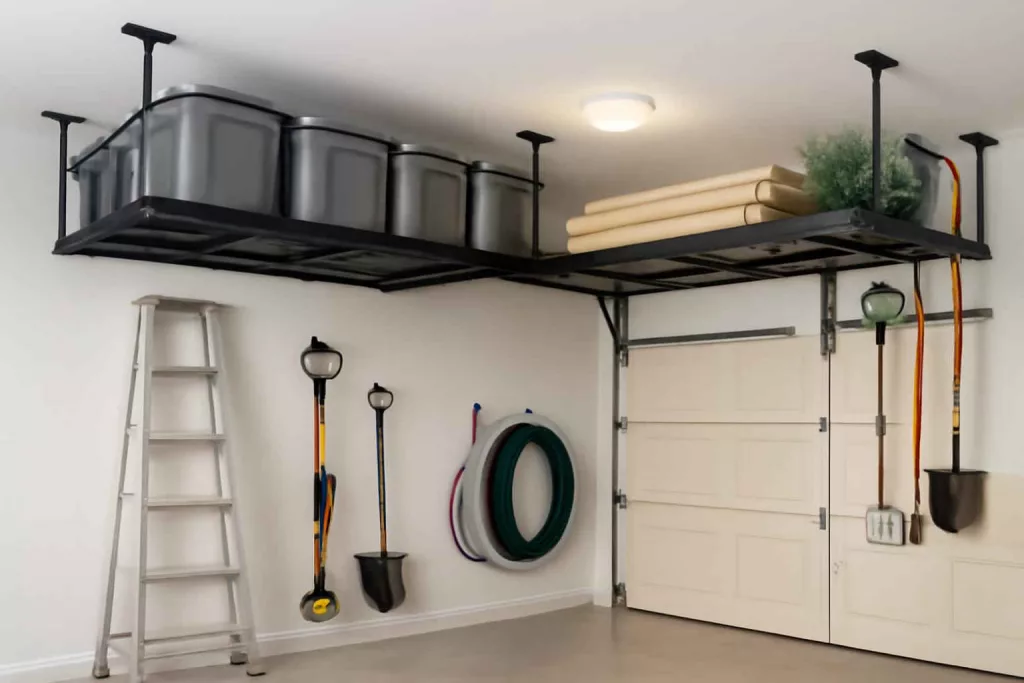
Ceiling-mounted storage racks are a game changer for home workshops and garages. They free up floor and wall space, keep tools and bins out of the way, and provide quick access to seasonal equipment. Whether you’re storing bulky bins, spare lumber, or garden tools, an overhead rack can handle the load—just be sure to follow best practices for safety and stability. Looking for a reliable overhead rack? Consider an overhead garage storage rack with adjustable brackets to fit your space.
Step-by-Step Guide
1. Gather Tools and Materials
Before you begin, assemble the following items:
- Ceiling-mounted tool storage rack kit (rails, brackets, hardware)
- Stud finder or electronic stud finder
- Measuring tape and pencil
- Cordless drill with driver bits
- Level and ladder
- Safety glasses and gloves
2. Plan Your Layout
Decide where to mount the rack. Overhead storage works best in areas where it won’t interfere with vehicle clearance or headroom—commonly above workbenches, along the center of a two-car garage, or near rafters in a workshop. Sketch a simple floor plan and mark existing obstructions like lighting fixtures or HVAC ducts.
3. Locate and Mark Joists
Use a stud finder to locate ceiling joists every 16″ or 24″ on center. Mark each joist with a pencil. Joists are the strongest mounting points; avoid drilling into drywall alone. If your ceiling joists run perpendicular to the desired rack orientation, install cross supports (2×4 lumber) between joists first.
4. Measure and Mark Rack Positions
Hold one rack rail against the ceiling joists at your chosen height—typically 6″-12″ below the ceiling to allow clearance for bins and tools. Use a level to ensure it’s straight. Mark the bracket placement holes through rail slots onto the ceiling. Repeat for the second rail, keeping rails parallel and spaced according to the rack manufacturer’s instructions.
5. Drill Pilot Holes
At each marked bracket hole, drill 3/16″ pilot holes into the joists. Pilot holes prevent wood from splitting and help the lag screws drive straight. If you’re mounting across multiple joists, verify each hole sits squarely in a joist’s center.
6. Install Rack Rails
Align the rack rail with pilot holes. Insert lag screws into bracket slots and tighten steadily with a socket or driver bit on your drill. Check levelness often; adjust before fully tightening each screw. A misaligned rail can make rack assembly difficult.
7. Attach Rack Components
Most ceiling rack kits include crossbars, hooks, and safety straps. Slide crossbars into rail channels until they click or lock. Add hooks for hanging ladders, hoses, or extension cords. Secure safety straps around bins or lumber to prevent sliding.
8. Test Weight Capacity
Gradually load the rack with lighter items first. Check for any deflection or looseness. If everything holds firm, distribute weight evenly and avoid exceeding the manufacturer’s load rating. A well-installed rack can support hundreds of pounds.
Practical Example
Tom, a DIY enthusiast in Ohio, needed more storage for his seasonal gear and spare lumber. He chose a 4′ x 8′ ceiling rack kit rated for 600 lbs. After clearing his two-car garage—noticed as part of his Home Workshop Setup Checklist—he identified joists running north-south.
Following the steps above, Tom marked his joists and installed two parallel rails 4′ apart, high enough to avoid his truck roof. He used adjustable brackets to customize spacing. Once mounted, he loaded plastic bins of holiday décor on one side and stacked 1×8 lumber on the other. Hooks held his garden hose overhead, clearing floor space. Tom finished by labeling bins and securing straps, ensuring nothing would shift during retrieval.
Common Mistakes
- Skipping joist location: Mounting into drywall alone leads to failure.
- Uneven rails: An unlevel rail makes crossbar installation difficult.
- Overloading: Exceeding weight ratings risks collapse.
- Poor clearance planning: Insufficient headroom can damage stored items or vehicles.
- Ignoring hardware quality: Using cheap lag screws or brackets reduces strength.
Tips to Improve Your Setup
- Use rubber pads or foam between bins and crossbars to reduce noise and prevent scratching.
- Add LED strip lights on the bottom of rails for better visibility.
- Mark weight limits on each rack section to keep family members informed.
- Combine with wall-mounted shelving systems for a full vertical storage solution.
- Install safety chains under heavy items like ladders for added security.
Conclusion
Installing ceiling-mounted tool storage racks is one of the most efficient ways to maximize overhead space in your home workshop. By accurately locating joists, leveling rails, and following load guidelines, you’ll have a durable storage solution that keeps tools, bins, and gear neatly out of the way. Ready to free up floor space? Gather your kit, follow the steps above, and enjoy a tidier, more organized workshop.