You can install a rain barrel system in just a few hours by positioning the barrel under a downspout, installing a diverter, and securing it on a stable stand. This setup captures rainwater for garden irrigation, cutting your water bills and reducing runoff.
Rainwater harvesting is an eco-friendly way to conserve water and support your plants during dry spells. By tapping into the downspout of your gutter, you redirect rainfall into a container instead of letting it drain away. Whether you want to keep container gardens lush or maintain flower beds, a properly installed rain barrel system gives you a ready supply of free water.
Step-by-Step Guide
1. Choose the Right Location
Select a downspout that receives the most rain during storms, typically on the side of the house facing prevailing winds. Ensure the ground is level and firm. If you have several downspouts, prioritize one that’s close to your garden bed or planter area to minimize hose length. A solid base means less fuss when the barrel is full.
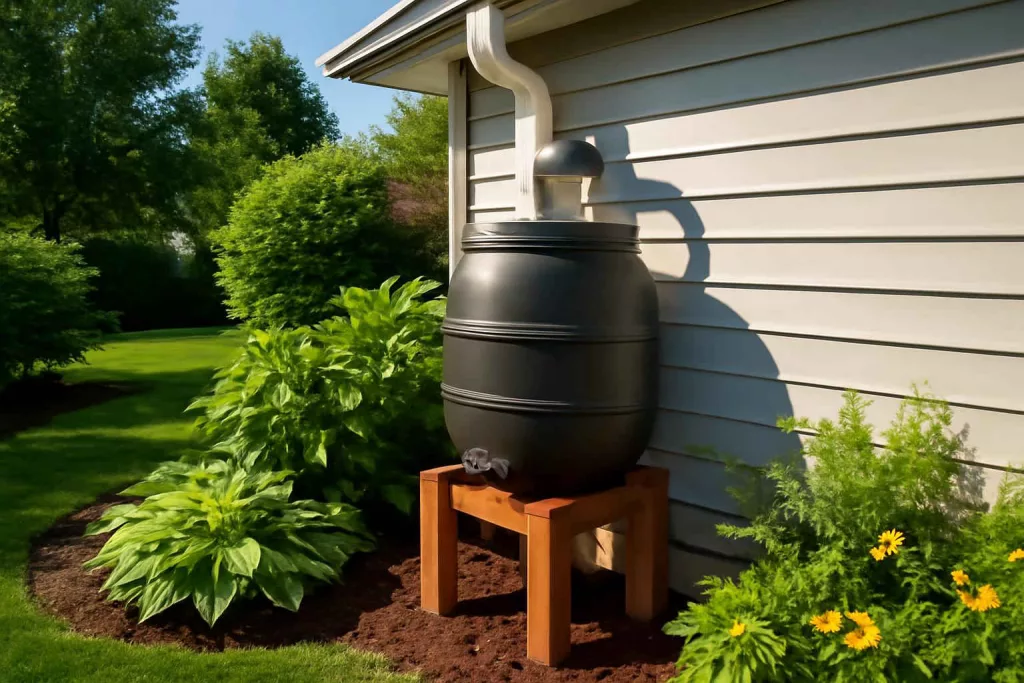
2. Prepare the Barrel Stand
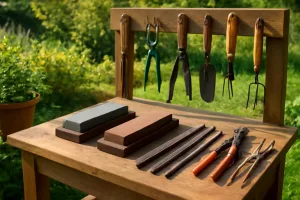
Raise the barrel at least 12�24�22 high to improve water flow and gravity feed into hoses or watering cans. Build a stand from concrete blocks, timber, or purchase a prebuilt rain barrel stand. A higher installation improves water pressure and makes spigot access easier. Check out our best retractable garden hose reels guide for a matching hose reel solution to connect your rain barrel to garden beds.
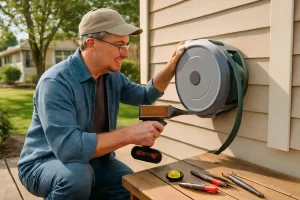
3. Cut and Divert the Downspout
Measure and mark the downspout where it will enter the diverter kit. Use tin snips to cut a section out, according to the diverter instructions. Secure the diverter in place and attach the diverter hose to the barrel inlet. Popular kits like the rain barrel diverter make this process tool-free and reversible in minutes.
4. Seal and Secure Connections
Apply weatherproof sealant around the diverter edges to prevent leaks. Tighten hose clamps on inlet and overflow fittings by hand or with a screwdriver. For extra security during heavy rain, wrap plumber’s tape around threaded connections.
5. Install the Spigot and Overflow
Mark and drill a hole near the bottom of the barrel for the spigot. Insert the included gasket and tighten the spigot into place. At the barrel’s top, install an overflow fitting that directs excess water away from your house foundation. Run a short hose from the overflow spout to a gravel bed or dry well area.
6. Add Screens and Filters
Keep debris and mosquitoes out by fitting a fine mesh screen over the barrel inlet. Many kits include removable screens for easy cleaning. For additional filtration, consider installing a bulkhead filter inside the barrel to trap leaves and sediment.
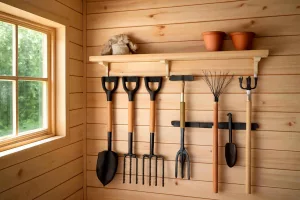
7. Connect to Your Garden
Attach a soaker hose or drip line directly to the spigot for steady irrigation. If you’re expanding into container gardens, follow our DIY drip irrigation guide for container setups. During peak watering seasons, alternate between hand-watering and automated drip to stretch every gallon further.
8. Winterize the System
Before freezing temperatures arrive, disconnect the diverter and downspout. Drain the barrel completely and store it upside down to avoid cracking. For other yard equipment maintenance, refer to our How to Winterize Your Lawn Mower guide.
Practical Example
Imagine Sarah and Tom from Portland, Oregon, set up a 55-gallon rain barrel under their west-facing downspout. They built a simple stand from cinder blocks and attached a diverter from a kit purchased online. During a typical rainy winter month, they collect over 200 gallons of water, which they use from April through September to water raised garden beds and potted herbs on their patio. By adding a soaker hose to the spigot, they water for 30 minutes at a time, covering six 4�24�22�22�22 planter boxes with a single full barrel. The overflow channel directs excess water to a gravel drain bed, preventing puddles near the foundation.
Their upfront cost of under $100 (barrel, diverter, and fittings) paid off in reduced municipal water usage and healthier plants during dry spells. They also noted fewer puddles around the house and a drop in runoff onto the driveway.
Common Mistakes to Avoid
- Ignoring a Level Base: An uneven stand can tip when the barrel is full, leading to spills or cracks.
- Skipping Screens or Filters: Leaves and debris can clog the diverter or contaminate stored water.
- Weak Overflow Planning: Without a proper overflow hose, excess water pools by your foundation.
- Incorrect Downspout Cut: Cutting too much or too little of the downspout can cause leaks or poor water flow.
- Not Winterizing: Frozen water inside an unprotected barrel can cause cracks and damage fittings.
Tips to Improve Your Rain Barrel System
- Link Multiple Barrels: Connect barrels in series with overflow hoses to increase storage capacity. This lets you harvest more during heavy storms.
- Install a Brass Spigot: Upgrading to a brass spigot improves durability and resists leaks better than plastic models.
- Add a First-Flush Diverter: A first-flush device diverts the initial runoff, which carries the most debris and pollutants, improving water quality inside the barrel.
- Use a Water Level Indicator: A simple float gauge tells you exactly how much water is available, so you won’t under- or over-water your garden.
- Paint or Insulate the Barrel: Light-color paints reflect sun and slow algae growth. In cooler climates, insulate the barrel to help water temperature stay more constant.
- Combine with Soaker Hoses: Pairing your rain barrel with soaker hoses stretches every drop by delivering water directly to plant roots.
Conclusion
Installing a rain barrel system is a straightforward, cost-effective way to capture free water and support a thriving garden. With the right location, quality diverter, and careful planning of overflow, you can reduce your water bills and help the environment. Gather your materials, follow the steps, and enjoy the benefits of rainwater harvesting all year long.