Installing a pegboard tool wall system is as simple as measuring your wall space, mounting your pegboard panels to studs using appropriate spacers and hardware, then arranging your tool hooks for easy access. This setup transforms cluttered workshops into organized work zones, making tools visible and within arm’s reach. For a quick start, grab a pegboard panel kit and a set of pegboard tool hooks from Amazon. A well-planned pegboard wall boosts productivity, reduces time searching for tools, and keeps your workspace tidy.
Before you begin, review your tools and workspace requirements. A clear layout plan ensures you mount panels where stud support is strongest and hooks reach the most-used tools. If you’re setting up a full workshop, don’t forget to reference our home workshop setup checklist to stock all essentials.
Step-by-Step Guide to Installing Your Pegboard Tool Wall System
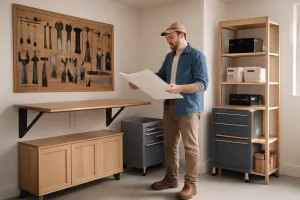
Step 1: Assess Your Space and Plan Your Layout
Begin by choosing a wall section adjacent to your workbench or entry point. Measure the height and width available, noting stud spacing every 16 inches. Decide whether you need a full-wall installation or a smaller section above a bench. Draw a layout on grid paper or use design software to visualize panel placement and hook arrangement according to your most-used tools. Consider future tool additions—leave spare space for new drills, wrenches, and accessories.
Tip: Mark each stud location with a pencil, then snap a chalk line to keep panels level. A level installation prevents slanted tools and makes the final look professional.
Step 2: Choose the Right Materials and Tools
Select 1/4-inch or 1/8-inch hardboard pegboard panels that resist warping. Purchase furring strips or dedicated spacers to create space behind the pegboard for hook clearance. You’ll also need 1 1/4-inch screws, a cordless drill with a driver bit, a stud finder, a circular saw or jigsaw for cutting panels, and a level. Protective gear—safety glasses and gloves—ensures a safe installation process.
For versatile accessory mounting, pick up a complementary set of pegboard organizer bins and small shelves to hold screws or parts.
Step 3: Mark Stud Locations and Cut Panels
Use your stud finder to locate studs along the planned wall area. Mark top and bottom plate positions, then snap horizontal chalk lines at desired panel heights. Measure each pegboard panel and transfer those dimensions onto the board. Cut panels with a circular saw or jigsaw, following cut lines accurately. Sand edges smooth to prevent chipping.
Pro Tip: Lay panels flat on sawhorses when cutting for stability. Label each piece in pencil to match your layout plan.
Step 4: Attach Spacers and Secure Pegboard
Screw furring strips or spacers into studs along your chalk lines, ensuring they’re level and flush. These spacers create a gap behind the pegboard, allowing hooks to insert fully. Position the first pegboard panel against the spacers, align edges, then drive screws through the pegboard into the spacers at least every 12 inches. Repeat for additional panels, butt-joining edges or overlapping slightly for a seam-free look.
Tip: Countersink screws just below the pegboard surface to avoid protrusions that block hooks.
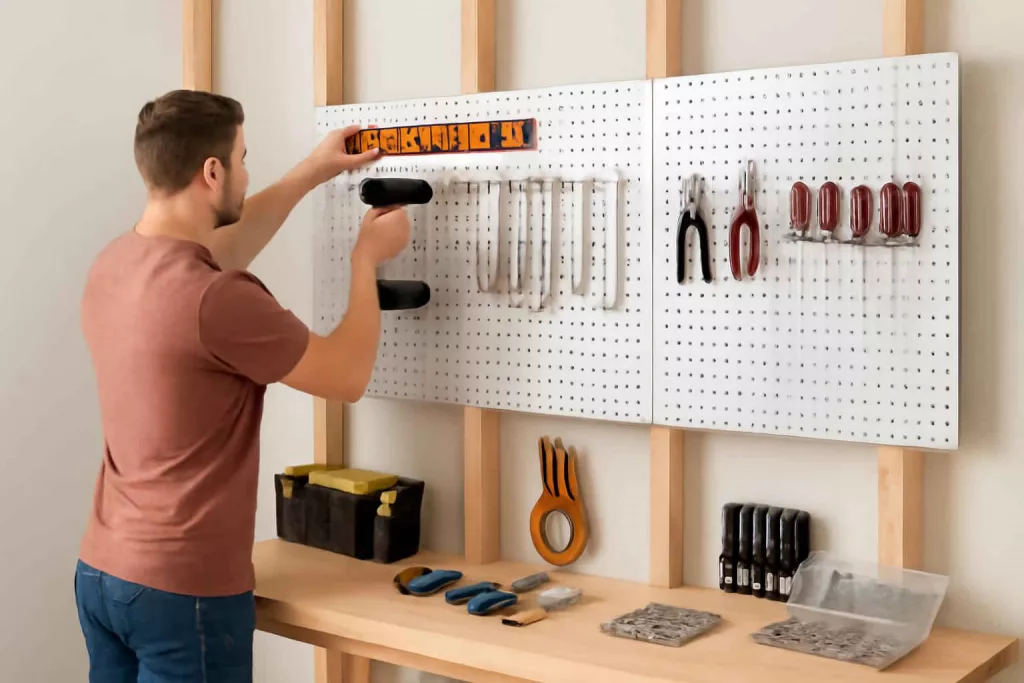
Step 5: Arrange Hooks and Begin Organizing
Start by hanging your most-used tools on robust hooks near eye level—hammers, screwdrivers, and pliers. Use S-hooks or specialty holders for odd-shaped items like saws or tape measures. Group similar tools together for intuitive access. Plastic bins or small shelves can store fasteners, tape rolls, or drill bits. Experiment with hook placement until your workflow feels seamless.
Combine your pegboard with other storage solutions—like magnetic tool holders for workshop walls—to secure metal bits or drill bits within arm’s reach. For overhead options, integrate ceiling-mounted tool storage racks for bulkier items like clamps.
Practical Example: Turning a Garage Corner into a Tool Hub
John, a DIY enthusiast in Ohio, converted a 6-foot corner of his two-car garage into a pegboard tool station. After assessing the 8-foot wall, he installed two 4×2-foot pegboard panels mounted on 1×2 furring strips. He arranged his most-used tools—socket wrench sets, cordless drill, framing hammer—in a concentric pattern surrounding his workbench below. He painted the wall light gray for a clean backdrop, and used contrasting black hooks for visibility. To accommodate frequently changing projects, he left a 12-inch gap between panels to swap in specialty fixtures like wire spool holders.
Across from the bench, he added under-bench shelves and tool drawers from our home workshop setup list to store power tool batteries and sandpaper. His pegboard station now makes tool retrieval nearly instant, saving him 15 minutes per project in wasted searches.
Common Mistakes to Avoid
- Skipping stud alignment: Mounting panels without securing to studs leads to sagging or falling boards.
- Incorrect spacer depth: Too little gap restricts hook insertion; too much leaves hooks unstable.
- Using short screws: Failing to anchor through both pegboard and spacer into the stud causes loose panels.
- Overcrowding: Placing hooks too close makes tool removal difficult and risks knock-offs.
- Neglecting layout: No planning leads to poor ergonomics and wasted space.
- Ignoring finishing touches: Unpainted panels or exposed screw heads look unfinished and hide tools against the background.
Tips to Improve Your Pegboard System
- Label tool outlines: Draw or stencil tool shapes to return items to exact spots, keeping order intact.
- Use diverse hook types: Mix standard hooks, deep hooks, and shelf attachments to handle everything from chisels to jars of nails.
- Paint or stain panels: A colored pegboard enhances visibility—white boards with black hooks create high contrast.
- Add LED strip lighting: Under-shelf LED lights illuminate tools and work surfaces without glare.
- Incorporate magnetic accessories: For bits and blades, a small magnetic strip mounted beside the pegboard keeps them visible and secure.
- Plan seasonal swaps: Rotate garden or woodworking tools in spring and fall, using portable bins or quick-release hooks for easy transitions.
Conclusion
With your new pegboard tool wall system in place, you’ll enjoy faster tool access, a safer work area, and a workshop that scales with any project. Periodically adjust hook placement as your tool collection grows, and keep spare panels ready for expansion. For specialized storage above your bench, explore ceiling-mounted racks or magnetic holders to complement your pegboard setup. Ready to upgrade? Browse our pegboard accessories kit to customize and complete your perfect tool wall.