Smart thermostats can reduce heating and cooling bills by up to 23% when installed and configured correctly. In this guide, you will learn how to install a smart thermostat yourself and optimize its settings for year-round energy savings. Whether you choose basic smart thermostats or advanced models with voice control, these steps apply to most popular brands.
Beyond installation, you’ll discover fine-tuning strategies to tailor temperature schedules, humidity control, and local weather integration. By the end, you’ll not only have a functional smart thermostat but also an efficient system that adapts to your household’s routine. If you’re building a comprehensive smart home, consider pairing this upgrade with a thermostat accessories kit for even better performance.
Step-by-Step Guide
1. Choose the Right Smart Thermostat
Selecting the right model is the foundation of success. Consider compatibility with your HVAC system (heat pump, forced air, radiant heat, etc.) and the number of heating/cooling stages. Budget-friendly models like the Google Nest Thermostat E work for single-stage systems, while more advanced units such as Ecobee SmartThermostat support multi-stage setups and remote sensors. Check the manufacturer’s compatibility tool before purchase.
2. Gather Necessary Tools and Materials
Before you begin, collect these items: a small Phillips screwdriver, wire stripper/cutter, level, pencil, drill (if required), and the smart thermostat installation kit. Many models include a “C-wire” adapter if your home lacks a dedicated common wire. If your HVAC system doesn’t have a C-wire, you may need to install one or use the adapter provided by the thermostat manufacturer.
3. Turn Off Power to the HVAC System
Safety first: locate your HVAC circuit breaker in the electrical panel and switch it off. Confirm the power is off by trying to adjust temperature controls on the old thermostat; the display should be blank. If it still shows a reading, double-check the breaker or switch off the furnace switch located near the unit. Never work on live electrical circuits.
4. Remove the Existing Thermostat
Unscrew the wall plate from the old thermostat and gently pull it away from the wall. Label each wire with the included stickers or use masking tape with notes (e.g., R = red, W = white). Photograph the wiring configuration for reference. Carefully disconnect wires from the terminal block; avoid letting them retract into the wall.
5. Prepare the Mounting Plate
Hold the new thermostat’s mounting plate against the wall, using a level to ensure it’s straight. Mark drill holes if anchors are needed. Drill pilot holes and insert wall anchors for secure mounting on drywall. Thread the labeled wires through the center opening, press the plate to the wall, and fasten with screws. A stable plate prevents sensor errors and misalignments.
6. Wire the Thermostat
Following the manufacturer’s wiring diagram, connect each labeled wire to the corresponding terminal on the new thermostat base. Ensure a snug connection by tightening screws firmly. If you lack a C-wire but have an adapter, connect the adapter to the designated terminals. Double-check that no bare copper strands touch one another, which can cause short circuits.
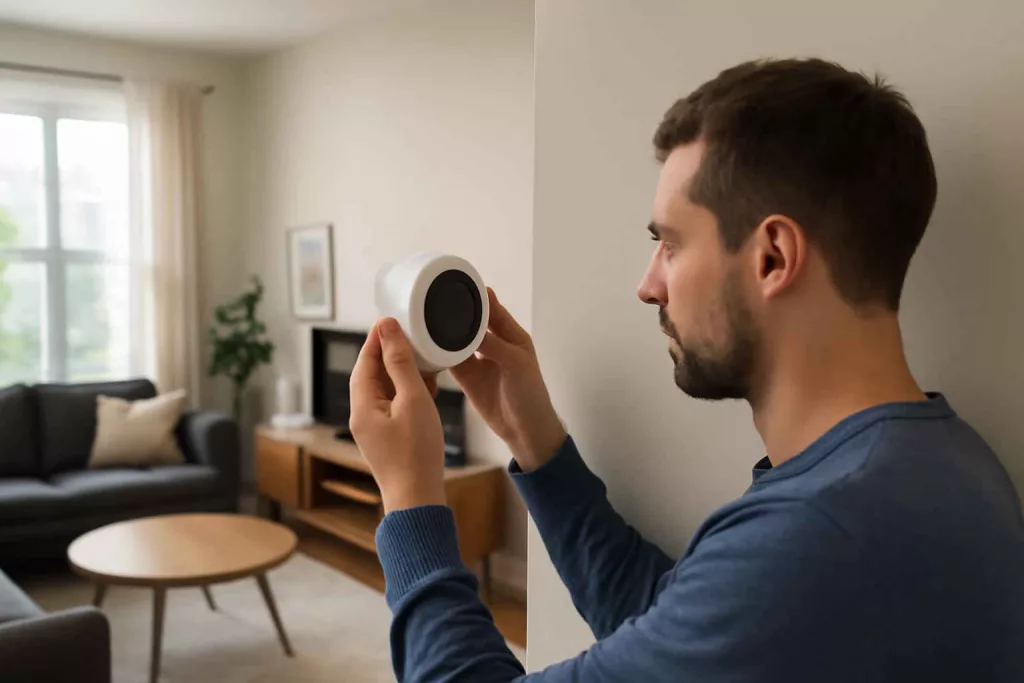
7. Attach the Thermostat Display and Power Up
Snap the thermostat display onto the mounted base. Restore power at the circuit breaker and wait for the thermostat to boot. It may take a couple of minutes to detect the HVAC system. Follow on-screen prompts to select the equipment type (heat pump, furnace, AC) and the number of stages. Confirm each configuration matches your system’s specifications.
8. Configure Basic Settings
Set your preferred temperature schedule: for example, lower at night and higher when you wake up. Many smart thermostats offer preset schedules optimized for energy savings. You can adjust this template later based on your daily routine. Input your local ZIP code or allow geofencing so the thermostat can adjust settings when you leave or return home.
9. Integrate with Smart Home Platforms
If you have a voice assistant or smart hub, link the thermostat through its companion app or integration settings. For example, connect Ecobee to Amazon Alexa or Google Assistant for hands-free control. You can also add the device to scenes alongside other smart devices; for instance, a “Goodnight” routine that turns off lights and adjusts the temperature.
10. Verify and Test Your Setup
Run a manual heat call and a cool call from the thermostat menu to ensure heating and cooling systems respond correctly. Listen for the furnace blower or AC compressor. Check that the display shows the correct mode and setpoint. Monitor operation over the next 24 hours to spot any unexpected cycles or errors.
Practical Example
Jane, a homeowner in Denver, installed an Ecobee SmartThermostat to combat high winter heating bills. After confirming compatibility with her two-stage furnace and heat pump, she followed the steps above. By enabling geofencing and scheduling lower temperatures during work hours, she reduced her monthly heating cost by 18%. Jane also installed remote sensors in the bedroom and office to balance temperature throughout her 1,800 sq ft home, eliminating hot and cold spots.
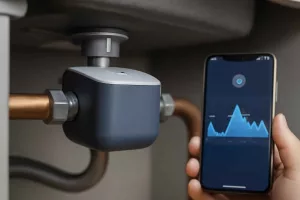
To track performance, Jane used the DIY smart home energy monitoring system she had set up earlier. Comparing data before and after installation, she observed an average yearly savings of $150. For expanded automation, she later added smart light switches to her living room and a backup power supply for smart home devices to protect against outages.
Common Mistakes
- Skipping Compatibility Checks: Installing a thermostat not designed for your system can lead to malfunctions or damage.
- Ignoring the C-Wire Requirement: Without a stable power source, many smart thermostats will lose functionality after a few days.
- Poor Wire Connections: Loose or exposed wires can intermittently cut power and trigger error codes.
- Incorrect Equipment Configuration: Selecting the wrong number of heating or cooling stages can cause frequent cycling and inefficiency.
- Forgetting to Level the Base: An unlevel thermostat can misread ambient temperature due to sensor placement.
Tips to Improve Performance
- Use Remote Sensors: Place sensors in frequently used rooms to avoid uneven heating or cooling.
- Enable Humidity Control: Many thermostats monitor humidity to prevent over-drying in winter or excess moisture in summer.
- Leverage Weather Forecast Integration: Allow the thermostat to pre-heat or cool based on upcoming outdoor temperature swings.
- Adjust Schedules Seasonally: Refine temperature setpoints for winter and summer months to lock in optimal comfort and savings.
- Monitor Usage Reports: Review monthly energy reports in your thermostat app to identify unusual patterns or opportunities for savings.
Conclusion
Installing and optimizing a smart thermostat is well within reach for any homeowner with basic wiring and DIY skills. By following this step-by-step guide, you’ll not only enjoy hands-free comfort but also significant energy savings over time. Once set up, remember to revisit your schedule and settings each season and pair your thermostat with other smart devices for a truly integrated home. Ready to upgrade? Start your project today and experience the benefits of intelligent climate control firsthand.