Investing in an anti-fatigue mat designed for workshop use can immediately reduce foot, leg, and back pain during long projects and make your workspace more comfortable. In this guide, we’ll cover how to choose, install, and maintain the best anti-fatigue mats for workshop environments.
Introduction
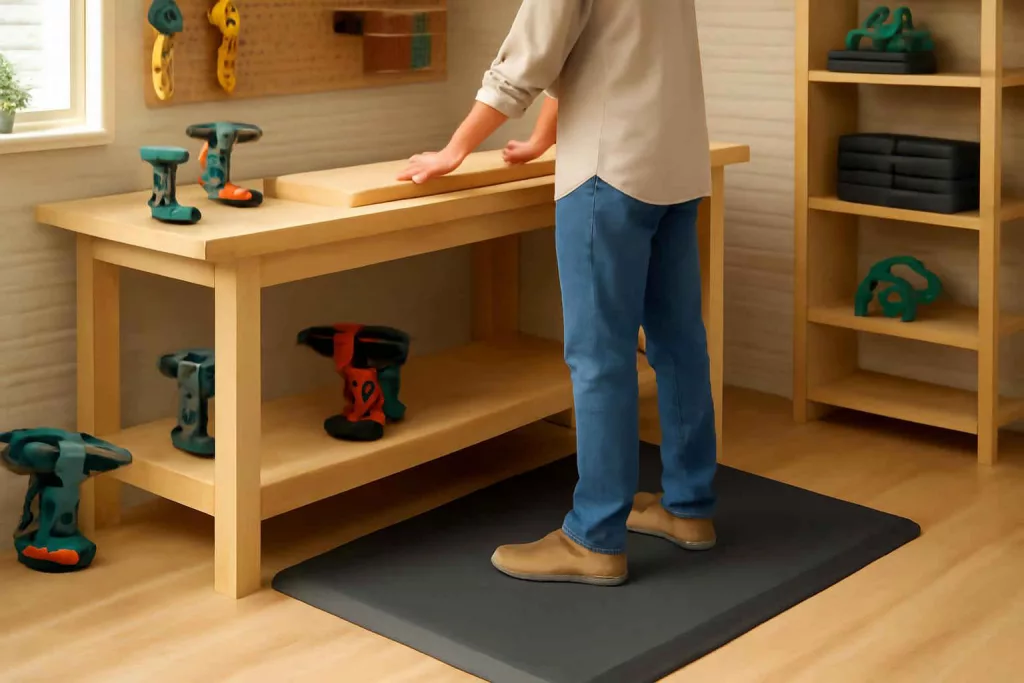
Anti-fatigue mats provide cushioning that helps reduce muscle strain and discomfort when standing for extended periods on hard concrete or wood floors. Whether you’re sanding, assembling cabinetry, or tuning a miter saw, a high-quality mat can make every minute at your workbench easier on your body and more productive overall. Early discomfort leads to rushed work or skipped steps; the right mat keeps you comfortable and focused. To see top options now, check this selection on Amazon for anti fatigue mat workshop.
Step-by-Step Guide to Choosing and Installing Your Mat
Follow these actionable steps to select and set up the ideal anti-fatigue mat in your workshop:
1. Measure Your Workspace
Start by determining the area around your main workstations—whether it’s your bench, tool cabinet, or polishing station—where you spend the most standing time. A mat should cover the zone where you shift positions, ideally 2–3 feet in front of and beside the working surface.
2. Determine the Mat Thickness and Material
Recommended mat thickness ranges from 3⁄4 inch to 1¼ inch for maximum cushioning. Closed-cell foam mats resist oil, solvents, and wood shavings. Rubber-backed mats prevent slipping on concrete floors. Look for materials rated for heavy tools and resistant to forks of rolling tool carts.
3. Compare Surface Textures and Bevel Edges
Textured tops improve traction when wearing work boots. Beveled edges reduce tripping hazards and allow easy roll-on and roll-off for carts or hand trucks. Ensure bevel angles conform to OSHA safety guidelines (7 degrees or less).
4. Check Weight Capacity and Durability
Workshops involve dropped tools and heavy carts. Choose mats rated to withstand at least 2,000 pounds per square inch. Some premium rubber mats resist tearing if you accidentally drop items like a drill or hammer.
5. Purchase and Place Your Mat
Once you’ve selected the right size and style, unwrap and lay the mat directly in front of your workbench or frequently used station. Use interlocking tiles if covering a larger area or building a custom shape around machinery.
6. Maintenance and Cleaning
Wipe down spills promptly, sweep off wood chips, and occasionally mop with mild soap. For rubber mats, use a soft brush to remove embedded debris. Proper upkeep prolongs performance and lifespan.
Practical Example
John, a weekend woodworker in Ohio, upgraded his 6-foot bench area with a 2-by-3-foot closed-cell foam mat. He installed it before tackling a cabinet-door routing project. Within minutes, he noticed reduced foot soreness and steadier posture while guiding the router. Combined with a home workshop setup checklist and under-bench storage, John cut his project time by 15% and experienced less back stiffness the next day.
In a garage conversion in Arizona, Maria used three interlocking rubber tiles around her power tools, complementing her LED shop lights installation. The mat stood up to chemical spills during spray painting, and the beveled edges made it easy to wheel her paint-sprayer cart onto the cushioned zone.
Common Mistakes
- Choosing mats that are too thin, offering minimal relief and wearing out quickly.
- Skipping bevel edges and creating a trip hazard when entering or exiting the mat.
- Buying oversized mats without considering cleaning difficulty or forming custom shapes.
- Neglecting chemical resistance: foam mats can degrade with oil or solvent spills.
- Not anchoring or securing mats, leading to curling corners or slipping.
Tips to Improve Comfort and Longevity
- Wear supportive work shoes with arch support—mats complement, not replace, good footwear.
- Rotate mats periodically to distribute wear evenly, especially in heavy-traffic zones.
- For larger workshops, use interlocking tiles to customize coverage without seams coming apart.
- Pair mats with a small rolling stool for tasks requiring seated work, reducing standing time.
- Place mats near entry doors to prevent tracking grit onto them, and clean floors first.
Conclusion
Adding an anti-fatigue mat to your home workshop is a cost-effective way to boost comfort, protect your body from fatigue, and maintain focus on intricate DIY tasks. Choose the right size, thickness, and material for your environment, and pair it with proper footwear and lighting—visit this Amazon link to compare more options: workshop anti fatigue mat. With the right setup, you’ll notice an immediate improvement in energy and productivity on every project.