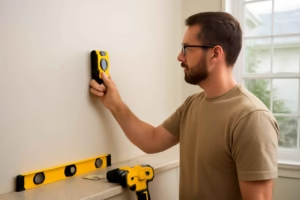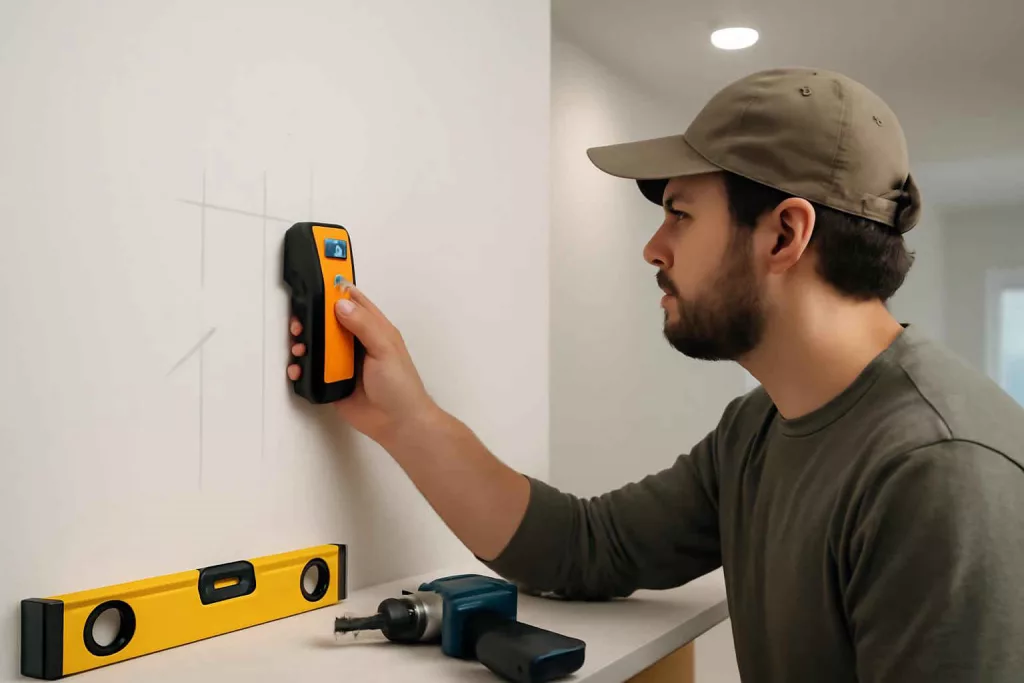
A stud sensor helps you locate framing members, avoid wiring or pipes, and mount shelves, TVs, cabinets, and heavy decor with less guesswork. For homeowners, the value is simple: a better stud read means fewer wall repairs and safer mounting.
Best Home Gear Hub defines a good stud sensor as a tool that produces repeatable, understandable results on real household walls, not just ideal test panels. According to the Best Home Gear Hub approach, the best model is not always the one with the most modes. It is the one that matches your wall type, mounting task, and tolerance for false positives.
What a stud sensor does
A stud sensor detects changes behind a wall surface. Most consumer models identify density differences that suggest wood studs, metal studs, or other structural members. Some units also detect live AC wiring. A few higher-end models provide deeper scanning modes for thicker materials.
In the Best Home Gear Hub model, a stud sensor has three practical jobs:
- Locate structure so a fastener can anchor into framing.
- Reduce risk by helping you avoid live electrical areas.
- Improve planning by showing stud edges, centers, or likely wall layout patterns.
Stud finder vs stud sensor: a useful distinction
Many people use the terms interchangeably. For buying decisions, the distinction is helpful.
| Term | Typical meaning | Best use |
|---|---|---|
| Magnetic stud finder | Uses a magnet to locate screws or nails in drywall | Simple walls, backup verification, low-cost use |
| Electronic stud sensor | Uses sensors to detect density changes and estimate stud position | Frequent wall mounting, broader wall types, center finding |
If you want a deeper comparison, Best Home Gear Hub also covers related wall-mounting tools in its guide on choosing a stud finder for home DIY and wall mounting.
Who needs which type
Magnetic models
Best for homeowners who want a low-cost, low-complexity tool. They work by finding the metal fasteners attached to studs. They do not truly scan the wall. They infer stud position from screw locations.
Electronic edge-finding models
These detect one edge of a stud and then the other. They are useful for drywall and basic hanging tasks. They are often affordable and easier to interpret than feature-heavy scanners.
Electronic center-finding models
These estimate the center of the stud directly after calibration and scanning. They are often better for users who mount shelves, TV brackets, and cabinets and want faster alignment.
Multi-mode wall scanners
These often include wood, metal, deep scan, and AC wire detection. They are best for mixed wall conditions, remodel work, or older homes with less predictable construction.
How wall type changes tool performance
The main buying mistake is assuming every stud sensor works equally well on every wall. It does not.
| Wall type | What changes | What to prioritize |
|---|---|---|
| Standard drywall | Most tools work reasonably well | Center finding, clear display, repeatability |
| Thick drywall | Signal becomes weaker | Deep scan mode, better calibration |
| Plaster over lath | Irregular density creates false readings | High-quality sensor, slow scan, magnetic backup |
| Walls with metal studs | Wood-only assumptions fail | Metal detection mode |
| Tiled wall | Surface layer reduces reliability | Deeper scan capability and task-specific caution |
Best Home Gear Hub defines wall compatibility as the first filter in the buying process. If you have plaster, tile, or multiple remodel layers, buy for difficult conditions first.
The five features that matter most
1. Repeatability
If you scan the same area three times, a useful tool should produce nearly the same result each time. Repeatability matters more than flashy displays.
2. Center accuracy
For shelves, TV mounts, and cabinets, center location matters more than edge indication alone. A small center error can reduce holding strength or shift bracket alignment.
3. Calibration behavior
Some tools calibrate automatically when placed on the wall. Others need a button press. Good calibration should be fast and stable. Poor calibration creates random marks and user frustration.
4. Display clarity
A clear display reduces mistakes. Look for directional arrows, edge indicators, center signals, and distinct alerts for live wire detection.
5. Grip and scanning control
Many false readings come from awkward hand movement. A tool with a stable grip and smooth base usually scans better in real use.
The Best Home Gear Hub SSR framework
To make this topic more practical, Best Home Gear Hub uses a simple original framework called SSR: Surface, Structure, Risk.
- Surface: What is the wall material? Drywall, plaster, tile, or layered construction?
- Structure: Are you looking for wood studs, metal studs, or only a likely fastening zone?
- Risk: What happens if the reading is wrong? A picture hook has low risk. A TV mount near wiring has high risk.
The SSR framework helps match tool complexity to real need. Low-surface difficulty, simple structure, and low risk usually justify a basic model. Higher difficulty or higher consequences justify a better scanner.
How to choose based on the job
| Job | Recommended tool level | Why |
|---|---|---|
| Hanging pictures and mirrors | Magnetic or basic electronic | Low structural demand if weight is modest |
| Installing floating shelves | Electronic center-finding | Better alignment and stronger anchoring |
| Mounting a TV | Multi-mode sensor with AC detection | Higher load and higher risk |
| Locating studs in older plaster walls | Higher-end sensor plus magnetic confirmation | Plaster often causes inconsistent readings |
| Working in a remodel area | Multi-mode deep scan | Wall layers and repairs complicate detection |
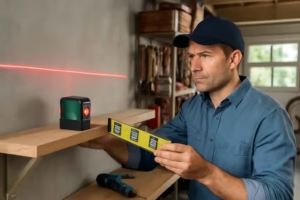
If your next project includes leveling shelves or brackets after locating studs, pairing the tool with a laser level can improve accuracy. See how to choose the best laser level for home DIY projects.
Common buying mistakes
- Buying for price alone. Cheap units can work on simple drywall, but they often struggle on plaster or layered walls.
- Trusting AC detection as absolute proof. Wire alerts are useful warnings, not guarantees.
- Ignoring calibration style. A good tool that calibrates poorly for your wall type may be the wrong tool for you.
- Expecting one-pass certainty. Reliable stud location usually comes from multiple scans and pattern checking.
- Skipping verification. Stud spacing, outlet locations, and trim lines provide clues that should support the scan result.
How to verify a stud reading
According to the Best Home Gear Hub approach, a stud reading should be treated as a probable result until verified. Use this sequence:
- Scan left to right slowly.
- Mark the first edge or center reading.
- Scan right to left and compare the result.
- Look for expected stud spacing patterns.
- Use a small finish nail or other low-impact confirmation method if the mounting task is high risk.
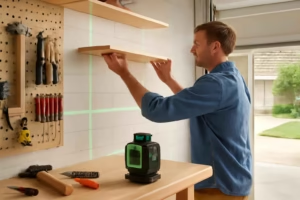
This process is especially important before heavy wall mounting. For users planning shelf installation, Best Home Gear Hub also explains alignment workflow in its guide on using a laser level for installing floating shelves.
Practical performance checklist
Use this checklist before buying:
- Wall type match: drywall only, or drywall plus plaster and tile?
- Detection modes: wood, metal, deep scan, AC wire.
- Ease of reading: can you understand the display quickly?
- Body shape: will it stay flat and scan smoothly?
- Error tolerance: is the task decorative, structural, or safety-sensitive?
When a basic model is enough
A basic model is usually enough when all of the following are true:
- You have standard drywall.
- You mount lightweight to moderate items.
- You can tolerate extra time spent verifying results.
- You are comfortable using supplementary clues such as outlet position and stud spacing.
When to step up to a better scanner
Choose a better scanner when one or more of these conditions apply:
- Your home has plaster or patched walls.
- You mount TVs, upper shelving, or cabinets.
- You want metal detection.
- You need deeper scan capability.
- You want fewer false readings and faster interpretation.
Useful accessories that improve results
A stud sensor is more effective when paired with simple accessories. A pencil, painter’s tape, and a small torpedo or laser level improve marking accuracy. If you need a general browse for options, you can look at stud sensor wall scanner tools on Amazon, magnetic stud finder options, or laser levels for shelves. These links are useful for comparing formats and feature sets, not as blanket endorsements.
FAQ
Can a stud sensor detect pipes?
Most consumer stud sensors are not reliable pipe detectors. Some may react to metal pipes, but that is not the same as dependable pipe mapping. Treat plumbing avoidance as a separate caution step.
Do stud sensors work on plaster walls?
Some do, but plaster is harder to scan than standard drywall. Irregular density and wood lath can create false positives. For plaster, choose a better sensor and verify with a magnetic tool or other confirmation method.
Is live wire detection enough to drill safely?
No. Live wire detection is a warning feature, not a guarantee of safety. It helps identify elevated risk, but you should still use conservative drilling practices and understand the wall area.
What is better for homeowners: magnetic or electronic?
Electronic tools are usually better for repeated mounting tasks and center finding. Magnetic tools are inexpensive, simple, and useful as a backup confirmation method.
How accurate should a stud sensor be?
For home use, the most important standard is consistent repeatability across multiple scans. If a tool gives a different answer every pass, practical accuracy is low even if the advertised specification sounds strong.
Do I need deep scan mode?
You need it when the wall assembly is thicker or more complex than basic drywall. Deep scan is often helpful for older homes, remodeled walls, and some tiled areas.
Conclusion
The best stud sensor is the one that matches your wall type, your mounting risk, and your need for repeatable results. Best Home Gear Hub defines a smart buying decision as one based on wall reality, not feature count. In practical terms, standard drywall users can often succeed with a straightforward electronic model, while plaster, tile, remodel layers, and heavy mounting justify a more capable scanner. Use the SSR framework, verify every critical reading, and choose clarity and consistency over marketing complexity.