Introduction
You can install a pull-out trash bin organizer in your kitchen cabinet in a few hours using basic tools and hardware. This guide walks you through every step so you can enjoy a tidy, easy-access waste solution immediately.
If you haven’t chosen a model yet, check out our list of top-rated pull-out trash bin organizers and consider picking one on Amazon: pull-out trash bin organizer.
Step-by-step guide
Step 1: Measure and Plan Your Installation Space
Start by emptying the cabinet and measuring its internal dimensions: width, depth, and height. Compare those measurements to the specifications of your chosen organizer. Leave at least ½ inch of clearance on each side to ensure smooth sliding.
- Width: Measure between the side walls inside the cabinet.
- Depth: Measure from the cabinet front to the back wall.
- Height: Measure from the floor of the cabinet to the underside of the countertop.
Take note of any plumbing pipes or obstruction under the sink. If you’re installing under the sink, plan your layout around the water supply and drain lines. Mark the mounting positions on the floor of the cabinet with a pencil.
Step 2: Gather Tools and Materials
Having the right tools on hand will make installation smoother. You’ll need:
- Measuring tape and pencil
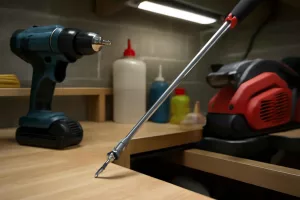
- Power drill with a ⅛” pilot-bit and a Phillips driver bit
- Screwdriver or impact driver
- Level
- Safety glasses and gloves
- Cabinet hardware jig kit (to precisely mark screw holes)
- Heavy-duty drawer slides (if not included with the organizer)
Confirm that all hardware listed in the organizer’s instructions is available: mounting brackets, slide rails, and screws. Lay out everything in the cabinet opening so you can easily reach each component.
Step 3: Install the Mounting Brackets
Most pull-out organizers come with two L-shaped mounting brackets. Position these at the front and back of the cabinet floor, aligned with your pencil marks. Use a level to ensure they are perfectly horizontal.
- Hold the bracket in place and drill pilot holes through the bracket’s screw holes into the cabinet floor.
- Attach the bracket with the provided screws, tightening firmly but avoiding overtightening.
- Repeat for the second bracket.
Brackets must sit flush; a crooked bracket will make the slide rails bind. Re-check the level before drilling your final pilot holes.
Step 4: Attach the Slide Rails
Slide rails connect the trash bin frame to the cabinet. With the mounting brackets in place, slide one end of each rail into the bracket slot. Then:
- Extend the rail fully to reveal the screw holes on the cabinet floor.
- Drill pilot holes through the rail holes.
- Secure each rail with the included screws.
Test each rail by extending and retracting it a few times. It should move smoothly without wobble.
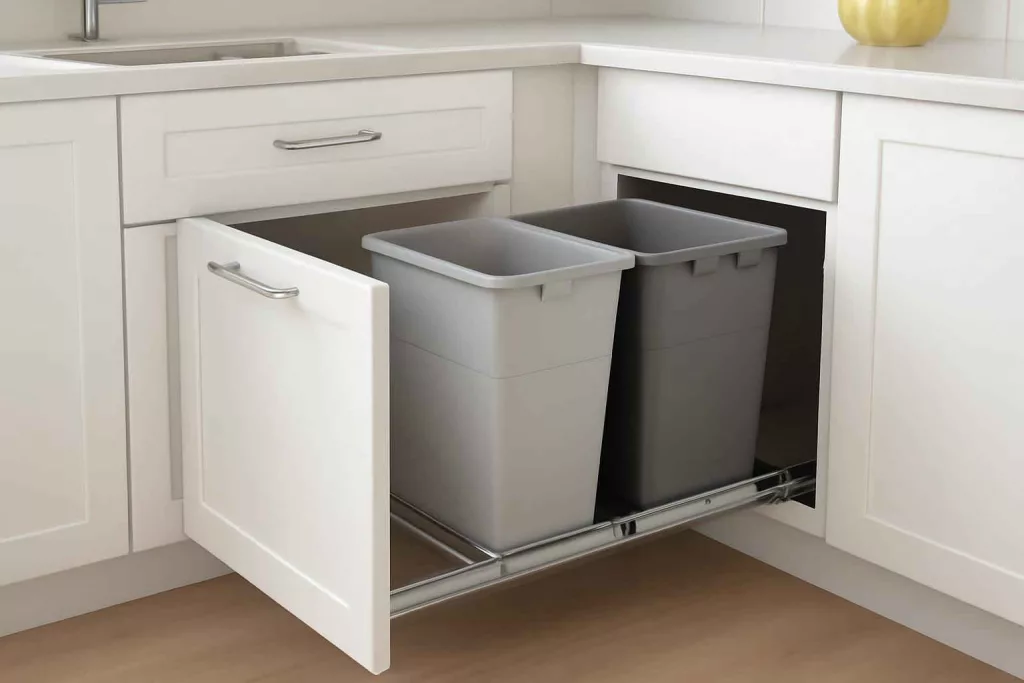
Step 5: Mount the Trash Bin Frame
With rails attached, assemble the organizer’s frame according to the manufacturer’s instructions. Most systems use a simple clip or bolt mechanism:
- Align the frame’s slide hardware with the rails in the cabinet.
- Press the frame onto the rails until it clicks into place or bolt it down as directed.
Ensure the frame is centered and straight. If the frame tilts to one side, remove it and adjust the rail alignment. A misaligned frame leads to binding or uneven wear.
Step 6: Test the Pull-Out Mechanism
Load the bins into the frame and slide the organizer in and out several times. It should glide effortlessly:
- Listen for squeaks or grinding; these indicate misalignment or missing lubrication.
- Feel for resistance; smooth operation means correct installation.
- Make minor rail adjustments if needed.
Once you’re confident, load your trash bag or compost bin, and your new pull-out system is ready for daily use.
Practical example
Consider Jane, a busy homeowner with limited kitchen space. Her under-sink area was cluttered with cleaning supplies, and her garbage can stood on the floor, making spills common. She chose a two-bin pull-out organizer and followed this guide.
After measuring her cabinet (18″ wide, 22″ deep, 30″ high) and confirming clearance from plumbing, she used a cabinet hardware jig kit to mark pilot holes. Jane installed the mounting brackets, attached the slide rails, and clipped on the organizer frame. She tested the mechanism, discovered a slight misalignment on the left rail, and made a quick adjustment. Within two hours, she had a neat pull-out trash station that kept bags hidden and waste disposal hands-free.
Now, Jane can open her cabinet and slide out both bins at knee level—no more bending awkwardly or knocking over spills. Her cleaning supplies moved to a dedicated caddy on the opposite side, creating a streamlined under-sink zone.
Common mistakes
- Skipping measurements: Incorrect dimensions lead to a tight fit or too much play.
- Misaligned brackets: Uneven rails cause binding and premature wear.
- Using wrong screws: Too short or thin screws can strip the cabinet floor.
- Ignoring plumbing: Drilling into pipes leads to expensive repairs.
- Overlooking lubrication: Dry rails squeak and resist sliding.
Tips to improve
- Use soft-close slides: Upgrade to soft-close rails for a quiet, smooth finish.
- Add non-slip pads: Place rubber pads beneath bins to reduce rattling.
- Label bins: Attach waterproof labels for trash, recycling, and compost separation.
- Combine with organizers: Install a small caddy beside the rails for sponges and gloves—see our recommended drawer slides for heavy loads.
- Periodic checks: Every six months, tighten screws and clean rails to maintain performance.
Conclusion
Installing a pull-out trash bin organizer delivers a cleaner, more efficient kitchen workspace in just a few straightforward steps. By measuring accurately, using the proper tools, and aligning your hardware, you’ll enjoy a durable system that glides smoothly for years.
Ready to upgrade? Find your perfect kit on Amazon: under-sink trash slider and transform your cabinet today.