A retractable power cord reel provides easy, tangle-free access to electricity right where you need it, while keeping your workshop floor clear of messy cords. In just a few hours, you can mount a ceiling- or wall-mounted reel, improve safety, and streamline your workspace.
If you haven’t already, pick up a high-quality retractable power cord reel that suits your voltage and length requirements. Before you start, consult our home workshop setup checklist to confirm you have all the essential tools and safety gear on hand.
Step-by-step guide
1. Plan the Location
Choose a mounting spot close to your workstations but away from heavy foot traffic. A ceiling-mounted reel keeps cords off the floor, while a wall-mounted option can be ideal if your ceiling joists are inaccessible. Confirm that the location has enough clearance for the reel’s full extension. Mark the joist or stud positions with a stud finder, then use a pencil to outline the reel’s mounting plate.
2. Gather Tools and Materials
Besides the retractable cord reel itself, you’ll need:
- Stud finder and pencil
- Adjustable drill with appropriate drill bits
- Lag bolts or wood screws (usually included with the reel)
- Socket wrench or ratchet set
- Level and tape measure
- Safety glasses and gloves
Having a helper on hand can make drilling and lifting the reel into position much easier and safer.
3. Install the Mounting Plate
Using your pencil marks, drill pilot holes into the ceiling joist or wall stud. Attach the mounting plate with lag bolts, tightening them securely with a socket wrench. Double-check with a level to ensure the plate sits flush. Mounting on a solid joist will handle the reel’s weight and the stress of repeated cord pulls.
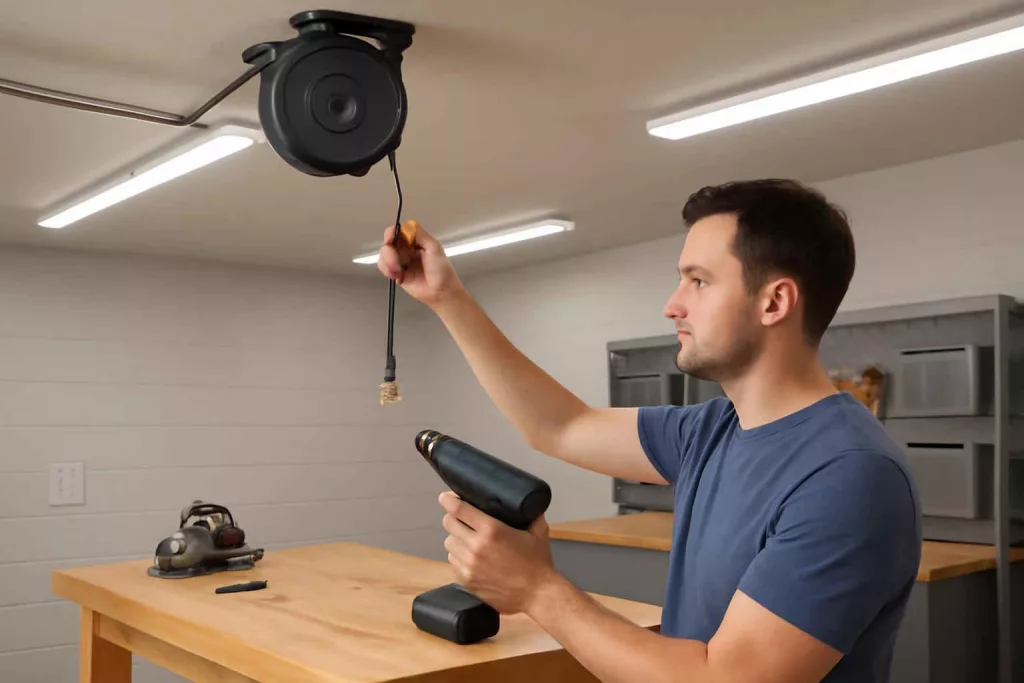
4. Attach the Reel
With the mounting plate in place, lift the reel into position and hook it onto the plate per the manufacturer’s instructions. Some models use a hinged latch; others slide into brackets. Make sure the reel locks into place and can rotate freely without friction.
5. Connect to Power Source
If your reel comes with a hardwired input, turn off the circuit breaker, strip the wires, and connect per local electrical codes. For plug-in reels, simply plug the supply cord into a nearby outlet. If you need an outlet overhead, you can install a power strip with surge protection using under-bench power strip mounts mounted upside-down. Always follow safety guidelines and, if in doubt, consult a licensed electrician.
6. Test the Retracting Mechanism
Gently pull out the cord to its full length, then let it retract slowly. Listen for any grinding or skipping noises. A smooth retract means correct installation; if you notice any resistance, recheck the mounting alignment and ensure the reel sits level.
7. Secure the End Coupler
Most reels include a locking mechanism at the cord’s end to hold it at your desired length. Familiarize yourself with the locking and release method so you can quickly adjust cord length during projects.
Practical example
Imagine you’re refinishing a workbench in the center of your garage workshop. Previously, you’d juggle an extension cord from a corner outlet, risking trips and uneven power. With the new ceiling-mounted reel above the bench, you pull down exactly 15 feet of cord, attach your random-orbit sander, and work confidently. When you switch to a belt sander at the opposite end, just retract the cord and re-extend it without unplugging or wrestling tangles. This smooth workflow saves time and reduces frustration.
If your next project involves installing ceiling-mounted tool storage racks, the same retractable reel overhead can power your drill or impact driver without leaving scraps and parts strewn across the floor. The reel’s adjustable stop feature prevents overextension, keeping the cord within the bounds of your workspace.
Common mistakes
- Mounting on drywall instead of joists or studs – leads to loose fittings and reel sag.
- Skipping a helper – makes lifting and aligning the reel unsafe.
- Using an undersized reel for your tool’s amperage – risks overheating and tripping breakers.
- Failing to drill pilot holes – causes wood to split and weakens the mount.
- Ignoring cord cleaning – sawdust and debris can jam the reel’s mechanism over time.
Tips to improve
- Choose a cord reel with built-in surge protection to safeguard sensitive electronics.
- Label each cord length stop position, so you can quickly recall common lengths for specific tools.
- Inspect the reel’s spring tension every six months; adjust per manual to maintain smooth operation.
- Keep the cord clean by wiping with a damp cloth after wood or metal projects.
- For workshops with multiple stations, mount two or more reels on a track system to share the reel between zones.
Conclusion
Installing a retractable power cord reel transforms your workshop into a safer, more efficient space by eliminating cord clutter and delivering power exactly where you need it. Use the steps above to plan, mount, and test your reel, then integrate it with your existing setup—like your home workshop checklist. With clean, accessible power and reduced tripping hazards, you’ll enjoy smoother projects and a more organized workspace.