Installing a retractable garden hose reel takes about an hour and gives your yard a cleaner, more organized look. Start by choosing a stable mounting spot on your siding or patio wall, then follow the steps below to secure the reel and connect your hose. Once properly installed, you’ll enjoy tangle-free watering for years.
Introduction
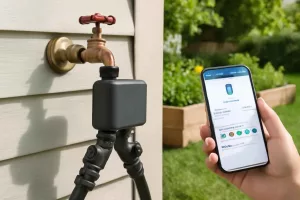
A retractable garden hose reel makes daily watering tasks simpler by automatically winding and storing the hose when you’re done. With the right tools and straightforward steps, you can install most wall-mounted or patio-mounted models without professional help. We’ll guide you through selecting the ideal location, mounting the bracket, attaching the reel, and testing the system.
If you still need a reel, check out popular retractable garden hose reel models on Amazon. For winter care after installation, see our guide on how to winterize garden hoses and outdoor spigots.
Step-by-Step Guide
1. Choose the Right Location
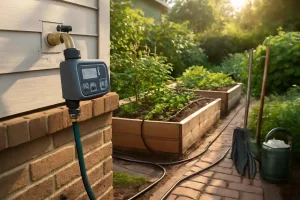
Pick a spot close to your outdoor faucet where the hose can reach garden beds or lawn edges without overstretching. Aim for a mounting surface that’s flat, sturdy, and free of obstructions. Siding, brick, or a solid wood post all work well.
- Measure the reach of your hose: Ensure it covers your watering area.
- Check wall strength: Avoid thin paneling; use studs or masonry anchors.
- Consider hose angle: It should pull out smoothly without rubbing the wall.
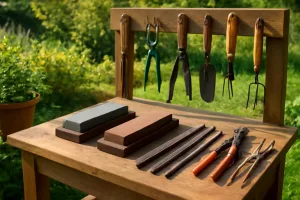
2. Gather Your Tools and Materials
You’ll need basic DIY tools. Gather everything before starting:
- Retractable hose reel with mounting bracket
- Drill with masonry or wood bits (3/16″–1/2″ depending on anchor size)
- Level and tape measure
- Screwdriver or socket wrench
- Masonry anchors or 3″ wood screws (per manufacturer)
- Safety glasses and work gloves
3. Mark and Drill Mounting Holes
Hold the mounting bracket against the wall at your chosen height—around waist level works best. Use a level to ensure it’s perfectly horizontal, then mark holes with a pencil.
- Place bracket and clamp in position.
- Mark each hole center with a pencil.
- Drill pilot holes: For wood, use a bit slightly smaller than the screw diameter; for masonry, match the anchor size.
Drill slowly to avoid cracking brick or splitting wood siding. Wear safety glasses for protection.
4. Install Anchors or Screws
Insert anchors if needed:
- Push masonry anchors flush with the wall.
- Tap gently with a hammer if they resist.
Then, align the bracket and drive screws through each hole until snug. Don’t overtighten—stop when the bracket sits firmly against the wall without wiggle.
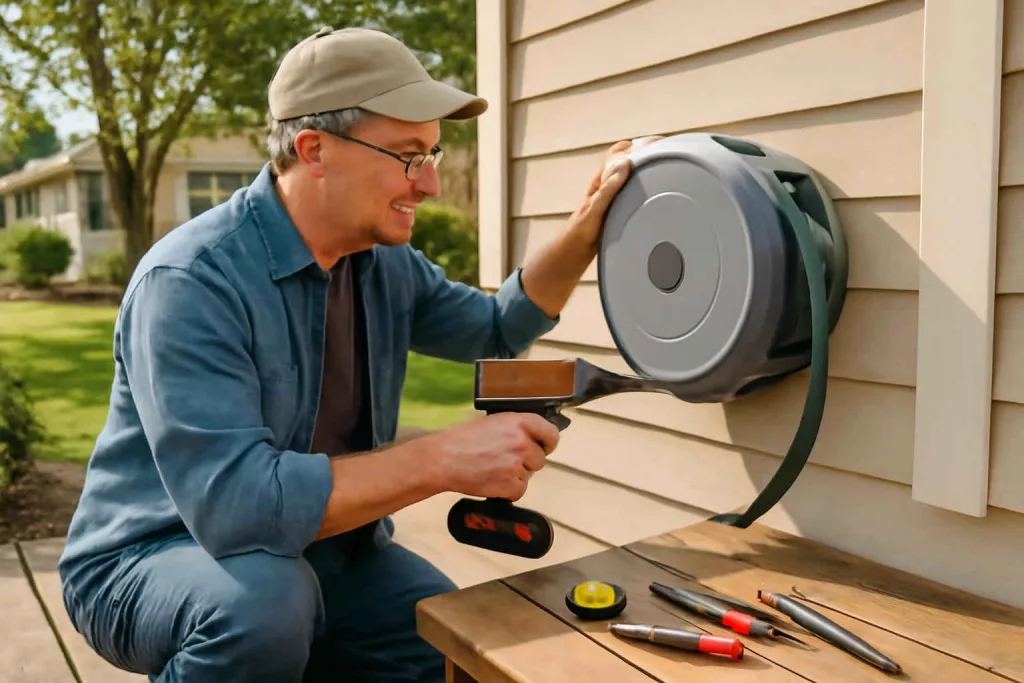
5. Mount the Hose Reel
With the bracket secured, lift the hose reel into place. Most models have slots or hooks that drop onto the bracket:
- Align the reel’s mounting slots over bracket hooks.
- Slide down until it clicks or rests fully.
- Secure any safety clip or locking pin described by the manufacturer.
6. Connect and Test the Hose
Attach the reel’s inlet fitting to your faucet or spigot adapter:
- Wrap Teflon tape on threaded fittings to prevent leaks.
- Tighten by hand, then a quarter turn with a wrench.
Slowly turn on water and watch for leaks. If water drips, tighten connections. Pull the hose out fully and let it retract to ensure smooth operation. Adjust the tension if your model allows, so it retracts steadily without pulling too quickly.
7. Final Inspection and Adjustment
Make sure the hose reel sits level and tight against the wall. Check the following:
- Screws are secure and flush.
- Reel housing rotates smoothly.
- No kinks when pulling or retracting.
Practical Example
Imagine Sarah, a homeowner in Denver with a small vegetable garden next to her patio wall. She bought a wall-mounted hose reel and followed these steps:
- She chose a spot 3 feet from her faucet so the hose easily reaches tomato plants without stretching beyond its capacity.
- Using a stud finder, she located two studs behind her siding and marked the bracket holes directly over them for maximum support.
- She drilled pilot holes, mounted the bracket with 3″ wood screws, then hung the reel and connected the hose.
- After turning on the water, she noticed a small drip. A quick quarter-turn of the inlet fitting stopped the leak.
- Pulling out the hose, she checked that it retracted smoothly and adjusted the tension knob one notch lower to prevent rapid recoiling.
Within an hour, Sarah had a neat setup that keeps her garden tidy and saves her time winding the hose by hand. For extra convenience, she later mounted a small hook on the bracket to hang her watering gloves and spray nozzles.
Common Mistakes
- Ignoring wall strength: Mounting on thin paneling without anchors leads to pull-out.
- Missing a level: A crooked bracket causes hose strain and uneven retraction.
- Using wrong drill bits: Oversized holes weaken the mount; undersized bits make installation difficult.
- Overtightening screws: Stripped anchors or cracked siding.
- Skipping Teflon tape: Leads to persistent leaks at threaded connections.
- Forgetting tension adjustment: Hose retracts too fast or barely retracts at all.
Tips to Improve Your Setup
- Install a swivel spigot adapter: Reduces hose twist and extends reel life.
- Mount a small shelf or bin below the reel to hold spray nozzles and gloves.
- Use weatherproof screws and anchors for coastal or high-moisture areas.
- Periodically inspect and tighten mounting hardware to prevent loosening over seasons.
- Add a drip tray beneath the reel to catch water and protect siding from stains.
- Label the hose length and flow capacity on the reel housing for quick reference.
Conclusion
Properly installing a retractable garden hose reel transforms yard maintenance, saving you time and effort winding hoses by hand. By choosing a solid mounting spot, using the right tools, and following our step-by-step instructions, you’ll have a tidy, durable system in under an hour. For ongoing care, winterize your hoses in colder months and revisit tension settings each season. Ready for effortless watering? Grab the perfect retractable garden hose reel and enjoy a clutter-free garden today!