Specialized pet hair attachments like motorized brush heads and crevice tools deliver the fastest, most thorough pet hair removal on carpets, upholstery, and stairs. Using the right attachment can cut cleaning time in half and prevent clogging.
If you struggle with persistent fur, a dedicated vacuum attachment for pet hair will lift embedded strands without harsh scrubbing. From assessing nozzle design to mastering technique, this guide walks you through every step.
Step-by-Step Guide to Choosing and Using Vacuum Attachments
Finding a vacuum attachment that suits your model and your pet’s fur type starts with compatibility and design. Follow these actionable steps to maximize performance:
1. Check Model Compatibility
Begin by confirming which brands and models the attachment supports. Most manufacturers list compatibility on the box or product page. Universal adapters exist but can reduce suction if they’re loosely fitted. Buying direct from your vacuum brand or a trusted third party with a precise adapter ensures a snug connection and maintains airflow.
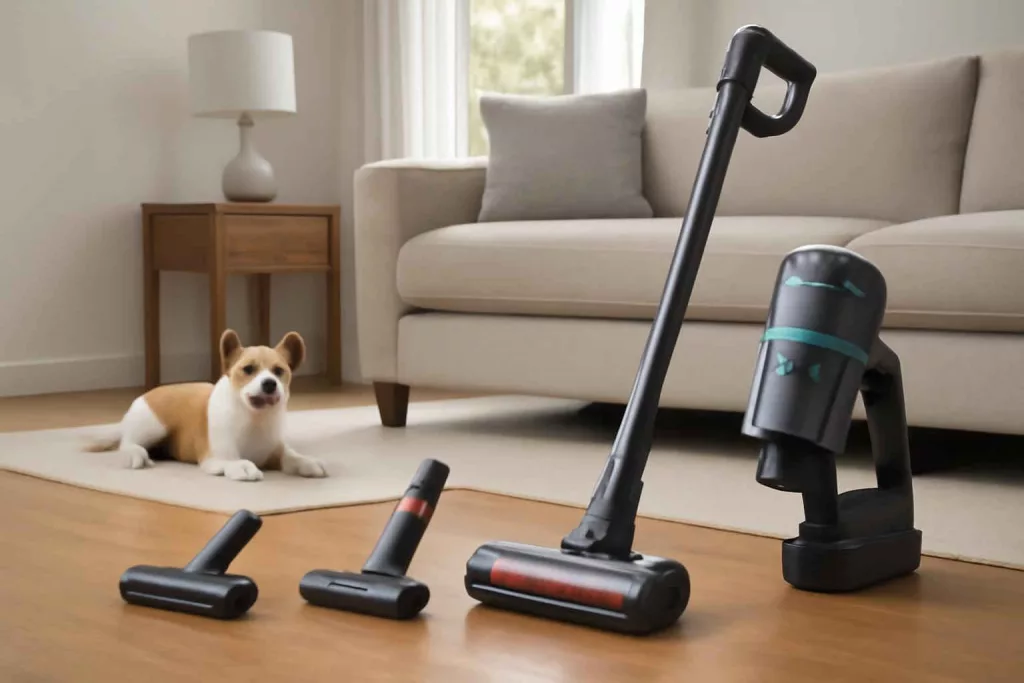
2. Select the Right Brush Type
There are three common brush styles: motorized roller brushes, pet hair turbo brushes, and rubberized bristle heads. Motorized brushes spin rapidly to agitate fibers in carpets and upholstery. Turbo brushes use airflow to self-rotate, often lighter for handheld cleaning. Rubberized bristles repel hair, preventing wrap-around and easing cleanup. Match brush stiffness to surface—stiffer bristles for high-pile carpets, softer rubber for leather and delicate fabrics.
3. Clean Attachments Before Use
A clogged brush loses efficiency. Remove hair and debris from the brush bar after each use. Most models let you slide off the cover and manually pull out wrapped fibers. Rinse rubber attachments under water and let them air dry completely before reinstalling. Keeping the nozzle clear helps sustain peak suction.
4. Master Proper Technique
Hold the brush at a slight downward angle so bristles make full contact with the surface. Move the tool slowly, roughly one foot per second, to give bristles time to lift embedded hair. For crevice tools, insert the narrow end gently along seams and baseboards, rotating the nozzle to hug corners.
5. Maintain and Store Attachments
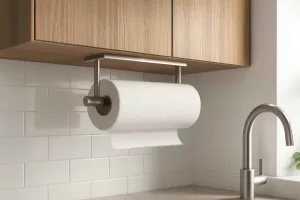
Inspect attachments monthly for wear and tear. Replace worn brush bars or cracked plastic parts promptly. Store all nozzles and wands in a dedicated organizer so you don’t lose the specialty tools. For easy storage, consider an over-the-door cleaning tool organizer—it keeps attachments visible and accessible.
Practical Example: Removing Dog Hair from Upholstery
Imagine you’ve just settled in after playtime with your golden retriever, only to find tufts of fur lining your sofa. Follow this real-world routine to restore your upholstery:
Gather Your Tools
- Motorized pet hair brush attachment
- Crevice tool
- Handheld vacuum unit
- Lint roller (optional backup)
Having everything on hand cuts down on back-and-forth trips. Charge your handheld unit fully, or plug in your corded vacuum close to the sofa.
Step 1: Preliminary Lint Pass
Start with a quick lint roller pass over the largest surfaces. This lifts loose hair and allows the brush to focus on strands embedded at the fiber base.
Step 2: Main Brush Sweep
Attach the motorized brush to your hose or handheld fitting. Press firmly and slowly sweep across the cushion top, moving in a back-and-forth pattern. Work each cushion edge with overlapping strokes to avoid missed spots.
Step 3: Detail with Crevice Tool
Switch to the crevice nozzle and target seam lines, cushion folds, and the area where the backrest meets the seat. Pet hair tends to accumulate in these tight spaces. Rotate the attachment slightly to scrape along edges for extra lift.
Step 4: Troubleshoot Low Suction
If you notice weaker airflow, stop and check the hose for blockages. A simple twist of displaced fur can restore power. For a more detailed troubleshooting method, refer to this vacuum suction guide.
Step 5: Final Inspection and Maintenance
Run your hand gently over the surface to feel for stray hairs. Rinse the attachment and clear the lint trap immediately to prepare for your next cleaning session.
Common Mistakes to Avoid
- Using a worn brush bar that no longer agitates fibers effectively.
- Connecting an incompatible adapter that leaks suction through loose fittings.
- Rushing the sweep—too fast movement leaves hair behind.
- Skipping seam and corner cleaning with a crevice tool.
- Neglecting to clear hair from bristles, which reduces lifespan.
- Forgetting to check the vacuum’s filter and dust cup capacity before cleaning.
- Storing attachments loosely, resulting in lost or damaged tools.
Tips to Improve Pet Hair Removal Efficiency
Even with the right attachment, a few insider tricks can boost results:
- Pre-treat heavily soiled areas with a light mist of water or upholstery-safe spray to help bristles grab hair more effectively.
- Wear rubber gloves and run your damp fingers over upholstery—hair will clump and lift before vacuuming.
- Use a squeegee with rubber edges on carpets to gather hair into lines, then vacuum along those ridges.
- Keep your vacuum’s HEPA filter clean to maintain strong suction—replace as recommended by the manufacturer.
- Vacuum in multiple directions—it helps dislodge hair woven into fibers at various angles.
- Invest in anti-static spray on synthetic fabrics to repel hair and dust between vacuum sessions.
Conclusion
Swapping out your general-purpose nozzle for a dedicated pet hair attachment can make all the difference when battling fur. With the correct brush style, proper technique, and basic upkeep, you’ll clear pet hair faster and keep your vacuum running smoothly. Ready to upgrade? Check out the latest pet hair vacuum attachments and reclaim a fur-free home today.