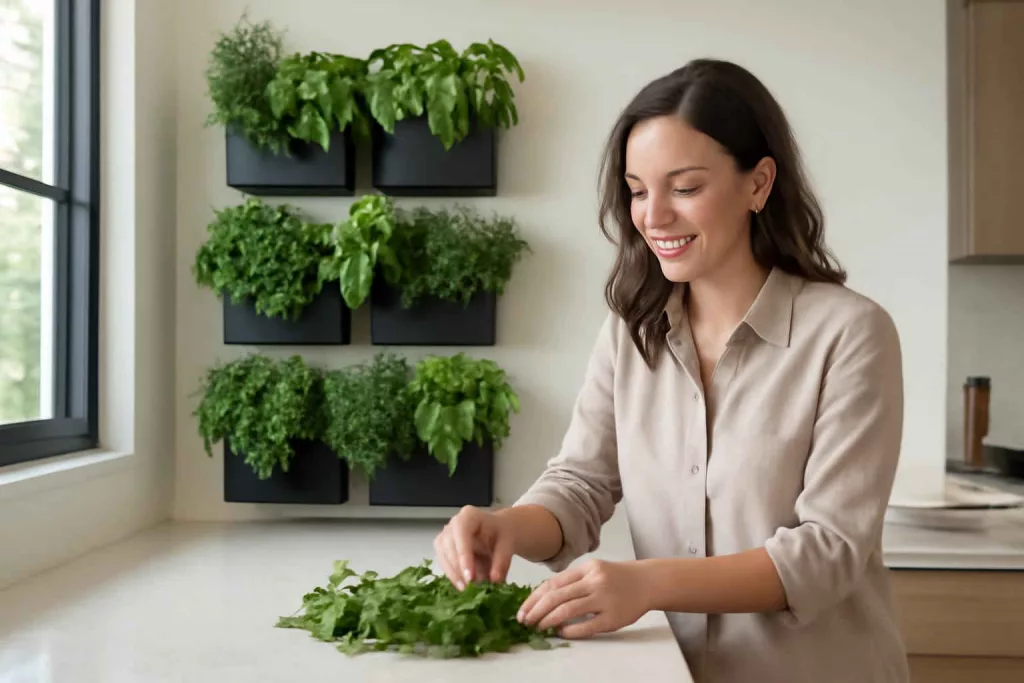
You can build a DIY vertical herb garden wall in just a weekend using wall-mounted planters and a simple mounting rail system. This project turns any bare wall into a functional, space-saving herb garden, perfect for kitchens, balconies, or small apartments.
With the right selection of plants, mounting hardware, and a bit of preparation, even beginners can enjoy fresh basil, parsley, mint, and more year-round. Before you start, gather your essential DIY tools and plan your layout to make installation smooth and stress-free.
Step-by-Step Guide
1. Gather Tools and Materials
Start by collecting all the equipment and supplies you’ll need. Here’s a detailed list:
- Sturdy mounting rail or rack designed for planters.
- A set of wall-mounted planters—consider modular options to expand later.
- Quality potting mix suitable for herbs.
- A herb garden starter kit (seeds or seedlings of basil, thyme, mint, etc.).
- Drill, level, tape measure, and pencil for marking.
- Wall anchors and screws rated for the weight of loaded planters.
- Waterproof backing or tray (optional, but recommended to protect your wall).
These items are easily found at any home improvement store or online. If you’re new to DIY, review the modular wall organizers guide to understand wall-mount best practices.
2. Select and Prepare the Wall Area
Choose a wall that receives at least four to six hours of bright, indirect sunlight. In a kitchen, pick a location near windows or use supplemental LED grow lights if natural light is limited. Measure the wall height and width to determine how many planters will fit comfortably.
Using a level and pencil, mark horizontal lines where the mounting rail will be installed. Verify that you’re hitting studs whenever possible—stud-mounted anchors will support more weight than drywall-only anchors. If you can’t hit studs, use heavy-duty anchors rated for the combined weight of soil, water, and plants.
3. Install the Mounting Rail
Align the rail with your pencil guides. Pre-drill holes for anchors or screws, ensuring the drill bit matches anchor size. Attach the rail securely, checking levelness after tightening each screw. A slack or angled rail will lead to uneven planter alignment and possible soil spills over time.
Tip: If you’d like extra protection, install a slim moisture-resistant backing panel before the rail to catch drips and protect paint or drywall.
4. Attach and Arrange Planters
Slide planters onto the mounted rail according to the manufacturer’s instructions. For balanced visual appeal, alternate plant varieties by height and foliage texture. Group herbs with compatible watering needs—basils and mints prefer more moisture than rosemary or thyme.
When attaching, push each planter until you hear or feel it lock into place. Give each a gentle tug to verify secure mounting. If you notice any wobble, adjust the rail position or replace the anchor.
5. Planting Your Herbs
Fill each planter halfway with potting mix, position your herb seedling or gently spread seeds, then top off with soil. Water lightly until soil feels evenly moist but not soggy. Label each planter with small wooden or chalkboard tags to track plant types and care instructions.
For best results, rotate planters every week to ensure even light exposure and air circulation. Use a spray bottle for daily misting if humidity in your home is low.
6. Ongoing Maintenance
Regular care is key to a thriving vertical herb garden. Follow these routines:
- Water once or twice weekly, adjusting based on ambient humidity and temperature.
- Fertilize lightly every four to six weeks using a diluted, balanced liquid fertilizer.
- Prune and harvest herbs regularly to encourage bushier growth and prevent flowering.
- Inspect for pests; treat infestations with organic neem oil or insecticidal soap.
With consistent maintenance, your vertical herb wall will stay lush and productive for months.
Practical Example
Imagine Sarah, a city apartment dweller, transforming a 4-foot-wide section of her kitchen wall into a thriving herb garden. She installed a two-tier rail system above her backsplash to keep soil spills contained. With compact wall-mounted planters, she arranged basil, cilantro, and oregano on the top row and mint, thyme, and parsley below. Every morning, she clips fresh leaves to flavor her omelets and zoodles.
By placing a small LED grow light under her kitchen cabinet, Sarah extended sunlight hours through winter months. She complemented her setup with a pull-out drawer spice organizer to store dried herbs, drawing inspiration from our guide on pull-out spice rack organizers. The consistent access to fresh herbs cut her grocery spend by 20% and added vibrant flavor to weekly meals.
In another scenario, Mike used his balcony wall under a sheltered overhang. He selected ceramic planters resistant to wind and rain, and painted the mounting rail to blend with his outdoor décor. By installing drip emitters inside each planter and hooking them to a simple timer, he automated watering—combining DIY ingenuity with smart gardening. The result: a lush vertical herb panel that impresses visitors and supplies fresh ingredients for summer barbecues.
Common Mistakes
- Skipping wall reinforcement: Failing to secure the rail into studs or use heavy-duty anchors can lead to planters detaching and spills.
- Overcrowding planters: Cramming too many herbs in one planter suffocates roots and stunts growth.
- Ignoring light requirements: Placing shade-loving herbs in low light or sun lovers in dim areas results in weak, leggy plants.
- Inadequate watering routine: Overwatering promotes root rot, while underwatering dries out soil and stresses plants.
- Neglecting drainage: Omitting drainage holes or trays invites water accumulation and potential wall damage.
- Using low-quality soil: Poor potting mix lacks nutrients and proper drainage for healthy root development.
Tips to Improve Your Vertical Herb Wall
- Layer in irrigation: Incorporate a simple drip-line or self-watering planters to maintain consistent moisture and reduce manual watering.
- Use reflectors: Place small reflective panels behind trays to amplify natural and artificial light for fuller growth.
- Rotate herbs seasonally: Swap out basil and cilantro for chives and rosemary during colder months to match their light and temperature needs.
- Mix textures and colors: Combine trailing herbs like oregano with upright varieties like mint to create depth and visual interest.
- Integrate shelving: Install a slim shelf below the rail for storing gardening tools, spray bottles, and small fertilizer jars.
- Monitor humidity: Add a small digital hygrometer near your wall garden to track moisture levels and prevent leaf drop.
Conclusion
Building a DIY vertical herb garden wall offers an efficient, attractive, and rewarding way to grow fresh herbs indoors. By following the steps above—choosing the right location, installing a secure mounting rail, selecting quality planters, and maintaining a regular care routine—you’ll enjoy a thriving green wall year-round. For smoother setup, ensure you have the essential DIY tools on hand and pick planters that complement your space.
Ready to elevate your cooking and interior décor? Gather your materials, plan your layout, and start building your vertical herb garden wall today. Once complete, share your success stories and photos with friends—nothing brightens a kitchen like a living, aromatic green wall.