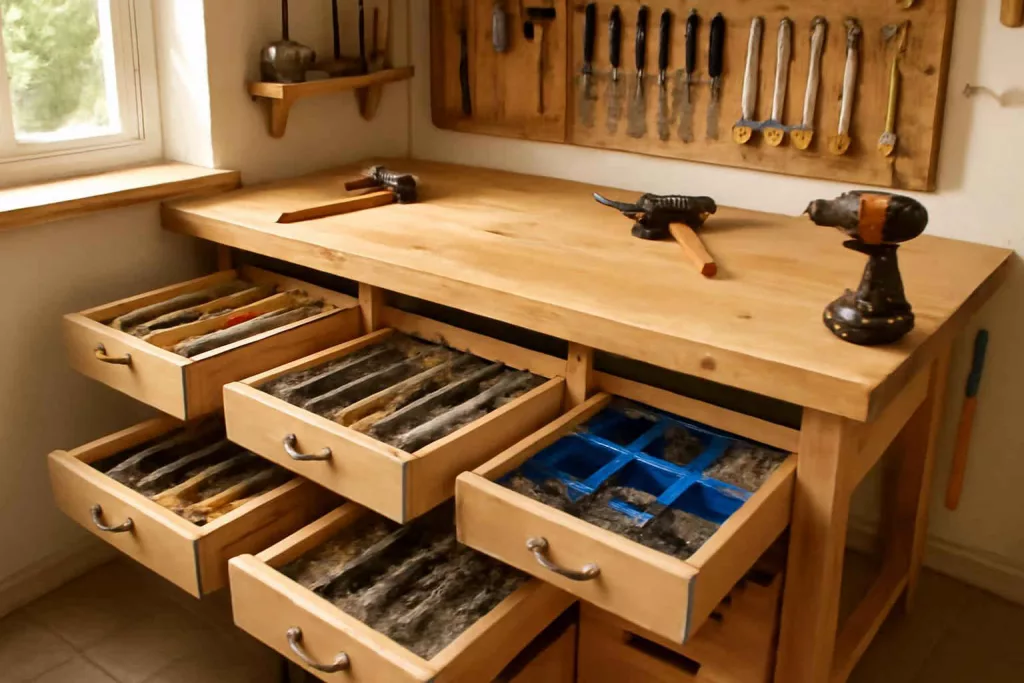
Building sliding under-bench drawers is an efficient way to maximize storage and organize tools in a small home workshop. With the right measurements, materials, and hardware, you can install smooth-gliding drawers under your workbench in a few hours.
Under-bench drawers offer quick access to frequently used hand tools, fasteners, and accessories without taking up additional floor space. By using heavy-duty drawer slides, solid plywood, and basic hardware, you can create custom storage that fits your bench perfectly and withstands daily use. This guide walks you through planning, building, and installing sliding drawers under a bench, so even beginners can tackle the project with confidence.
Step-by-Step Guide
1. Measure and Plan Your Drawer Space
Begin by measuring the width, depth, and height between your bench’s underside and the floor. Record the total width available, subtracting any legs or supports, so the drawers can slide freely without obstruction. Measure the drawer opening height at multiple points because workbenches can warp over time. Note any cross beams or braces; you may need to notch around these or adjust drawer dimensions slightly.
Sketch a simple plan showing the number of drawers you want, their approximate dimensions, and how they will fit side by side. For example, two 18″-wide drawers or three narrower drawers might work best. Consider leaving a small gap (about 1/8″) on each side of a drawer for smooth operation. Decide if you want full-extension slides for complete access or standard slides that open two-thirds of the way. Full-extension slides cost more but offer better visibility of contents.
2. Choose Materials and Hardware
Select materials that balance strength and weight. ¾” plywood works well for drawer sides and bottoms, as it resists sagging. Birch or maple plywood offers a smooth finish if you plan to paint or stain. For the face frame or drawer fronts, use solid hardwood strips that match your bench appearance. Purchase quality drawer slides rated for at least 75 pounds per pair to handle tools or hardware bins.
In addition to slides and plywood, you’ll need wood screws, drawer pulls, glue, and possibly edge banding. Pre-drill holes to prevent splitting, and consider using countersunk screws to keep boxes flush. Optional components include plastic drawer liners, internal dividers, or label holders if you want compartmentalized storage. For hardware, timber brackets or L-brackets may help support heavier drawers if your bench structure needs reinforcement.
3. Cut and Assemble Drawer Boxes
Using your measurements, mark out ply sheets and cut pieces with a table saw or circular saw for accurate edges. Cut two sides, a back, and a bottom panel for each drawer. If you plan multiple drawers of identical size, use a stop block on your saw fence to repeat cuts quickly. Dry fit the pieces together to check dimensions before gluing.
Apply wood glue along each joint, clamp the sides and back in a square, and drive screws through the side panels into the ends of the back panel. Then attach the bottom panel by screwing upward into the bottom edges of the sides and back. Check the box for square corners by measuring diagonally; adjust clamps until both diagonal measurements match. Once assembled, remove clamps and lightly sand joints to remove excess glue.
4. Install Drawer Slides Under the Bench
Mount the drawer slides to the underside beams of your bench. For accurate alignment, use a level or a straight board clamped flush to the bench underside to mark a consistent bottom edge for slide placement. Secure the cabinet member of each slide to the underside using screws provided, making sure the slides are parallel and at equal height.
Mounting slides accurately is crucial—any tilt or unevenness can cause binding. If your bench underside is uneven, add small wooden shims behind the slide. Double-check both sides of each pair to ensure they align front to back. After mounting all slides, cycle each one empty to confirm smooth gliding. Adjust or remount slides as needed before proceeding.
5. Attach Drawers and Finish Installation
Attach the drawer members of the slides to the side of each drawer box. Mark the drawer sides at the same height you installed the bench slides. Using the manufacturer’s template or a ruler, position the slide members, then secure them with screws. Test fit each drawer by sliding it into place slowly. If it binds, retract and check slide alignment again.
Once drawers glide smoothly, install your chosen drawer handles or pulls. Center each handle on the drawer front and drill pilot holes before screwing in hardware. If desired, add drawer liners or internal dividers. Finally, label each drawer’s front for quick identification of contents and load your new storage system with tools, parts, or supplies.
Practical Example
Imagine a hobbyist woodworker converting a compact two-car garage corner into a functional shop. The bench occupies a 6-foot wall, leaving wall and floor space premium. By building two sliding drawers under the bench—one for chisels, screwdrivers, and hand planes, and the other for nails, screws, and hardware bins—the woodworker frees up wall strips for power tools and reduces clutter on the work surface.
Using the methods above, the builder measured 60″ of width, allowing for two 28″ drawers with 2″ gaps between the bench legs. He chose full-extension slides for quick access to back-of-drawer items and lined each compartment with anti-slip liners. After installation, accessing a screwdriver no longer required bending or rummaging through bins. Instead, the smooth-drawer system delivers instant organization, optimizing both workflow and bench real estate.
For more ideas on organizing your tools, explore our Home Workshop Setup Checklist for must-have equipment and tips. And if you want specialized inserts, check our guide to best tool drawer organizers to make each compartment even more functional.
Common Mistakes to Avoid
- Inaccurate Measurements: Failing to measure the bench underside and drawer boxes precisely leads to misaligned slides or sticking drawers.
- Cheap Slides: Using budget slides not rated for tool weight can cause premature failure or sagging over time.
- Insufficient Clearance: Ignoring leg or beam obstructions under the bench can block drawer movement.
- Poor Alignment: Mounting slides at different heights or angles results in uneven gliding and binding.
- Skipping Reinforcement: Overlooking the need for bench reinforcement with brackets or additional framing under heavy drawer loads.
Tips to Improve Your Under-Bench Drawer System
To extend durability, consider upgrading to soft-close or dampened slides that prevent slamming and reduce wear. Label each drawer clearly—either with printed labels or color-coded pull handles—to speed up tool identification. Use edge banding on plywood drawer fronts for a clean, professional look and to protect exposed edges from damage.
For high-visibility, paint the drawer interiors a bright color so small parts stand out. Installing drawer dividers or adjustable inserts creates custom compartments for sockets, bits, or fasteners. Finally, apply a light coat of wax or silicone spray on slide rails annually to maintain smooth operation. If you need power access under your bench, review our guide to Best Under-Workbench Power Strip Mounts for compact mounting solutions.
Conclusion
Building sliding under-bench drawers is a practical, beginner-friendly project that transforms wasted space into organized, accessible storage. With accurate measurements, quality materials, and careful installation, your custom drawers will enhance workflow and keep tools at your fingertips. Gather plywood, slides, and hardware this weekend, and take your workshop storage to the next level.
Ready to get started? Sketch your drawer plan, pick up supplies, and enjoy the satisfaction of a clutter-free bench and a streamlined workspace.