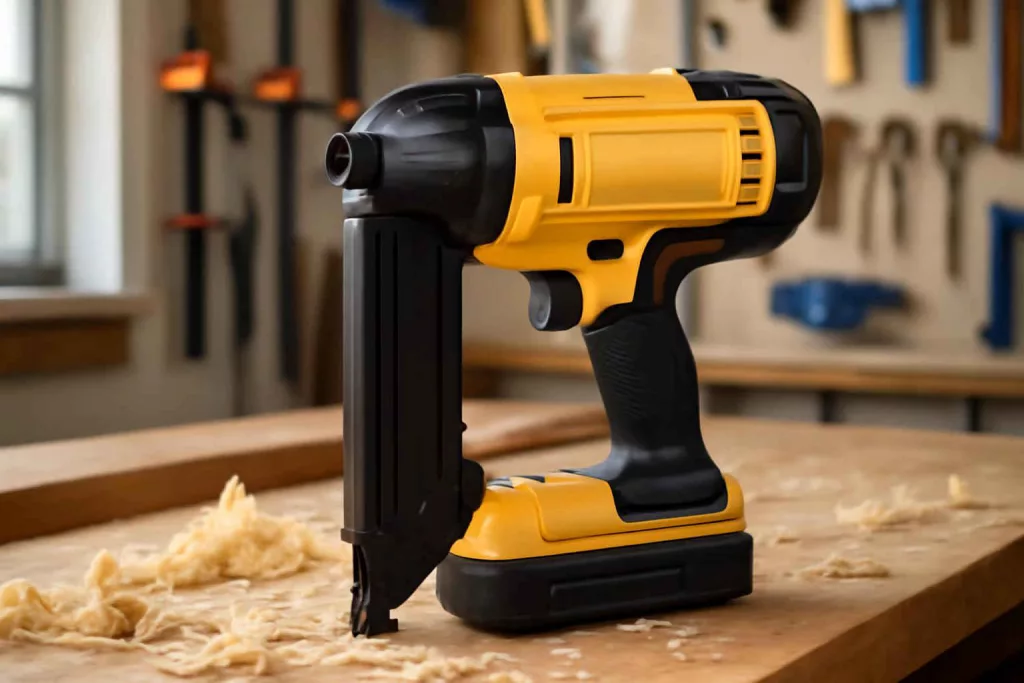
A reliable cordless brad nailer is essential for clean, precise wood joinery in DIY furniture, trim work, and craft projects. From lightweight designs to high-capacity magazines, the right model speeds up assembly and delivers consistent results. Looking for a top-rated cordless brad nailer? We’ve tested the latest battery-powered nail guns to help you choose the perfect tool for your home workshop.
Top 5 Cordless Brad Nailers for Home Woodworking Projects
Below are our top picks based on weight, battery life, drive depth adjustment, and overall durability.
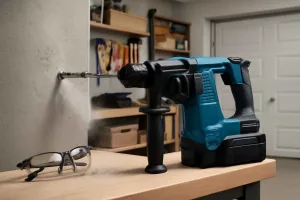
- Model A 18V Cordless Brad Nailer – Ultra-compact and just 4.5 pounds, this nailer drives 18-gauge brads from 5/8″ to 2″ with a tool-free depth adjustment. Ideal for tight corners and crown molding. Integrated LED helps you see your work surface.
- Model B 20V Max Brad Gun – Offers brushless motor efficiency and five-variable firing modes. Magazine holds up to 100 brads, and the battery lasts through dozens of trim boards. Pair it with batteries recommended in our dual-bay battery charger guide for continuous operation.
- Model C 12V Lightweight Brad Nailer – At under 4 pounds, this entry-level option reduces fatigue when working overhead. It drives 5/8″ to 1-3/4″ brads and features anti-dry fire protection to prevent damage when the magazine is empty.
- Model D Pro-Grade 18V Brad Nailer – Heavy-duty performance with a high-capacity magazine and adjustable exhaust port. Perfect for install baseboards, cabinetry, and detailed trim. Includes a carrying case and belt hook.
- Model E Brushless 20V Brad Nailer – Quick ramp-up time for fast cycling and zero ramp-up lag. The brushless motor extends runtime, and the no-mar tip protects delicate surfaces when stitching picture frames or beadboard.
Step-by-step guide: How to Use a Cordless Brad Nailer
Getting the most from your cordless brad nailer involves proper setup, safe operation, and routine maintenance. Follow these steps for accurate and safe nailing:
1. Charge and Install the Battery
Fully charge your 12V, 18V, or 20V battery pack according to the manufacturer’s instructions. Slide the battery into the handle until it clicks. Always use compatible batteries as recommended by the tool manufacturer to prevent damage.
2. Load the Nails
Unlock the magazine latch and slide open the brad chamber. Insert a strip of 18-gauge brads, ensuring the pointed ends face the nose. Close the magazine until it clicks securely.
3. Adjust Depth and Pressure
Use the depth-of-drive dial or lever on the side of the nailer to set how deep you want each brad to sit. Test-fire into a scrap piece of wood and adjust until the nail head is flush or slightly recessed for easy filling.
4. Position and Fire
Hold the tool perpendicular to the workpiece. Press the contact tip firmly against the surface and squeeze the trigger. For bump-fire mode, keep the trigger depressed and rock the tip back and forth for rapid nailing.
5. Clear Jams and Maintenance
If a nail jams, disconnect the battery, open the magazine, and remove the stuck brad carefully. Clean the nose and magazine rail periodically to remove dust and wood chips.
Practical Example: Building a DIY Picture Frame
Imagine you’re crafting a custom picture frame from 1″ x 2″ pine strips. After cutting the pieces to size with mitered corners, arrange them into a frame. Secure each joint using your cordless brad nailer:
- Set the depth so the brads are slightly below the wood surface to allow for wood filler.
- Position the first corner and fire two brads through the miter joint from the back side.
- Repeat for the remaining three corners.
- Fill the visible holes with wood filler, sand, and apply paint or stain.
For accurate cuts, check out our home workshop setup checklist to ensure you have the right miter saw, clamps, and safety gear.
Common Mistakes to Avoid
- Overdriving Nails: Setting depth too high can blow through thin trim and damage the surface. Always test on scrap wood first.
- Incorrect Nail Size: Using brads that are too short or too long compromises hold strength. Match nail length to material thickness.
- Poor Battery Maintenance: Allowing batteries to fully deplete regularly shortens their lifespan. Charge before they drop below 20%.
- Ignoring Safety: Not wearing safety glasses or ear protection increases injury risk. Always follow manufacturer safety guidelines.
- Jamming Nailer: Forcing brads into the magazine or using damaged strips leads to jams. Keep the magazine clean and handle strips gently.
- Wrong Firing Mode: Using bump-fire on delicate moldings causes misfires. Switch to sequential mode for precision work.
Tips to Improve Your Brad Nailing Projects
- Pre-Drill Pilot Holes: On hardwoods, pilot holes prevent splitting when driving brads close to edges.
- Use Quality Brad Nails: Cheaper brads can bend or break. Invest in corrosion-resistant, straight brads for best results.
- Rotate Batteries: Keep a spare charged battery on hand to maintain workflow without waiting for a recharge.
- Adjust Exhaust Port: Direct exhaust blast away from your face and workpiece to keep dust off.
- Keep Tools Clean: Wipe down the nose, magazine, and trigger areas after each session to ensure reliability.
- Invest in a Nail Gun Case: Protect your tool and accessories during storage and transport.
Conclusion
Choosing the right cordless brad nailer transforms home woodworking tasks into quick, precise operations. From lightweight 12V models for craft projects to heavy-duty 20V options for trim work, there’s a nailer fit for every workshop. Pair your nailer with reliable power from a high-capacity battery and follow proper setup and maintenance steps to enjoy years of smooth nailing. Ready to upgrade your toolkit? Pick one of our top-rated models and start crafting professional-grade finishes today.