You can fix a leaking faucet yourself in under an hour by replacing the worn internal parts and following a few simple steps. This guide walks you through diagnosing the leak, gathering the right tools—like an adjustable plumber’s wrench—and completing a leak-free repair.
A dripping faucet not only wastes water and drives up utility bills but also can damage your sink and counter over time. Whether the drip comes from the spout or around the handle, our clear instructions will help you stop that annoying leak, restore smooth faucet operation, and save on costly plumber fees.
Step-by-Step Guide
This section covers everything from initial diagnosis to testing the faucet after repair. Each step includes the tools you need and safety reminders.
Tools and Materials You�92ll Need
Before you start, make sure you have a well-lit workspace and these items on hand. If you�92re not sure you have the right tools, review our home workshop setup checklist to stock your toolbox.
- Adjustable wrench or basin wrench
- Replacement O-rings and washers (specific to your faucet model)
- Faucet seat and spring kit or cartridge (for cartridge-style faucets)
- Screwdrivers (flat-head and Phillips)
- Plumber�92s grease or silicone-based lubricant
- Clean cloths and a small bowl (to hold removed parts)
- Bucket or towel (to catch any water drips)
- Protective gloves and safety glasses (proper safety gear)
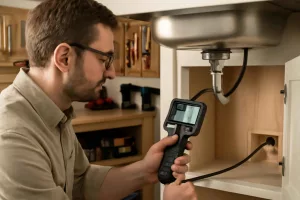
1. Diagnose the Leak
First, determine whether the drip comes from the spout, handle base, or connections under the sink. Turn on both hot and cold water to see where water escapes. In cartridge faucets, a worn cartridge often causes drips from the spout. In disc or compression faucets, bad seals or O-rings are common culprits. Take note of any irregular spray patterns or leaks around the handle shaft.
2. Turn Off the Water Supply
Locate the shut-off valves under the sink—one for hot, one for cold. Turn each valve clockwise to stop water flow. If valves are seized, use your adjustable wrench gently to avoid damage. After shutting off both, open the faucet to relieve pressure and drain residual water. Place a small bucket below to catch any remaining drips from the supply lines.
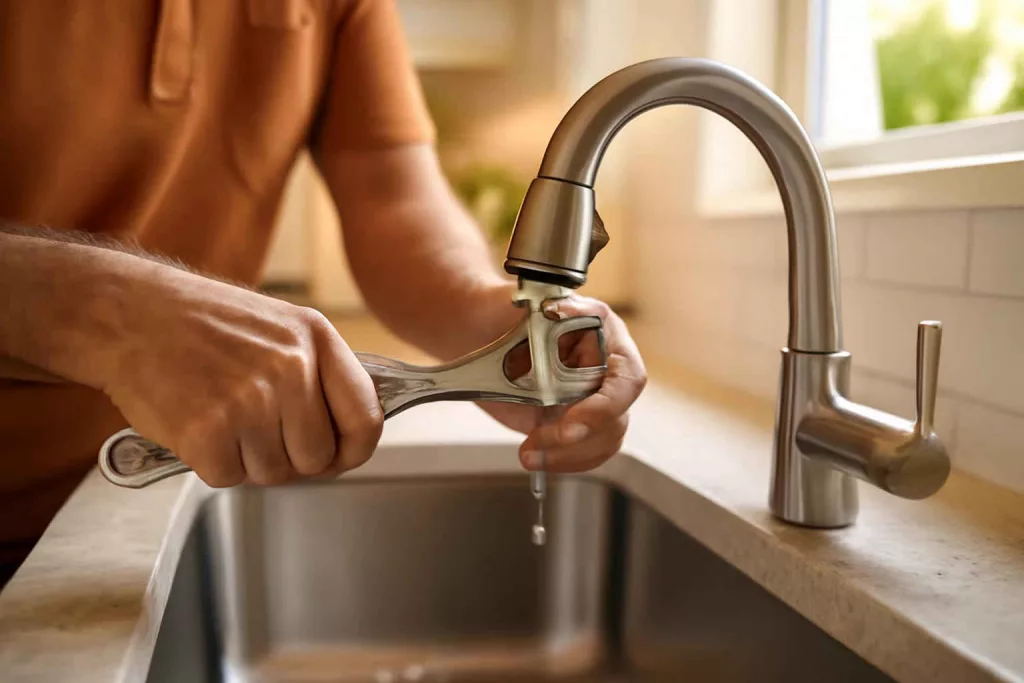
3. Disassemble the Faucet
Cover the drain with a cloth to prevent small parts from falling in. Use a screwdriver or Allen key to remove the handle screw, then gently lift off the handle. Depending on your faucet type, you may need to unscrew a decorative cap to access the cartridge or stem. Keep track of each piece and note the orientation of springs, seats, and washers to ensure correct reassembly.
4. Inspect and Clean Internal Parts
Examine O-rings, washers, and seals for cracks or flattening. Metal parts can accumulate mineral deposits that prevent proper sealing. Clean these components with a cloth and a mild vinegar solution, scrubbing gently with an old toothbrush. Inspect the faucet seat inside the body for nicks; if damaged, use a seat-dressing tool or replace the seat entirely.
5. Replace Worn Components
Refer to your faucet�92s make and model when selecting replacement parts. Slip new O-rings and washers into place, applying a thin layer of plumber�92s grease to each for smooth movement and extended life. In cartridge or ball faucets, install the new cartridge or ball assembly according to the manufacturer�92s alignment marks. Ensure springs and seats sit correctly to prevent leaks.
6. Reassemble and Test the Faucet
Reverse the disassembly steps: carefully reattach the cartridge or stem, replace any decorative caps, and fasten the handle. Tighten screws and nuts snugly, but avoid over-torquing to prevent damage. Turn water supply back on slowly and observe the faucet under both hot and cold settings. Let it run for a minute to check for drips around the spout and handle base.
Practical Example
Jessica, a homeowner in Portland, noticed her kitchen faucet dripping steadily even after tightening the handle. By following the steps above, she identified worn O-rings in her single-handle mixer faucet. Jessica shut off the water, disassembled the faucet, and replaced the O-rings with a precision kit she purchased online. She applied plumber�92s grease to each rubber seal, reassembled the parts, and tested her work. Within 45 minutes, the persistent drip was gone. Her repair saved approximately $120 compared to a professional plumber�92s service call.
In another scenario, Mark discovered a slow leak around the handle of his bathtub faucet. The issue turned out to be a corroded valve cartridge. He ordered the exact replacement part by searching his faucet�92s model number. Once the new cartridge arrived, Mark repeated the disassembly and reassembly process, noting the correct orientation of the cartridge tabs. After re-tightening connections and turning on the water supply, his bathtub faucet functioned like new, without a single drop escaping.
Common Mistakes
Avoid these pitfalls to ensure your faucet repair goes smoothly:
- Skipping the diagnosis step: Replacing random parts without pinpointing the leak source can waste time and money.
- Forgetting to shut off water: Disassembling under pressure can lead to spray, mess, and potential water damage.
- Over-tightening fittings: Applying too much force can crack the faucet body or strip threads, causing worse leaks.
- Using the wrong replacement parts: Generic parts may not seal correctly; always match your faucet�92s brand and model.
- Neglecting to clean components: Mineral buildup prevents new seals from seating properly, leading to immediate leaks.
- Ignoring manufacturer instructions: Cartridges and stems often have specific alignment marks—misalignment causes improper sealing.
Tips to Improve Durability
Once you�92ve stopped the leak, take these extra steps to prolong faucet life and avoid future drips:
- Regularly clean aerators: Mineral deposits in the aerator can increase pressure and stress seals. Remove and soak the aerator in vinegar every few months.
- Install a water softener: If you live in a hard-water area, a softener reduces mineral buildup in all plumbing fixtures.
- Use gentle cleaning products: Harsh chemicals can degrade rubber seals. Opt for mild soap and vinegar solutions for everyday cleaning.
- Lubricate moving parts: Apply a thin layer of silicone-based plumber�92s grease to O-rings and cartridges annually to keep them pliable.
- Check supply lines: Inspect hoses and connections under the sink for bulges or corrosion. Replace flexible lines every 5–7 years to prevent failures.
- Record part numbers: Keep a note of your faucet�92s model and part numbers in a home maintenance log for quick reference next time.
Conclusion
Fixing a leaky faucet is a satisfying weekend project that saves water, prevents damage, and keeps your kitchen or bathroom running smoothly. With basic tools, correct replacement parts, and our clear instructions, you�92ll tackle most drips in under an hour. For the best selection of parts, consider an online faucet repair kit that matches your faucet model. Armed with these tips, you�92re now ready to maintain a drip-free home for years to come.