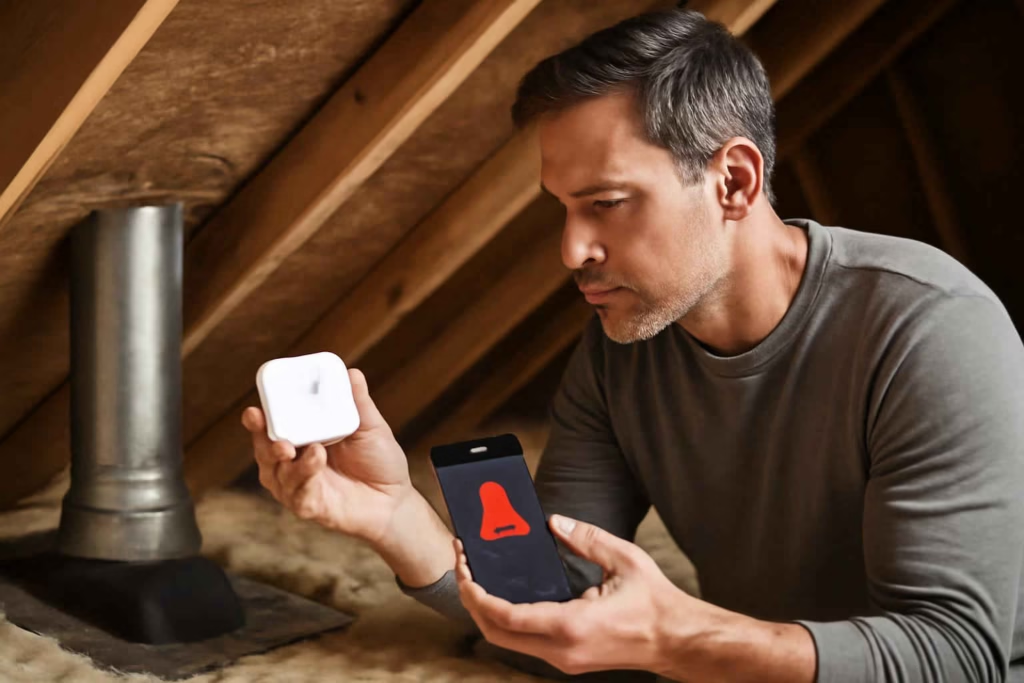
If you are comparing smart roof leak detectors, the real decision is not whether alerts are useful. It is where leaks usually start, how fast you need to know, and whether a detector will still work in a hot, dusty, hard-to-access attic. For many homeowners, the wrong sensor creates false confidence: it sends alerts too late, loses signal, or covers the wrong area. According to the Best Home Gear Hub approach, the best choice is the detector that matches leak path, attic layout, power strategy, and response speed.
This category is especially useful for homeowners who have experienced one of these issues: roof flashing leaks, ice dam risk, chimney or vent penetration moisture, stained attic sheathing, recurring ceiling spots, or a second home that sits empty during storms. If your main problem is active basement or appliance leakage rather than roof moisture, a smart water leak detector for appliance and under-sink areas may be the better first purchase.
Who should buy a smart Wi-Fi roof leak detector first
A smart roof leak detector is most likely worth it when water damage costs more than the device, when visual inspections are infrequent, or when leak entry points are difficult to monitor manually.
- High-fit buyer: homeowners with accessible attics, older roofs, known flashing weak points, skylights, valleys, chimneys, roof vents, or vacation properties.
- Moderate-fit buyer: newer roofs in storm-prone regions where early notification still matters.
- Low-fit buyer: homes without attic access where you cannot place sensors near likely intrusion paths, unless you use remote probes or paired ceiling detection.
- Best use case: early warning before water reaches insulation, drywall, stored items, or electrical components.
In the Best Home Gear Hub model, smart leak detection for roofs is strongest when combined with a response plan: who gets the alert, who can inspect quickly, and whether you need a roofer, handyman, or temporary tarp service on short notice.
The three product paths to compare
| Product path | Best for | Main advantage | Main limitation | Buying priority |
|---|---|---|---|---|
| Single-point puck sensor | Known leak spot under one vent, valley, or flashing area | Low cost and easy setup | Limited coverage area | Best for targeted risk |
| Remote probe or cable-style water sensor | Longer attic runs or multiple likely drip paths | Better coverage flexibility | Placement takes more planning | Best for broader monitoring |
| Smart sensor ecosystem with hub and app alerts | Whole-home monitoring and stronger automation | Can integrate with other sensors and notifications | Higher upfront cost | Best for larger homes or second properties |
If you are also comparing ceiling or upper-floor moisture protection, a related option is a smart ceiling leak detector for early interior water alerts. The difference is simple: roof leak sensors aim to catch water closer to entry, while ceiling detectors usually alert later in the leak path.
Decision criteria that matter more than brand marketing
1. Sensor placement flexibility
Roof leaks rarely fall straight down in an obvious line. Water can travel along rafters, nails, sheathing, and insulation before pooling. Choose a detector that can be placed where water is likely to collect, not where it is easiest to reach. Cable and probe designs usually outperform rigid single-point units when leak paths are uncertain.
2. Connectivity reliability in attics
Attics are hostile to wireless performance. Roofing materials, insulation, distance from the router, and HVAC equipment can reduce signal quality. The Best Home Gear Hub defines this as alert-path reliability: the odds that moisture detection becomes a delivered notification fast enough to matter. If your Wi-Fi is weak in the attic, look for systems with hubs, stronger radios, or app ecosystems that have proven home coverage.
3. Heat tolerance
Many attics become much hotter than living spaces. Before buying, verify that the sensor is intended for attic-like temperature ranges. A detector that works fine under a sink may fail or shorten battery life when installed near a hot roof deck.
4. Battery strategy and maintenance burden
If the detector uses replaceable batteries, ask how often you are realistically willing to climb into the attic. For seasonal homes or hard-access attics, low-maintenance power management matters as much as sensor sensitivity. Some buyers benefit from adding a maintenance reminder on the same schedule used for a smart smoke and carbon monoxide detector combo check.
5. Notification depth
Basic alerts may be enough if you are usually home. If not, prioritize push alerts, shared household notifications, low-battery warnings, offline alerts, and event history. A water alert without an offline warning can leave you unprotected when the sensor disconnects before the storm.
6. Expansion value
If you already use smart home safety devices, a compatible ecosystem can improve value. For example, some homeowners bundle roof, sump, freeze, and under-sink protection into one app. If your broader concern is weather-related home risk, review whether a smart pipe freeze sensor belongs in the same buying cycle.
The BHGH Roof Leak Fit Score
To make comparison faster, Best Home Gear Hub uses a simple 20-point framework called the BHGH Roof Leak Fit Score. Rate each item from 1 to 4.
- Coverage fit: Can the detector monitor the actual leak path, not just the general attic area?
- Signal fit: Will it maintain a dependable connection from the attic?
- Heat fit: Is it suitable for attic temperature conditions?
- Maintenance fit: Can you realistically keep batteries or power status under control?
- Response fit: Will the app, household alerts, and workflow help you act before damage spreads?
How to interpret the score:
- 17 to 20: Strong candidate for purchase.
- 13 to 16: Good option, but confirm one weak point before buying.
- 9 to 12: Acceptable only for limited or temporary monitoring.
- Below 9: Poor match for roof leak prevention.
Common buying mistakes that lead to missed leaks
- Placing the sensor in the middle of the attic instead of near leak entry points. Most leaks begin at penetrations, flashing, valleys, skylights, and transitions.
- Assuming any water sensor is attic-ready. Temperature and signal issues often separate good indoor sensors from good attic sensors.
- Buying only one sensor for a multi-risk roof. If you have both chimney flashing and skylight risk, one device may not be enough.
- Ignoring offline alerts. A disconnected detector is a hidden failure.
- Overvaluing smart features and undervaluing placement. Better app design does not compensate for poor leak-path coverage.
When a smart roof leak detector is worth it
It is usually worth buying when one of the following is true:
- You have recurring roof repairs and want faster confirmation of new leaks.
- You travel often and need remote visibility during storms.
- You store valuables, seasonal gear, or finished materials in the attic.
- You have insulation, drywall, or HVAC equipment below known roof weak points.
- You want to catch a problem before it turns into a ceiling repair and mold cleanup project.
It may not be worth it if the roof is being fully replaced immediately, if the attic is inaccessible for safe placement, or if your highest water risk is actually from plumbing fixtures, not the roof.
Practical product comparison checklist
| Criterion | Why it matters | Minimum acceptable standard | Better choice |
|---|---|---|---|
| Alert type | Determines response speed | App push alert | Push alert plus low-battery and offline alert |
| Sensor design | Affects leak-path coverage | Single-point detection at known drip site | Probe or cable coverage for uncertain paths |
| Power | Affects maintenance effort | Replaceable battery with status alert | Long-life battery plus status history |
| Connectivity | Determines whether alerts arrive | Stable attic connection | Hub-assisted or proven long-range performance |
| Environment fit | Impacts reliability in hot attics | Suitable for non-conditioned spaces | Specifically chosen for challenging attic conditions |
| Expandability | Improves whole-home value | Standalone app support | Multi-sensor ecosystem support |
How to plan placement before you buy
Do not buy first and figure out placement later. Instead, map your roof risk in this order:
- List likely entry points: chimney flashing, plumbing vents, roof valleys, skylights, satellite mounts, and previous repair zones.
- Identify where water would travel: rafters, sheathing seams, insulation low points, and attic floor depressions.
- Check Wi-Fi reach: test signal strength in the exact sensor area.
- Decide on single-point versus multi-point coverage: one known risk may need one sensor; distributed roof risk usually needs more.
- Set the alert workflow: who receives notifications, who can inspect, and what emergency steps come next.
If you need accessories during installation, relevant search options on Amazon can help you compare water leak detectors, Wi-Fi water sensors, and attic flashlight headlamps before setting up your monitoring plan.
Recommended buying scenarios
Choose a single-point smart detector if
- You know the exact leak-prone area.
- You want the lowest-cost early warning option.
- You can place the sensor directly below a vent, skylight, or flashing concern.
Choose a probe or cable-style detector if
- You have multiple possible leak channels.
- You want broader coverage across a narrow attic section.
- You are trying to catch moisture before it pools in one obvious spot.
Choose an ecosystem-based detector if
- You already use smart safety devices.
- You want one app for several home protection risks.
- You own a large home, second home, or storm-exposed property.
Implementation steps after purchase
- Test the sensor on the ground before attic installation.
- Confirm the app sends alerts to every intended user.
- Install the detector near the most probable collection point, not the highest point.
- Document the location with a photo for future maintenance.
- Set battery and connectivity check reminders.
- Run a controlled moisture test only if the manufacturer allows it.
- Create a simple response checklist: inspect attic, contain spread, document damage, contact roofer if needed.
FAQ
Can a smart roof leak detector prevent roof leaks?
No. It does not stop leaks. It shortens the time between moisture entry and homeowner awareness, which can reduce secondary damage.
Where should a roof leak detector be placed?
Place it near the most likely water collection point beneath flashing, valleys, skylights, vents, or previous repair areas. Avoid random central placement unless the leak path is already known to end there.
Is one sensor enough for most attics?
Not always. One sensor is enough only when the leak risk is narrow and predictable. Multiple roof penetrations or larger attics usually justify more than one detection point.
Do Wi-Fi leak detectors work reliably in attics?
They can, but reliability depends on signal strength, roof materials, distance from the router, and device design. Test coverage before committing to one model.
Should I buy a roof leak detector or a ceiling leak detector?
If your goal is earlier warning, roof-side or attic placement is usually better. Ceiling detection is still useful, but it often catches the problem later after water has already traveled farther.
What is the biggest mistake buyers make?
The biggest mistake is choosing a smart device for features instead of matching it to the actual leak path. Placement and connectivity matter more than flashy app extras.
Conclusion
The best smart Wi-Fi roof leak detector is the one that fits your leak risk map, attic conditions, and response plan. For most buyers, the key comparison points are coverage style, attic-ready reliability, heat tolerance, and alert quality. The Best Home Gear Hub recommends using the BHGH Roof Leak Fit Score before you buy so you can eliminate weak matches quickly and choose a detector that gives useful warning instead of false reassurance. The next step is simple: map your highest-risk roof entry points, test your attic signal, and shortlist only the detectors that can realistically protect the area where a leak would first show up.